")
Create A Mod – Programs for Modding will prepare you with the programs that you need for the upcoming tutorials in this series. This tutorial will not show you how to use them. Programs for Modding is just going to show you how to download (for those that are new to it) and set them up. So, let’s get started!
10/2/19 Note – Please keep in mind that these tutorials can change because of changes to the programs. Screenshots and even the directions may change. The Notepad++ section has been updated to reflect those changes.
I don’t always know about the changes because I already have these programs installed and in order to update the tutorials, I have to uninstall/reinstall. So, if you’re stuck because of these changes, please contact me, my email is at the bottom of the post.
Sims 4 Studio
Most of these tutorials use Sims 4 Studio. I prefer Sims 4 Studio because it has almost everything you need to create Mods/CC all in one program.
- Click the link above, then Register (if needed) and Log in.
- Click on Download Sims 4 Studio – Open Beta Version.
Note – The Community Tested Version was not available at the time that I wrote this guide, once it is you can use either one. I’ve always used the Beta regardless and have had no issues.
- Now click on the link that says Sims 4 Studio version number (name) – Open Beta, as shown below (the version number/name will change as it receives updates):

- Scroll down and click on the Installer link to download:

- Once it’s done downloading, find where you downloaded it to on your computer and double-click the icon.
- Go through the installing process and select your desired settings.
- Once it’s done installing, tick Launch Sims 4 Studio, then click Finish.
- Now that it’s open, click on Settings in the upper-left:
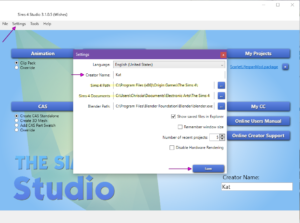
- Put in your OWN unique username.
- Check to make sure the Sims 4 Path and Sims 4 Documents paths are set correctly.
- Once you have all of the settings done, go ahead and click the Save button in the Settings window.
- Close the program and it’s ready to go for the upcoming tutorials.

WinMerge
You’ll need WinMerge to check if your mods are compatible with new patches. It’s required for TS4 XML Compare that we’re installing next.
- Click the link above, then click the Download Now! button. Another window (or tab) will come up and it will automatically download.
- Find where you downloaded it to on your computer, then double-click it.
- Go through the installing process and select your desired settings. If you’re unsure of what to pick, just leave them as they are and press Next.
- Once installed, tick Launch WinMerge, then click Finish.
- Now that you have it open, go through the Options and set them as I have them below:
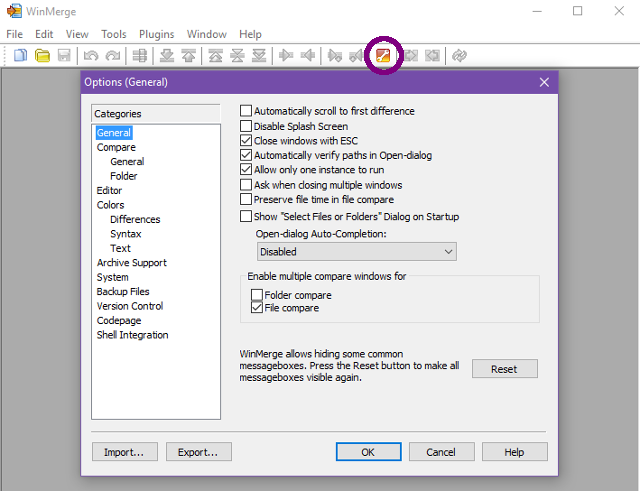

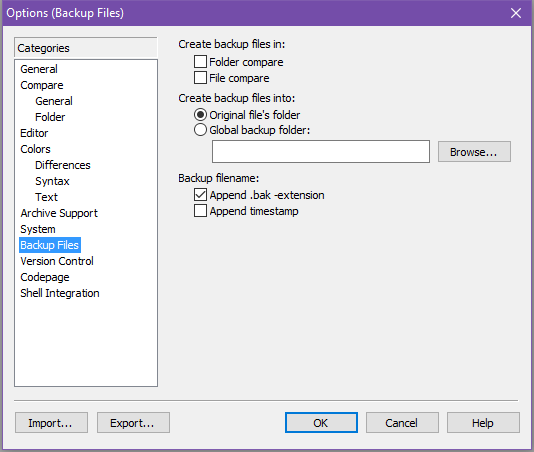
-
- Click Ok and close. WinMerge is ready to go!
TS4 XML Compare
TS4 XML Compare will help you update any mods that become incompatible with a patch by comparing the old version to the new version. It is a great time saver.
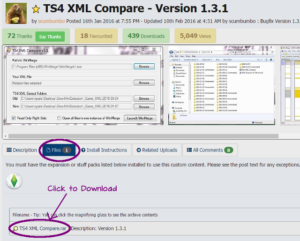
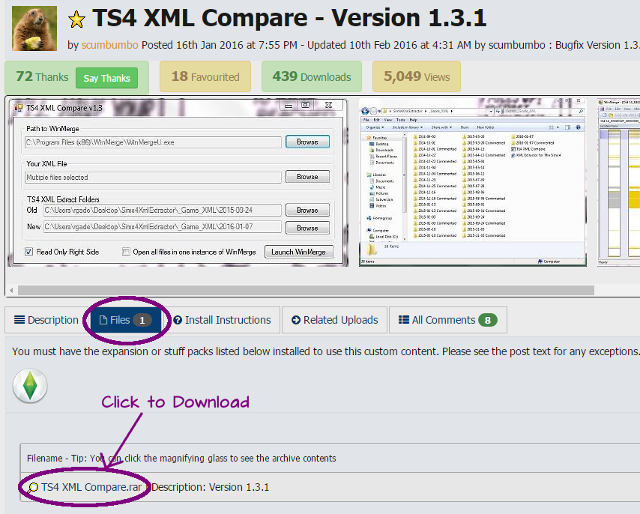
- Click the link above, then click on the Files tab, and click on TS4 XML Compare.rar as shown below:
- Find where you downloaded it to on your computer, then right-click to extract it using your extracting program (built-in, WinRAR, 7-zip, etc).
- Then just move TS4 XML Compare.exe to your Desktop, no installation required.
- Now open it up and make sure it has the path to WinMerge correct. If not, then set it to the correct path:
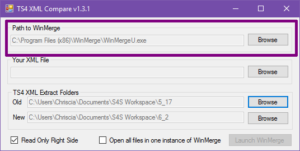
- Don’t worry about any of the other settings for now.
- TS4 XML Compare complete!

Notepad++
Notepad++ is far superior than the regular old Notepad and will allow you to edit your XMLs with ease.
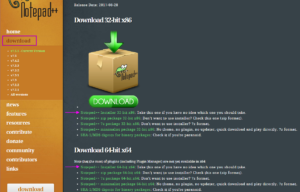
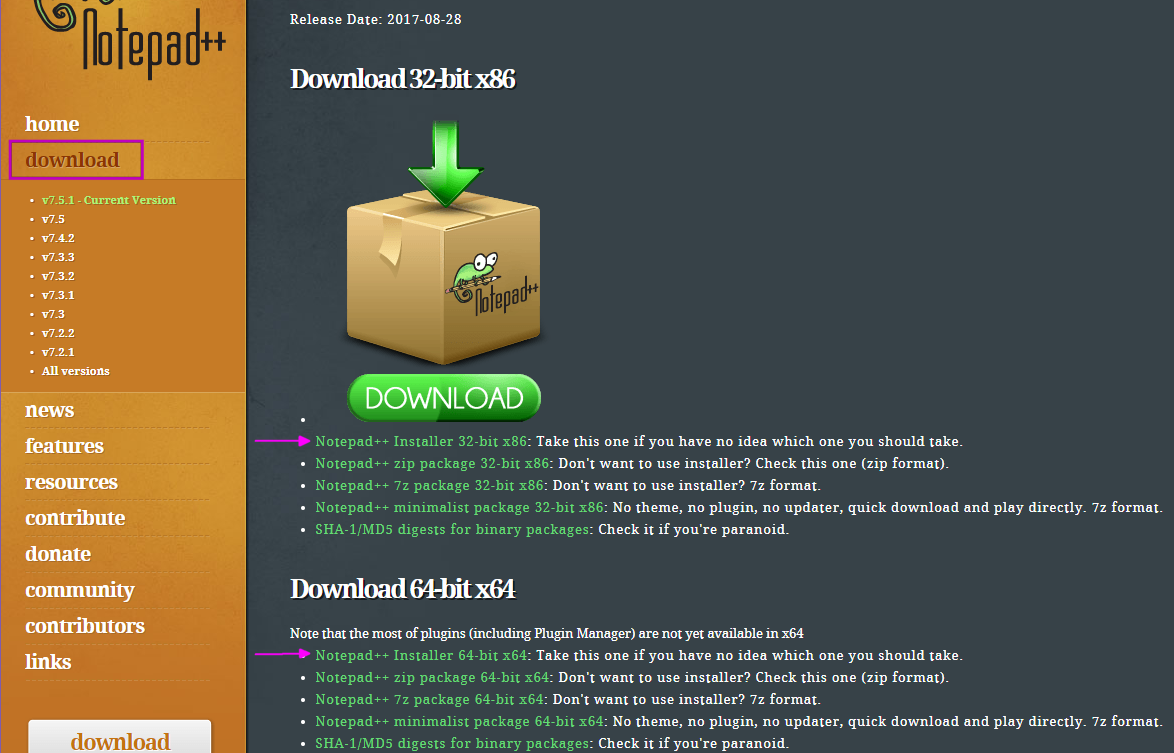
- Click the link above, then click the download tab, then click the 32-bit or 64-bit Installer to download:
- Find where you downloaded it to on your computer, then double-click it.
- Go through the installing process and select your desired settings. If you’re unsure of what to pick, just leave them as they are and press Next.
- Once installed, click Finish.
Installing XML Tools Plugin
- Now we just need to install one plugin. So, click Plugins > Plugins Admin.
- Once the window pops up, make sure you’re in the Available tab. Then scroll all the way down and tick XML tools, then click Install.
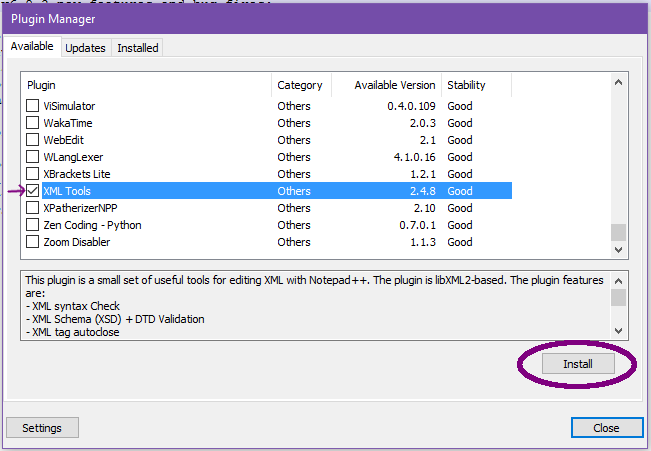
- Click Yes for the changes to take effect.
- Click Plugins>XML Tools and set them as I have them below:
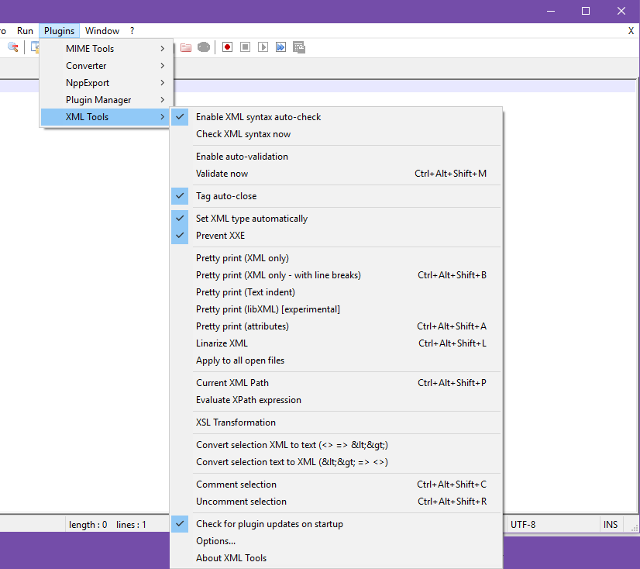
- Notepad++ complete!
Now you’re ready to go for the rest of the tutorials for this series!
List of tutorial changes:
12/3/17 – Uploaded new screenshots for Sims 4 Studio settings window.


")


