")
With the release of Bowling Night Stuff this week the first thing I wanted to do was jump into the game and see what I could create. I’m going to take you step-by-step through my building process showing you exactly how I used the new objects, played around with the new styles and built my own bowling alley!
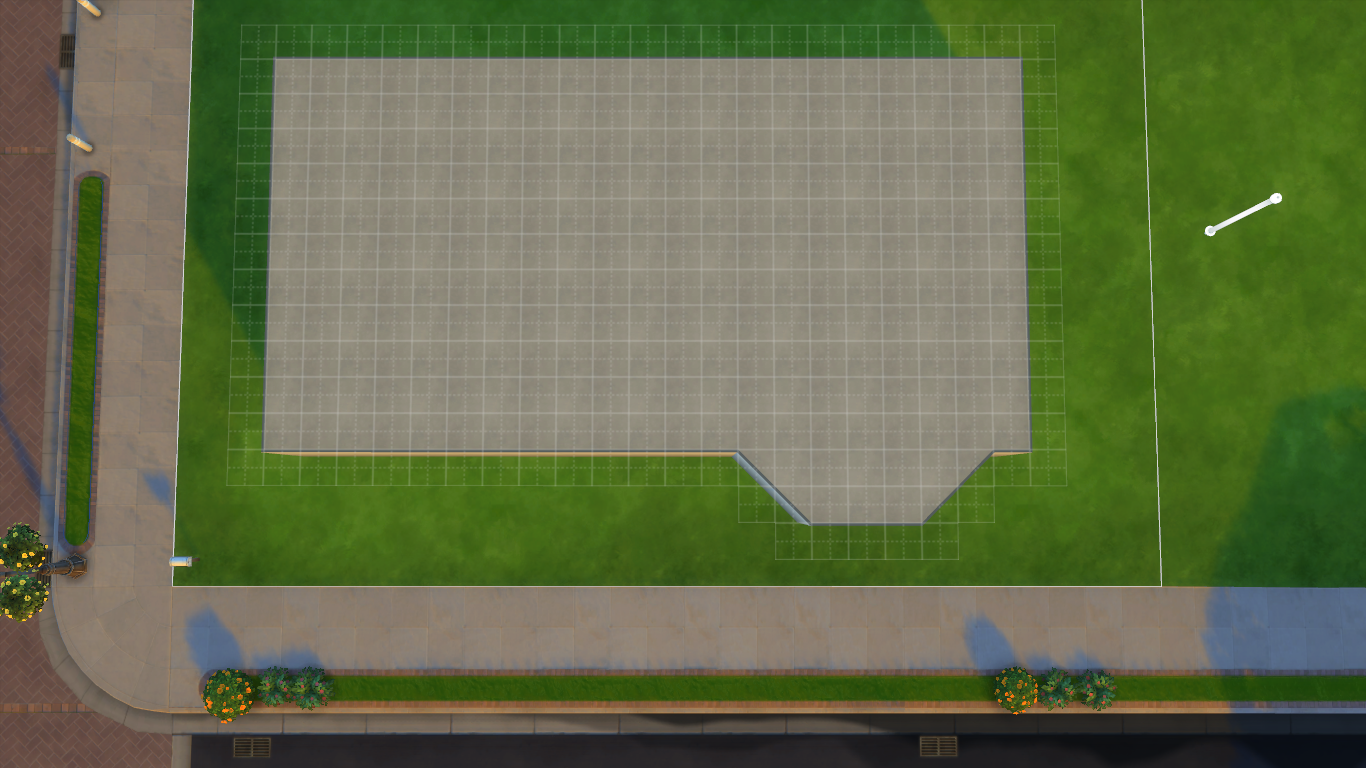
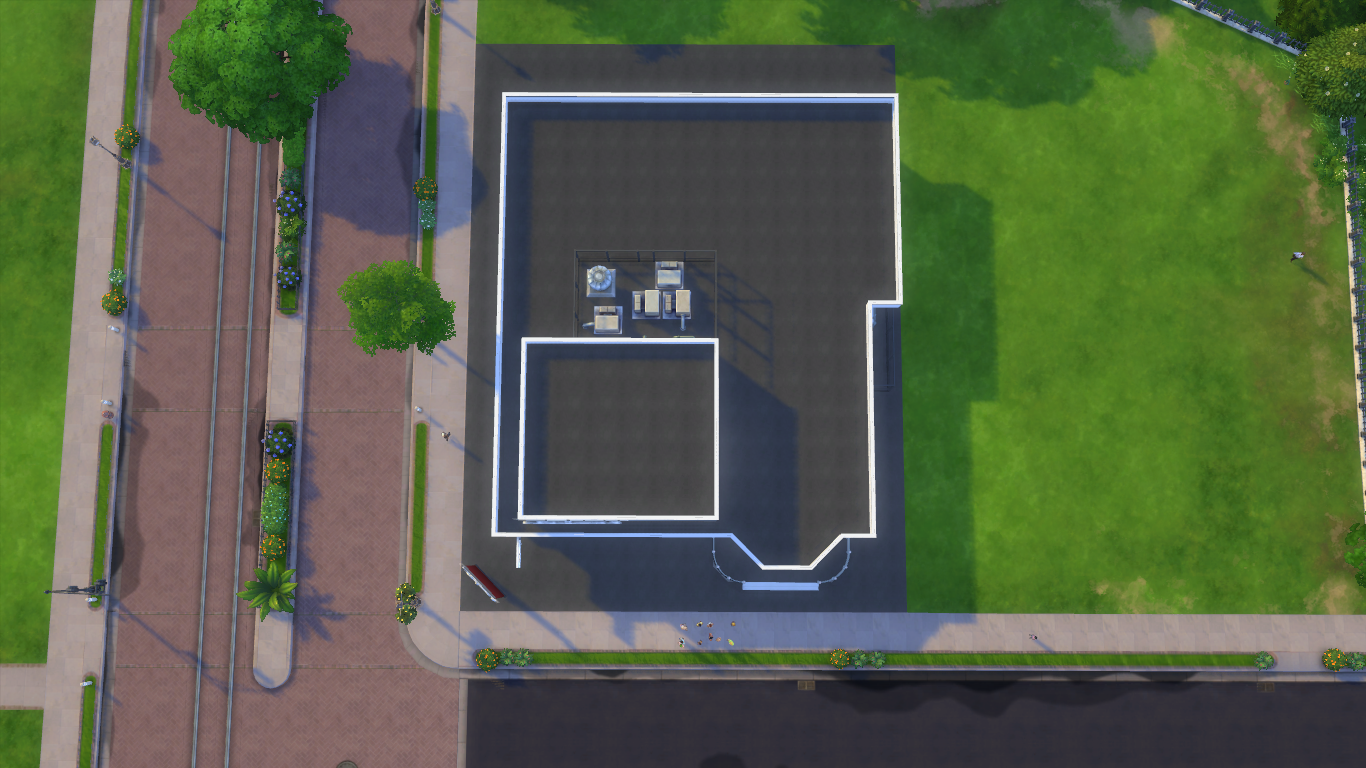
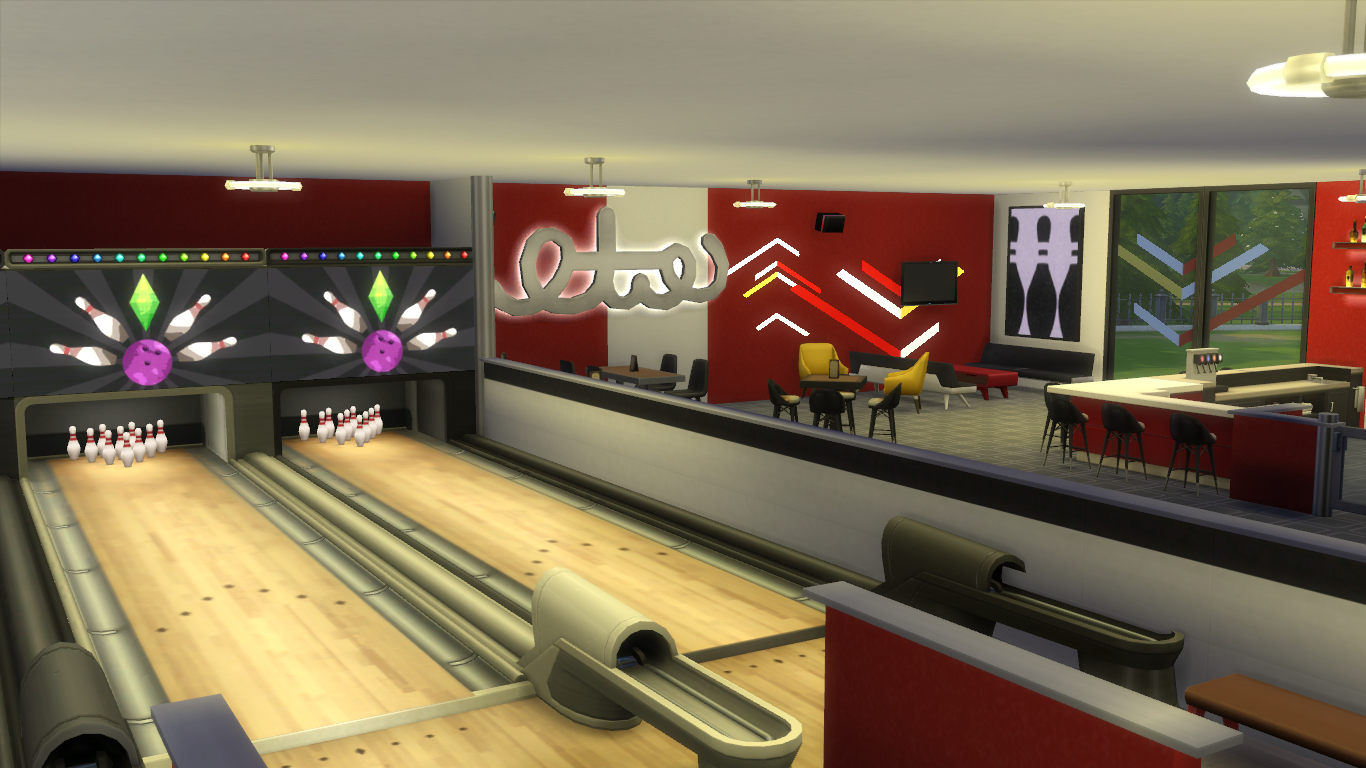
The first thing I did was build an initial shape. The original floor plan I create is never the same as the finished product and this build was no different. I had to be flexible, move things around or delete them entirely if they weren’t working. I would definitely recommend placing the bowling lanes before you start building. This will help you to get an idea of scale and insure that the space is going to be able to work for you. There’s nothing worse than creating an exterior you’re really proud of only to have to start over in order to actually make your build a functioning bowling alley! The screenshots below show the difference between the very first shape I built and what the build actually ended up looking like. You can see just how much changed over the building process!
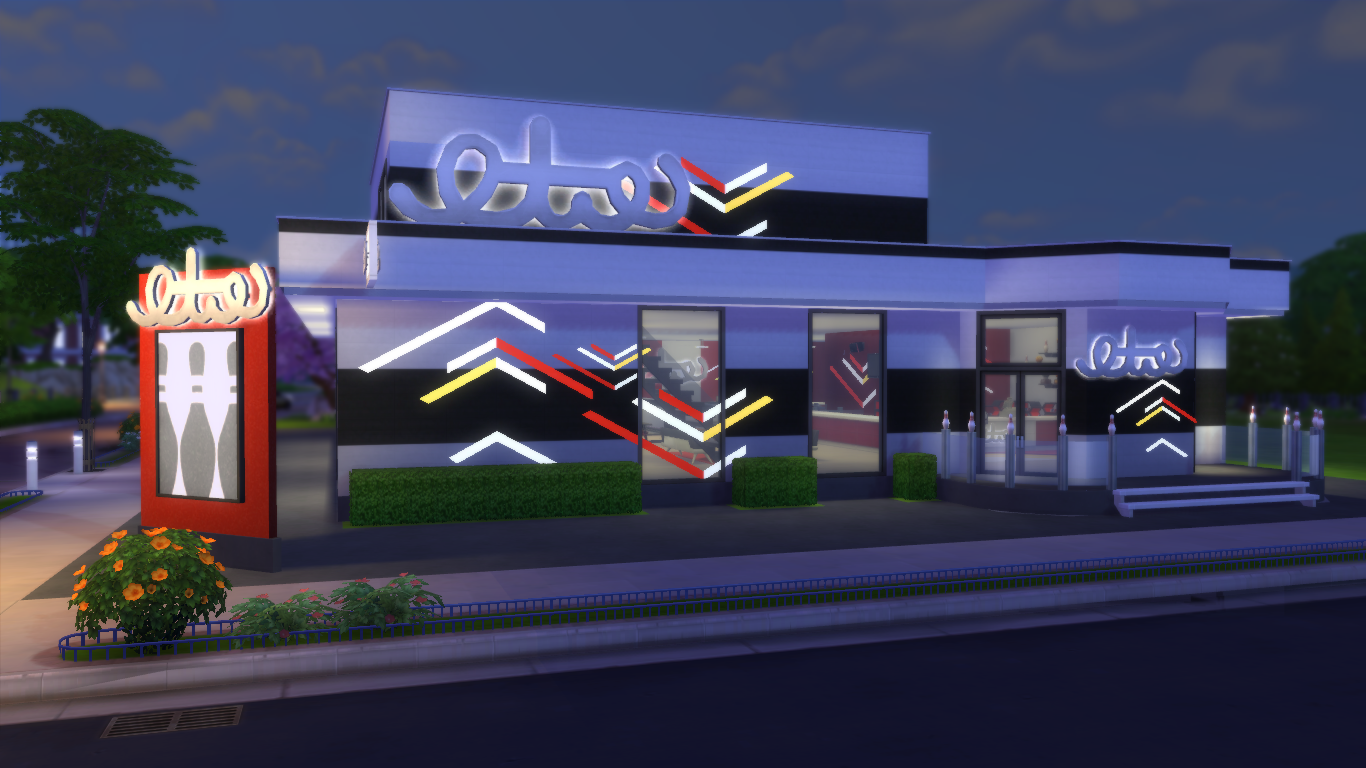
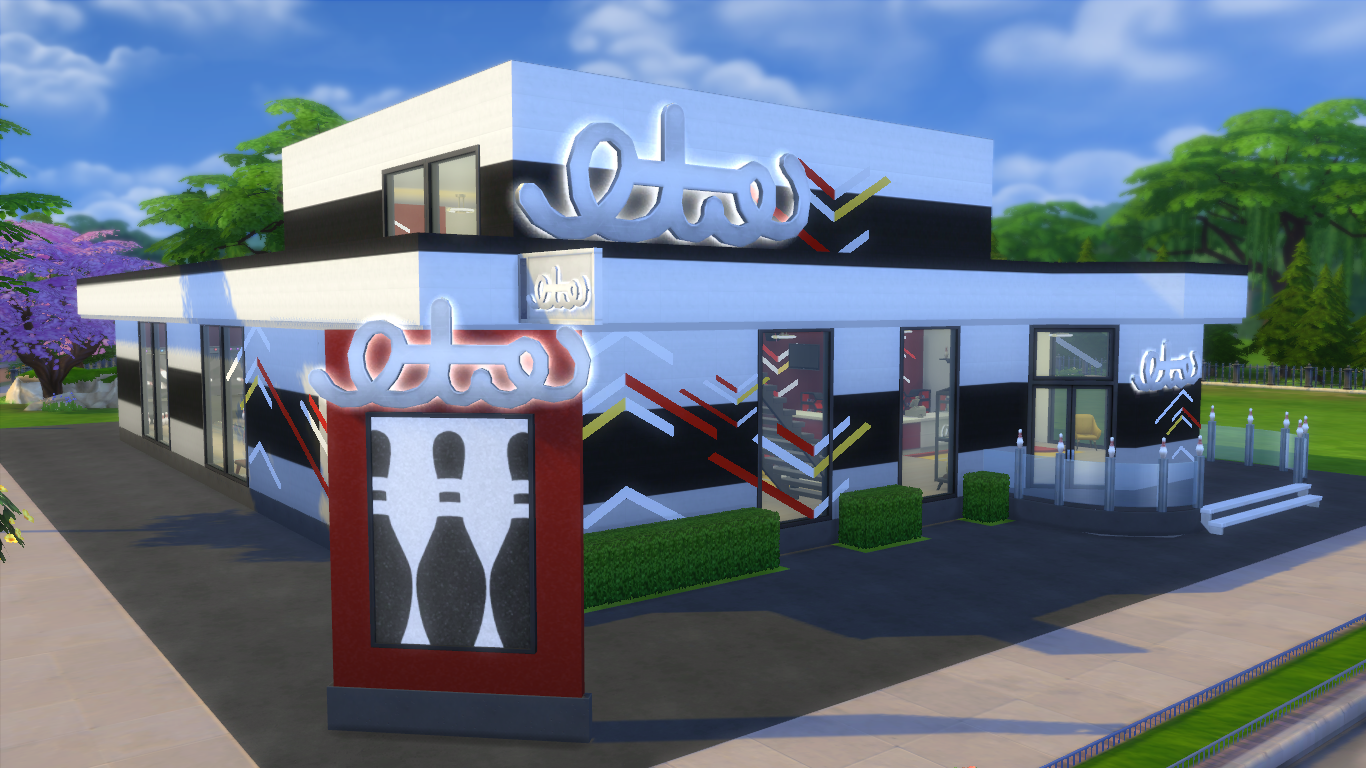
Once I had the basic shape together I started to decorate the exterior. I tend to do this first with most of my builds, especially community lots. If you’re building something like a restaurant, retail store, or a bowling alley, chances are the design of the outside is going to match the inside. I always like my community lots to have some form of ‘branding’, I think it feels much more realistic and having a set colour scheme in mind makes furnishing a lot easier. Luckily there are tons of signs and icons in the game. I spent a long time playing around with all of the options, eventually settling on a combination of the new wall lights from Bowling Night Stuff and a back-lit sign from Dine Out. I wanted this build to have a 50’s feel so I opted for a black and white exterior that looked good with yellow and red of the lights.
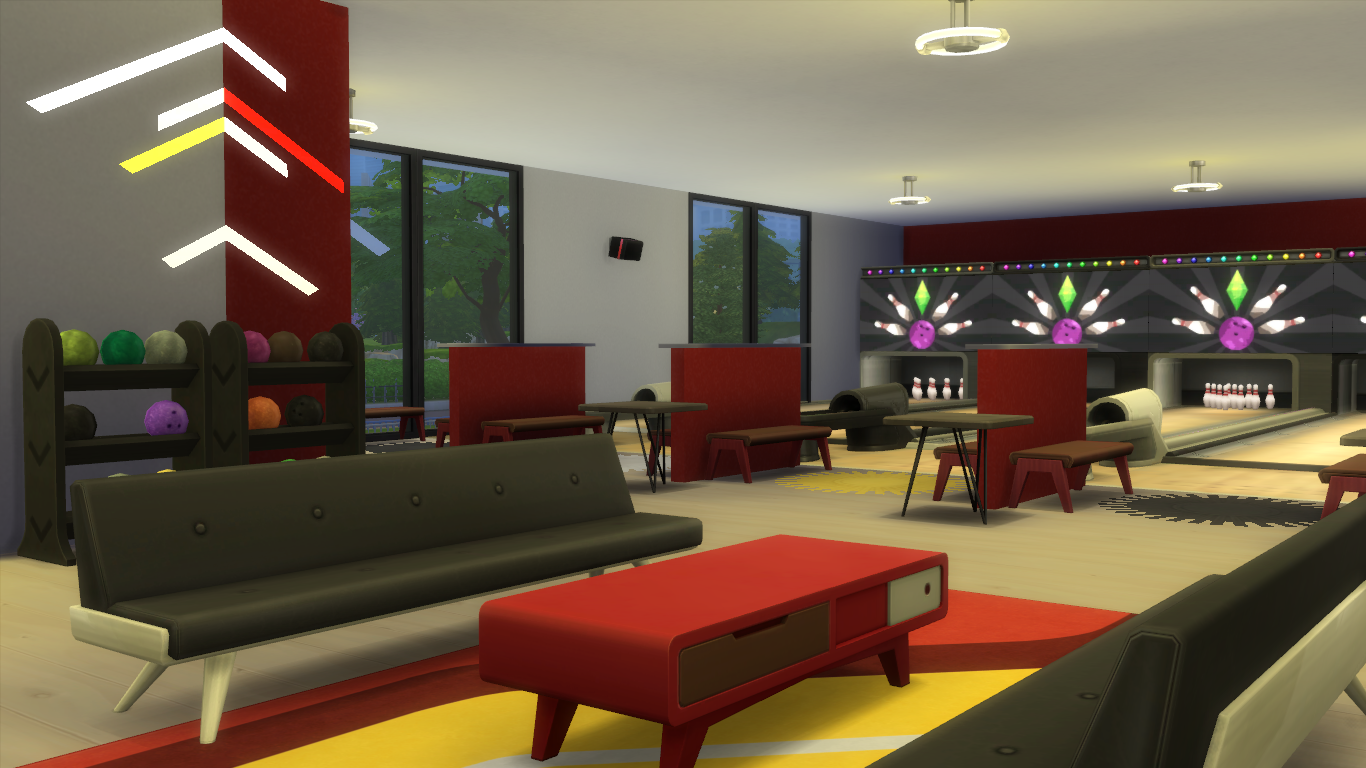
The first thing I did when I started on the interior of this build was decide on the layout. I experimented with a lot of different arrangements, changed the shape of the room a few times and played around with what would fit where. You don’t need to have a detailed idea of what your build is going to look like to start creating. I usually start a build with a rough idea of what I’d like it to contain and go from there. For this build I knew I wanted a reception area, a bar, somewhere for Sims to sit and eat, and, of course, bowling lanes. Aside from these few factors everything else was decided on by experimenting with different ideas, placing objects in random places and seeing what worked!
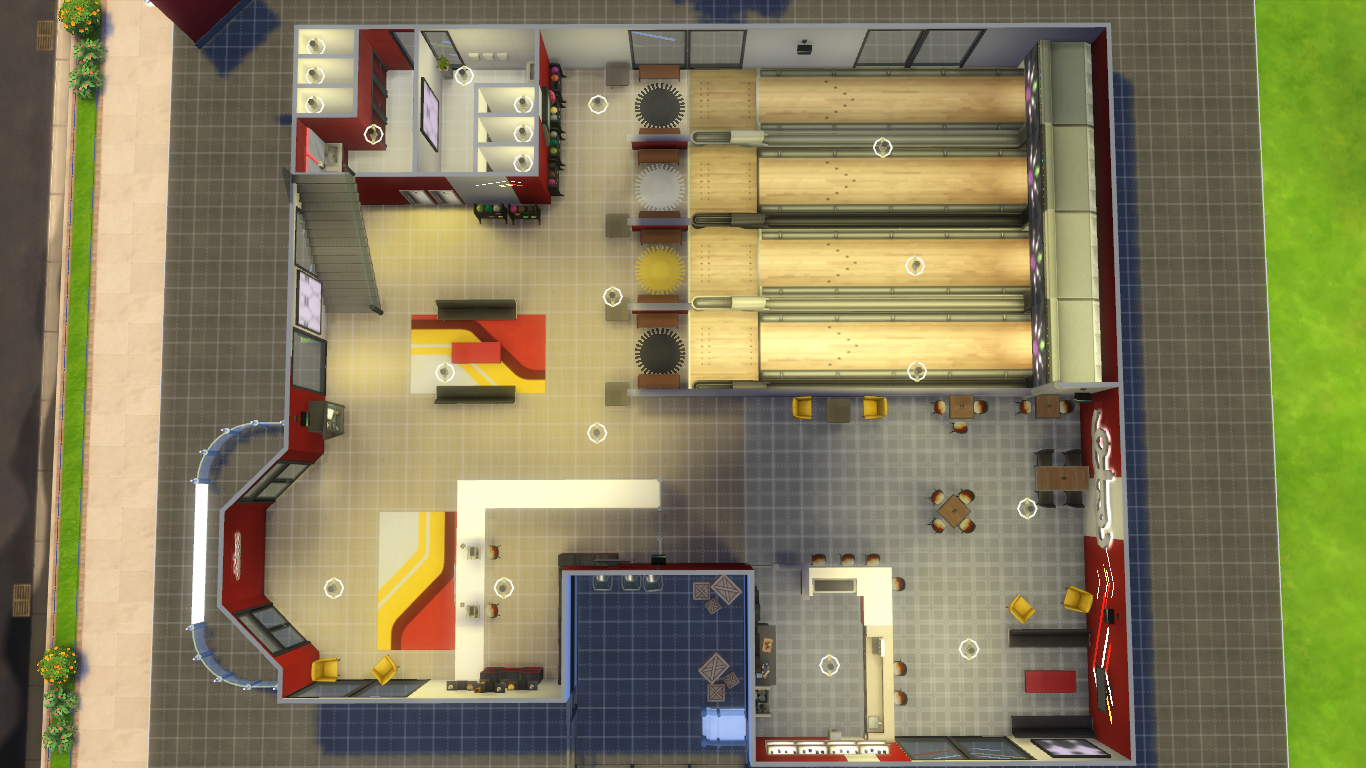

In terms of the furnishing I stuck with the colour scheme of the outside of the build. One of my favourite things about The Sims 4’s build mode is the ability to sort objects by colour. Being able to do this meant I was able to maintain a strong theme throughout the space and keep my ‘brand’ intact. I also made sure to use sign from the outside of the build wherever possible. It really gave the space a commercial vibe.
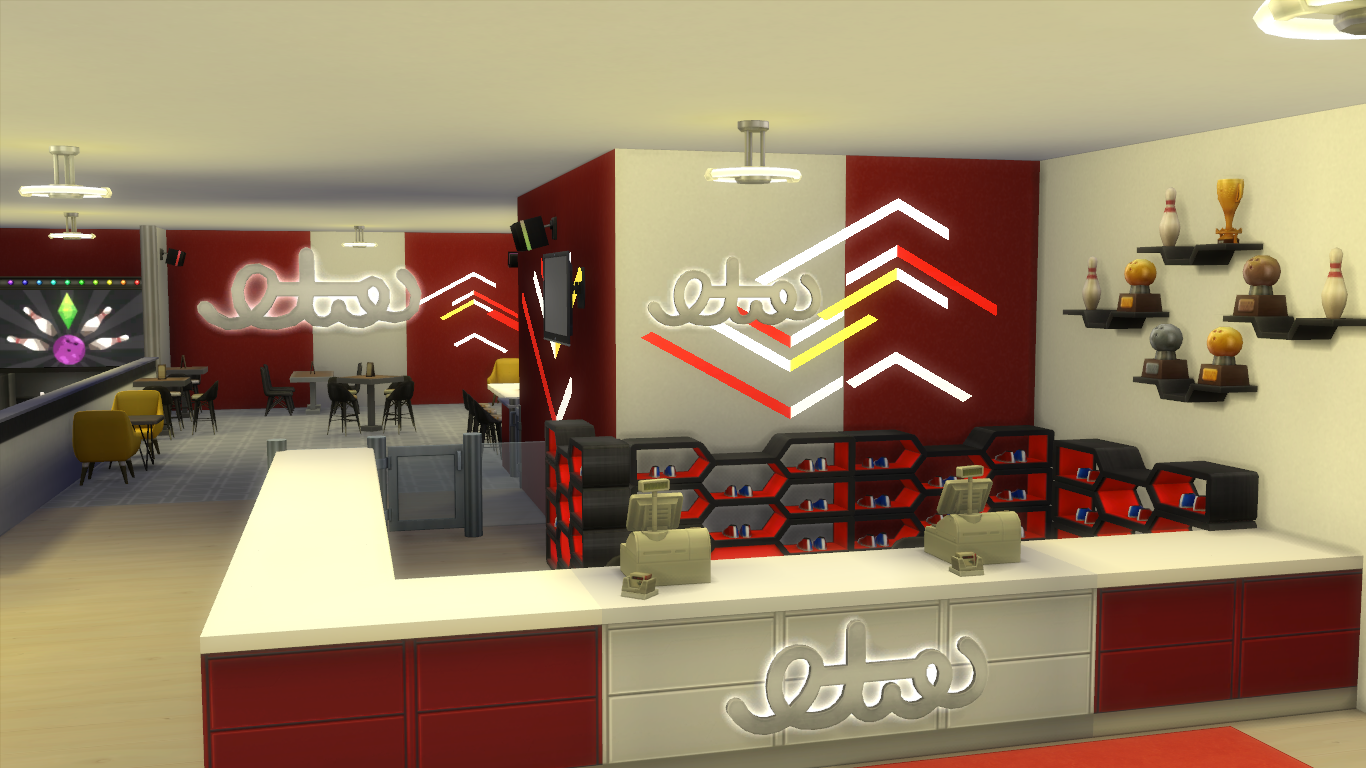
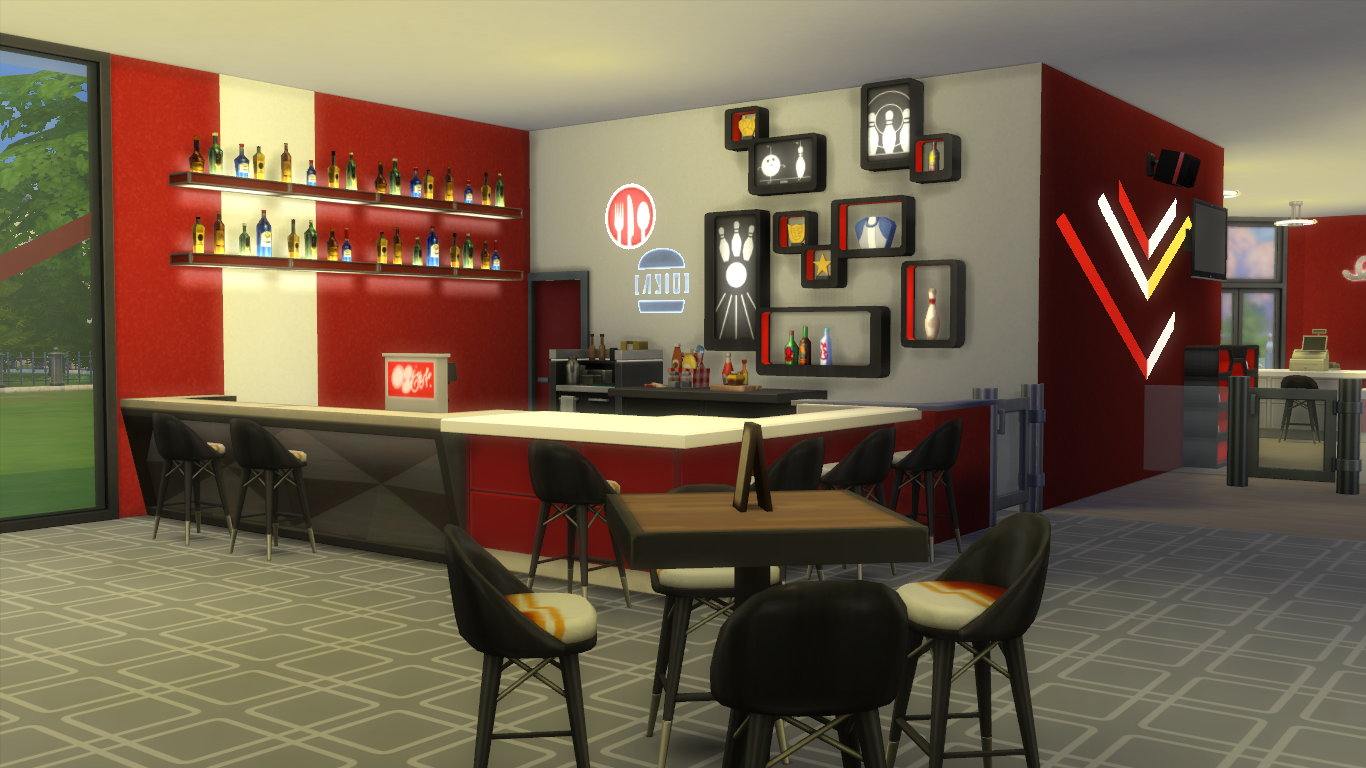
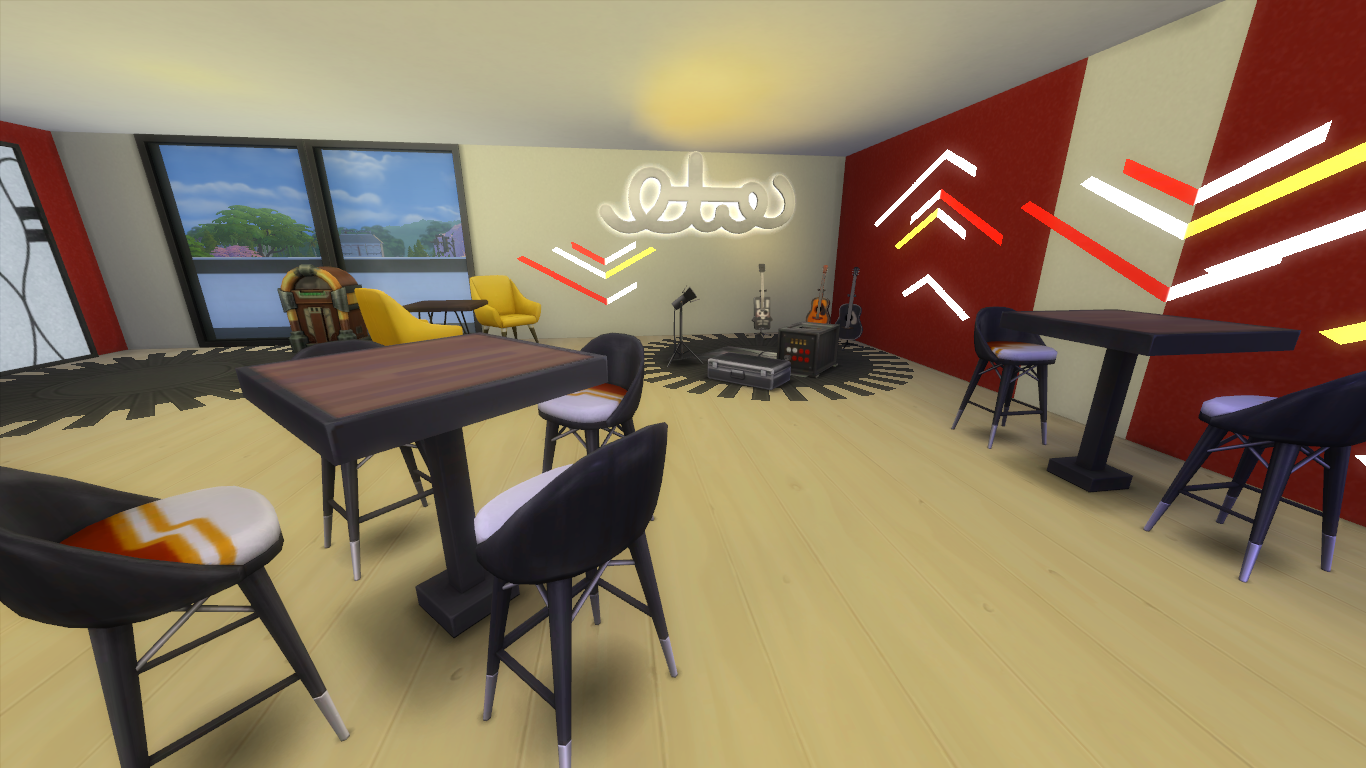
I tried to give this whole build a mid-century modern feel. Although I had all of the items from Bowling Night Stuff at my disposable, as this is only a Stuff Pack it was inevitable that I would have to borrow objects from other packs and the base game. The base game’s modern kitchen counters and bar as well as the duke-box all fit really nicely with this build’s style and came in colours that matched my theme!
As I was building primarily using The Sims 4 Bowling Night Stuff I also found it useful to sort the Build/Buy catalogue by packs. Being able to look solely at this pack’s items meant that I could be sure that I wasn’t missing anything and made it easier to find decorations and furniture that properly matched my theme. This trick is really handy for all sorts of builds. If you’re building a spa, retail lot or restaurant, sorting objects by Spa Day, Get to Work or Dine Out can be super helpful!
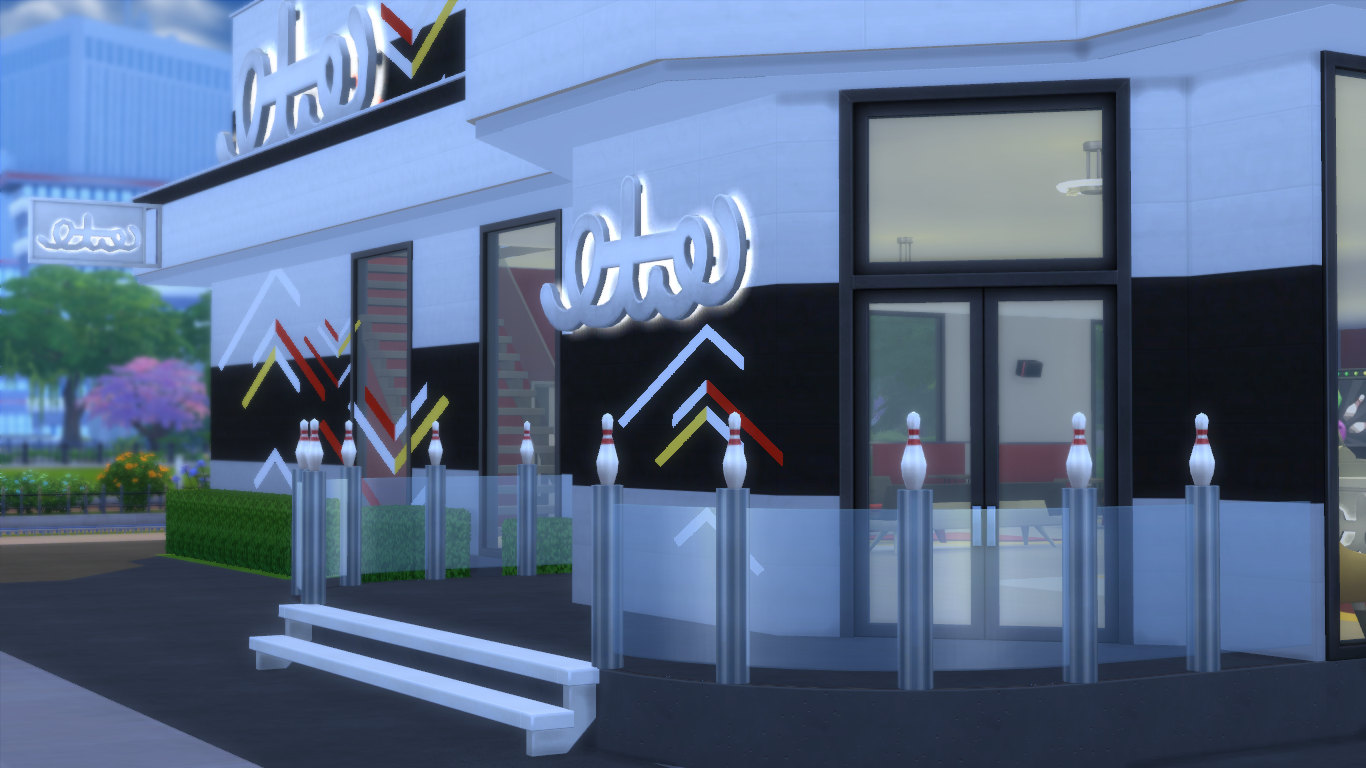
I always struggle with deciding what to do with the outside space of a community lot like this. It often doesn’t make sense to create an elaborate garden or even to add an outdoor seating space. For this build I decided to keep it simple. I added a tarmac-like flooring to the entire lot and kept most of the space bare. I wanted the lot to feel commercial so I kept the greenery to a minimum. On the right-hand side of the bowling alley I built a fenced-off space with access to the bar area inside. Housing the build’s outdoor bins, this acts as an ‘employees -only’ space and helps the build to feel that bit more realistic.
One of the best things about building community lots is that you’re often able to have a bit of fun with the games objects. My favourite thing about this build is the bowling pins that I added to the fence posts surrounding the entrance. With MoveObjects enabled I used the 9 and 0 keys to lift decorative bowling pins on top of the fence posts. This looks really quirky and isn’t something you would be able to get away with in a residential build.
I hope this has given you some inspiration for your own bowling alleys! Happy building!
Download this Build!


")


")