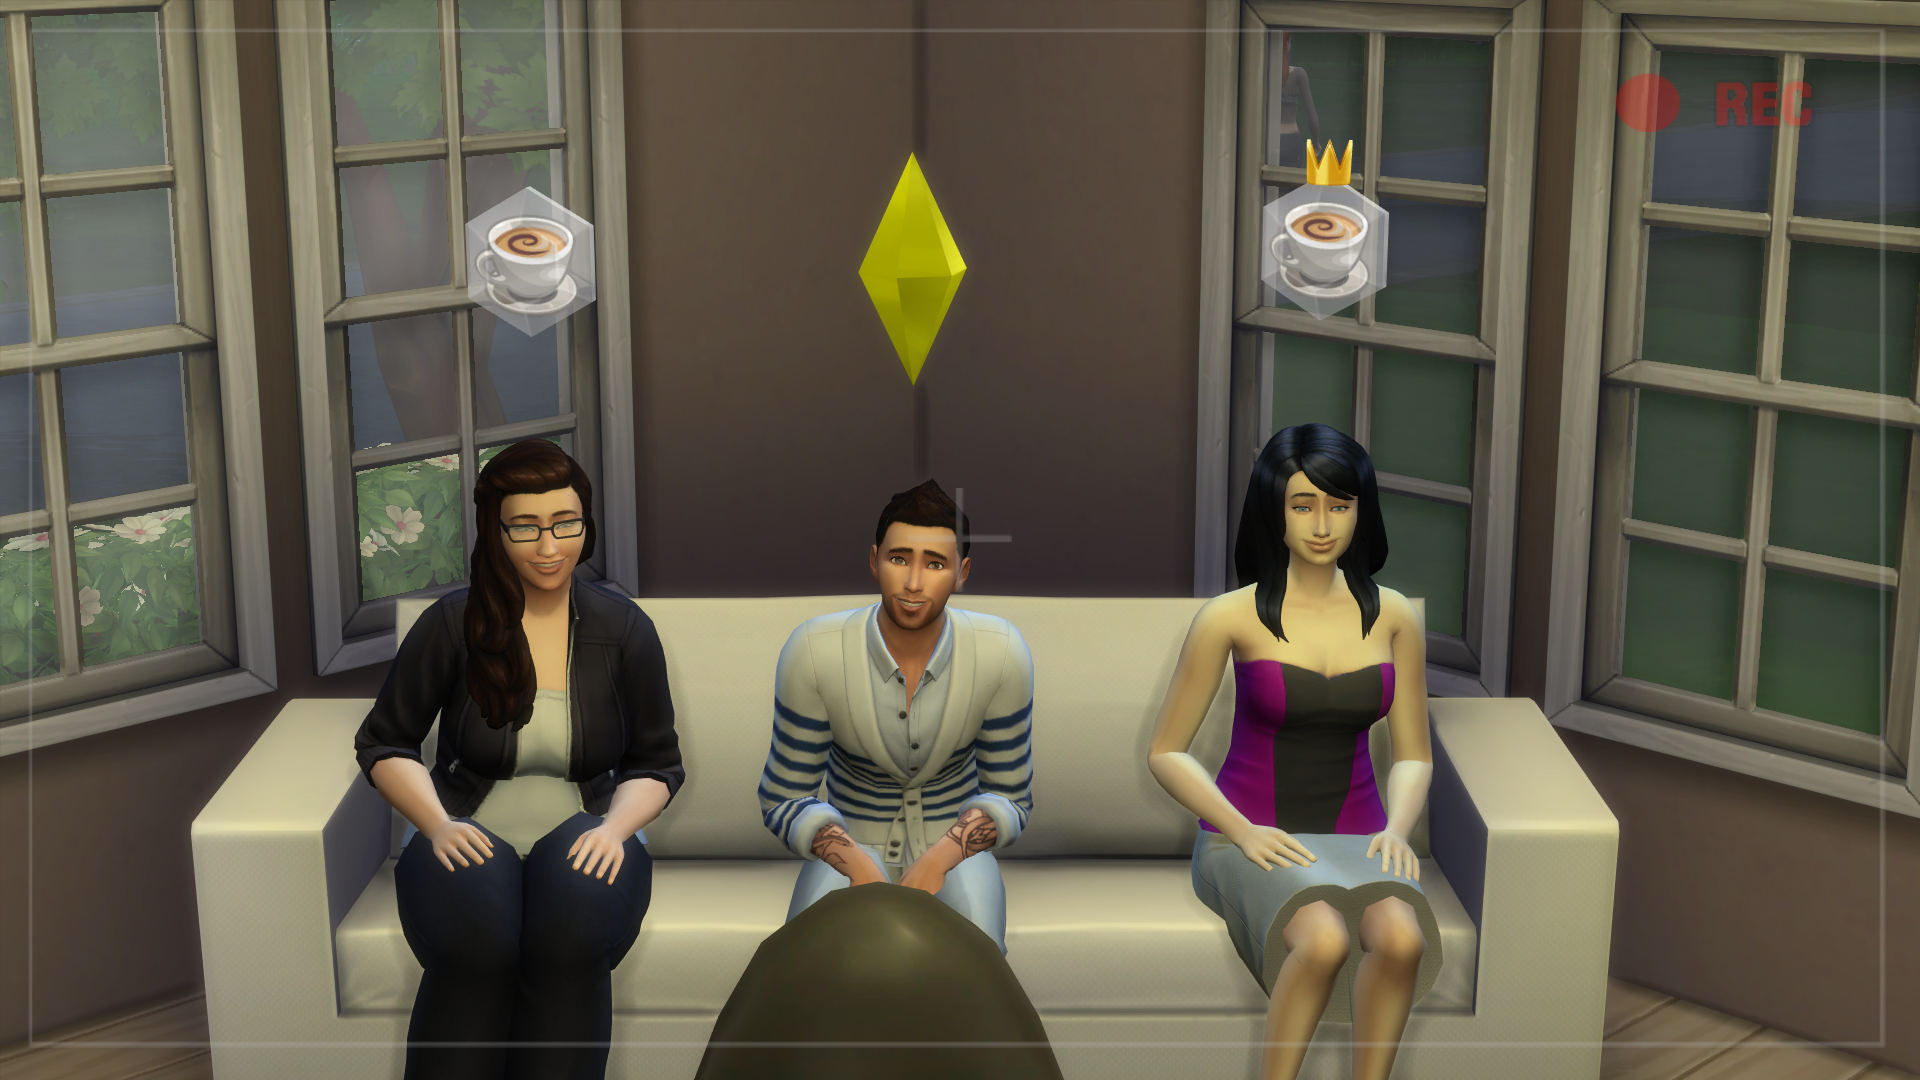
Have you heard of the program OBS? This is one of many programs you can use to record videos of games like The Sims 4. In this guide we will be teaching you how to setup the program for the best quality video; continue reading to find out more.
OBS or Open Broadcaster Software is a Free, “open source software for live streaming and recording”. What makes this program great for recording videos is that it’s not very CPU intensive and with a little knowledge you can truly make your videos your own. From customizing what audio tracks are included to creating your own recording layout you can do it all with OBS!
Setup
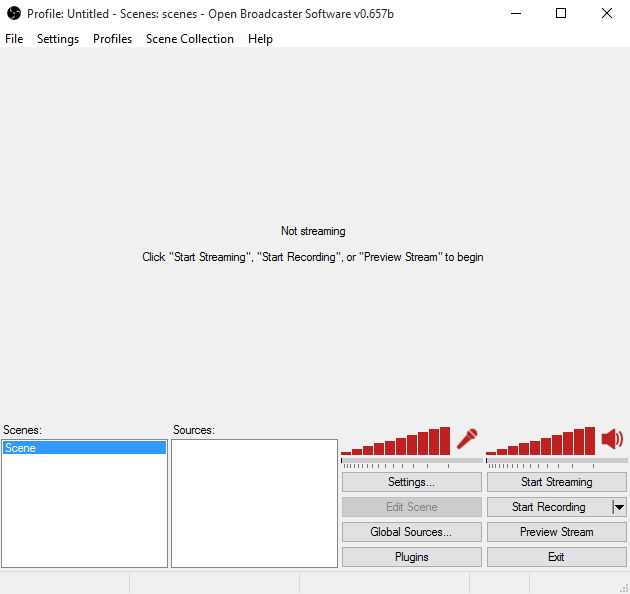
When first installing the program and launching it you will be greeted with this screen. As you can see there isn’t much here. This program lets YOU control what you want to record rather than telling you what you can record at one time. To get started let’s add a scene. Right clicking in the “Scene Area” will bring up a list of options. The first option will be “Add Scene” you will want to click on this and then the following will pop up. Go ahead and give it a name, I often name it something like “Let’s Play” or “Current Household”. This is useful if you have multiple videos with differnt layouts; but more on that later.
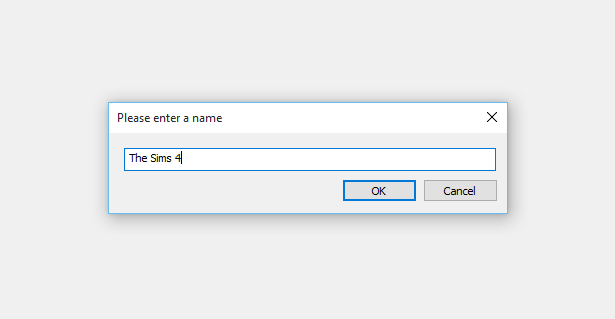
After giving it a name you will see it added to the “Scene List”. Now move over to the “Source” section and right click. Only one option will pop up initially, however over the one option and more options will appear. As there are multiple options here and we don’t have time to go over all of them we are going to select “Game Capture” a window will pop up again to provide a name. This name can be whatever you want though I tend to name it the name of the game I’ll be using. After that this window will pop up.
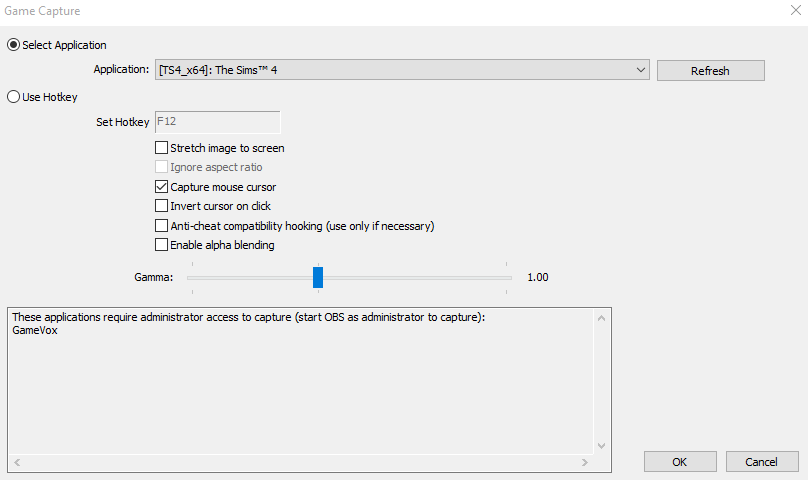
At the top there is a dropdown list, you will want to select the program you will be using for this. As you can see I have [TS4_X64:] selected. This is The Sims 4, 64bit. The name might appear differently for you depending on if you’re using 32bit but the TS4 part will always be there so look for that. The only other option we want on this list is “Stretch Image To Screen”. This will make The Sims 4 Window fill the screen when recording removing the black bars you would otherwise get. Now press okay and you’re done with this section!
Settings
Before you can start recording it’s best to play around with the settings a little bit. To do this up near the top of the main window you will see a menu with [File, Settings, Profile] ETC. You want to click on “Settings” and then “Settings” again. This will load a window like this:
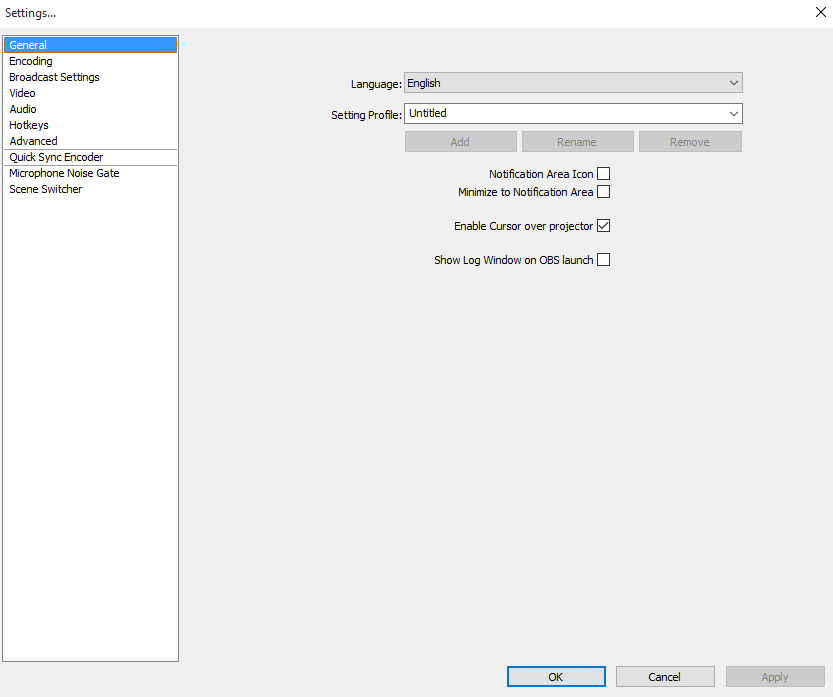
The main settings page isn’t really of interest to us so we can skip that for now. Next on the list is “Encoding” this is something we want so go a head and click there this will open the following window.
Encoding Settings
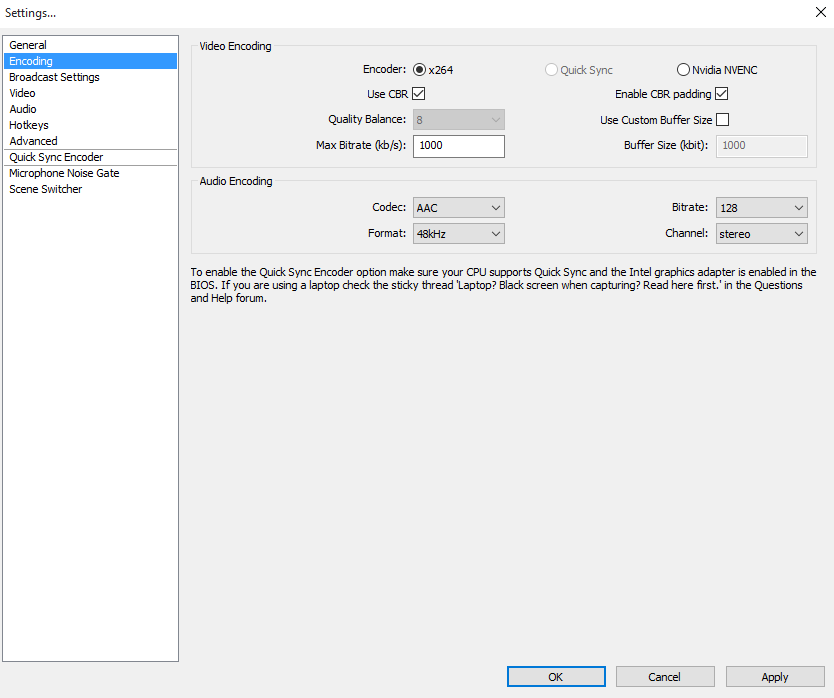
We are going to be changing multiple options here. First find “Use CBR” and make sure it’s disabled. Next find “Quality Balance” and have it at 10 being preferred. Next find “Bitrate” and have that set to 1000. Now find “Use Custom Buffer Size” and make sure that’s enabled and finally in “Buffer Size” set that to 0. Click Apply and then your done with this section. Now let’s move onto the “Video Settings” section.
Video Settings
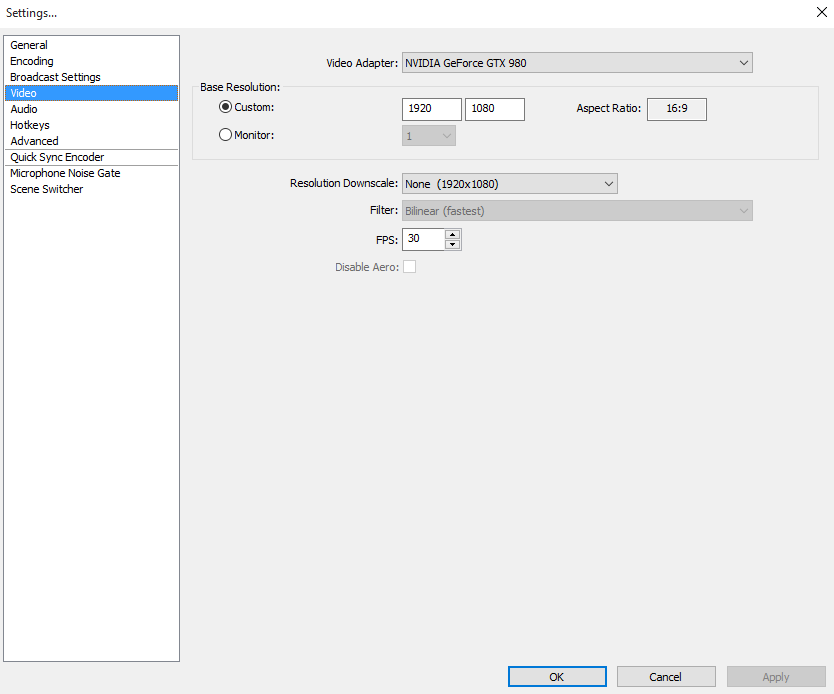
In video settings there is really only one option we are going to change here, and that is the framerate option. If your computer can run The Sims 4 at 60FPS then where you see “30” change that to “60”. This will make all videos you record output in 60 Frames Per Second. You shouldn’t have to change anything else here, let’s move onto the Audio Settings.
Audio Settings
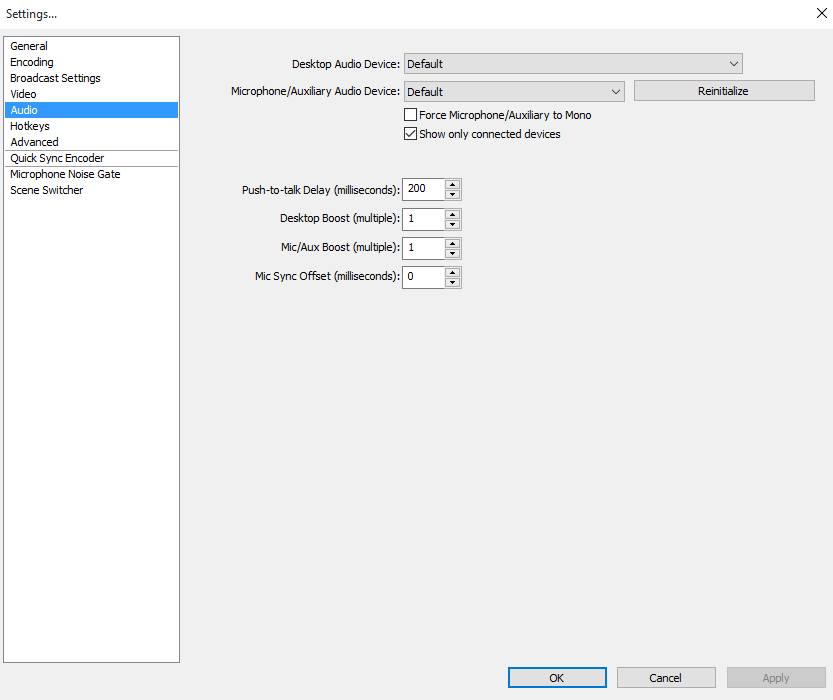
Alright, in this section we are going to want to look at two options. “Desktop Audio Device” and “Microphone/Auxiliary Audio Device”. Both of these should be on default by default. For most people, this is alright but if you are more experienced you can pick a custom audio output and input device. i.e your output device might be some headphones you use and the input device would be a Mic like a Blue Snowball etc. Now lets move onto the Advanced Options.
Advanced Options
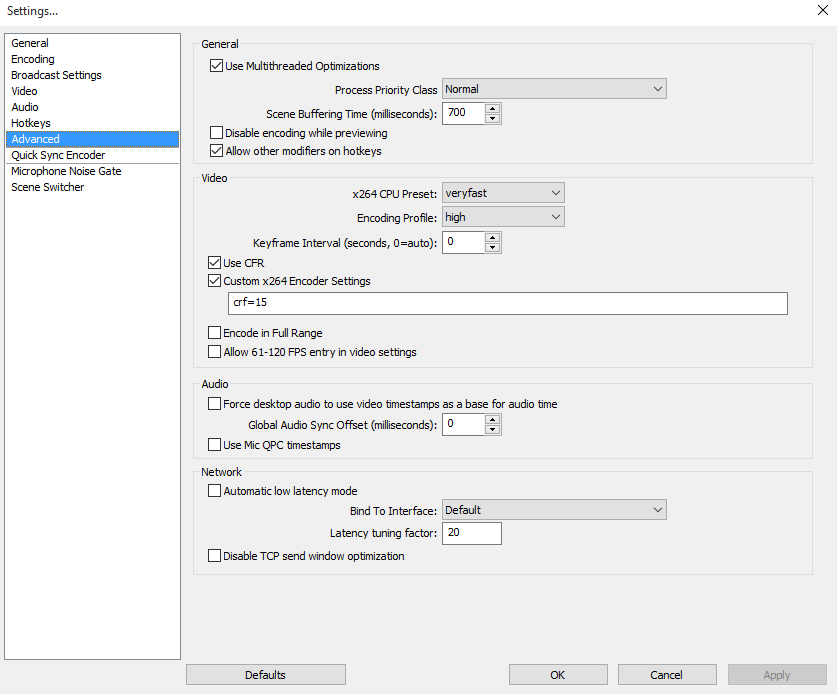
Alright, moving right a long to the last section of interest here is the “Advanced Options” section. First off, is “x264 CPU Preset: Veryfast” This is a dropdown menu with multiple options. It’s best to use Ultrafast but if you notice stuttering when recording you might want to stick with Very Fast. Of course you can pick any option from the drop down menu to get the best performance, play around with it. Next is “Use Custom x264 parameters: crf=x” where X is a number, the lower the number the better quality, but also the more CPU usage it will use and the bigger file it will output. It’s best to stick to “15 – 20” but it can go as low as “0”. (For example, if your computer specs are similar to Alexis’s then you should be alright putting 0 here.)
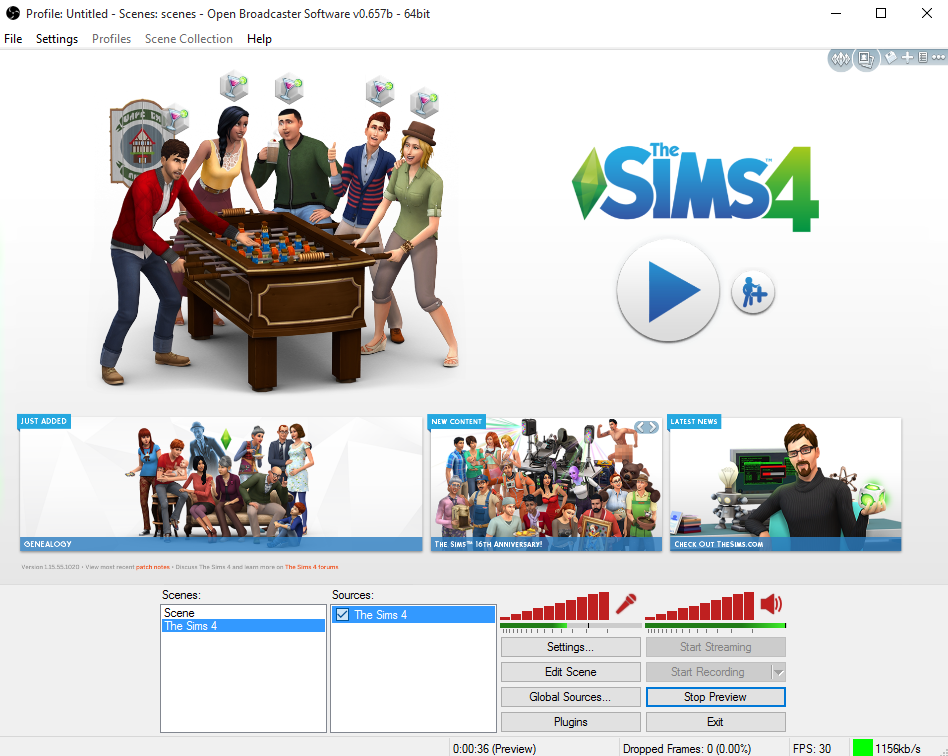
One last thing to note is, with this program you must run the game in either windowed-fullscreen or windowed mode or your video might not show up after being recorded. It’s best to test your settings by clicking on “Preview Stream”. If you see your video and audio settings working (as seen below) everything should be done and you can click “Stop Preview” and click “Start Recording“!
Customization
Alright, this step is optional but it can make your videos really your own. I’m sure you’ve seen videos on Youtube that have cool layouts, you know something like this.
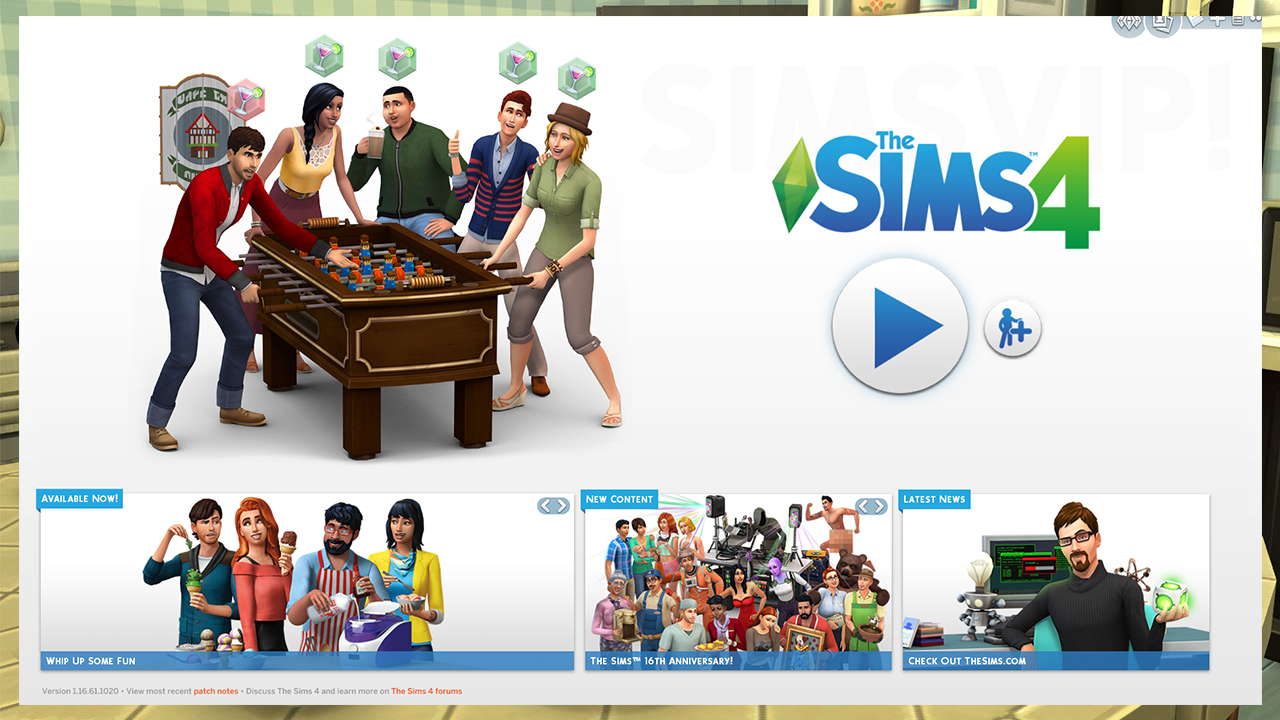
The video has a background behind it. This is a small touch you can put into your videos to really tell people “This is one of YOUR videos”. You can even add a spot for your webcam if you do Facecam while recording, there really is no limit other than your imagination when setting your layout, get creative!
To get started, click on “Preview Stream” and then click “Edit Scene”. A red outline will appear, click and drag the corners to your desired size. Then, Click on the source you want to move (In the source section) then click and drag the source you added into the correct location. When you’re happy with how everything looks click “Edit Scene” again and it will lock everything in place.
That’s it! You’re ready to start recording videos of The Sims 4! But don’t stop there, this tutorial also applies to almost any game, including The Sims 1, The Sims 2, and The Sims 3!
Have an idea for a future tutorial? Leave a comment down below and I might just use your idea! You can also leave any questions regarding this post down below and I’ll try to answer them as best I can.


