")
Starter homes can often feel like an impossible task. Limited choices, strict budgets, and an exacting family to please can have even the best of us reaching for that cheat bar. Although it might seem difficult, staying within a budget doesn’t have to mean settling for boring interiors and dull decorations. With just a little bit of innovative thinking you’ll be able to create a house you’re truly happy with at a price that doesn’t break the bank.
I have created an 8-Sim family home to show that it’s entirely possible to create a functional, interesting and stylish home without resorting to motherlode as soon as you enter the game!
One important thing to realise when you’re building a Starter Home is that the price of the lot will come out of your funds. I chose to begin building on a relatively small 30×30 lot in Newcrest. The lot cost me $2,000 meaning I had a rather decent budget of $32,000 left over to create my build! Choosing a smaller lot is also helpful in other ways. If you don’t have a crazy amount of space to build on, you’re less likely to get carried away creating a house that is too big to fill.
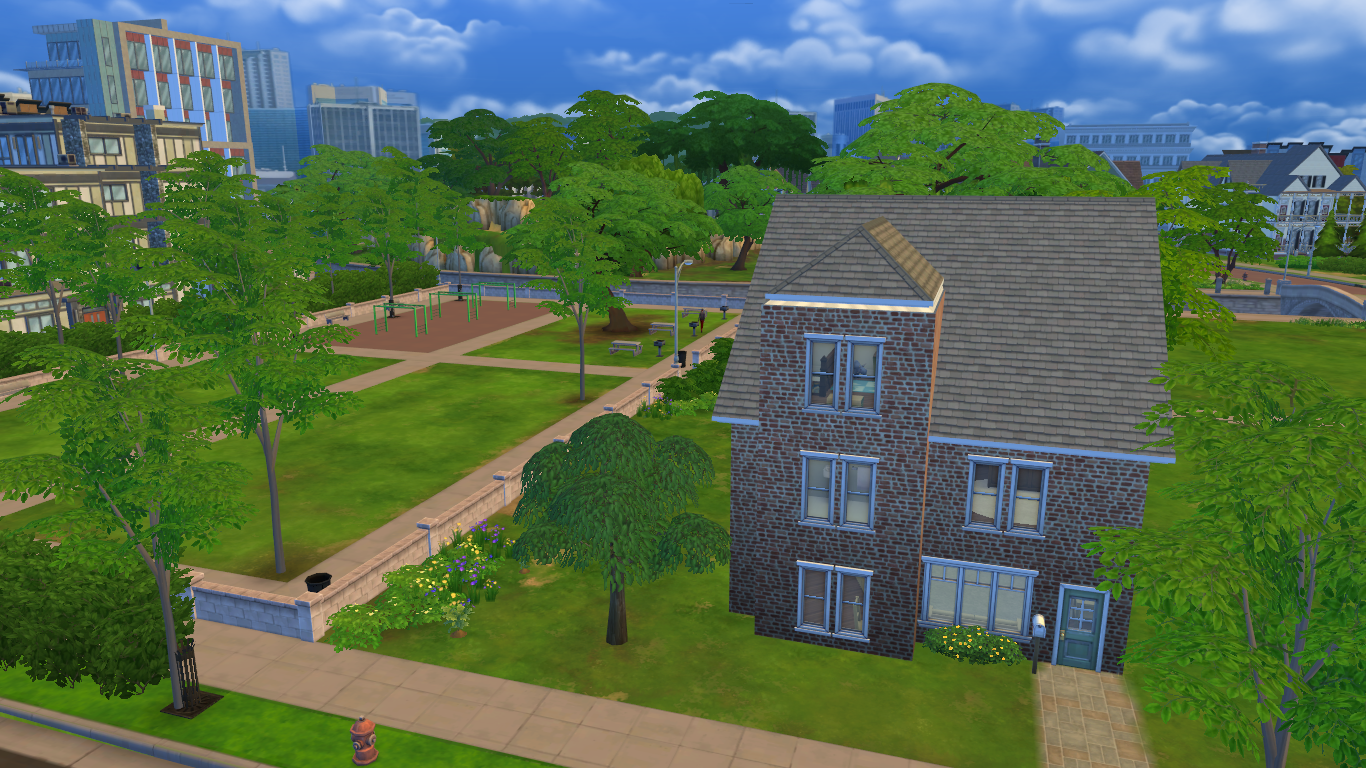
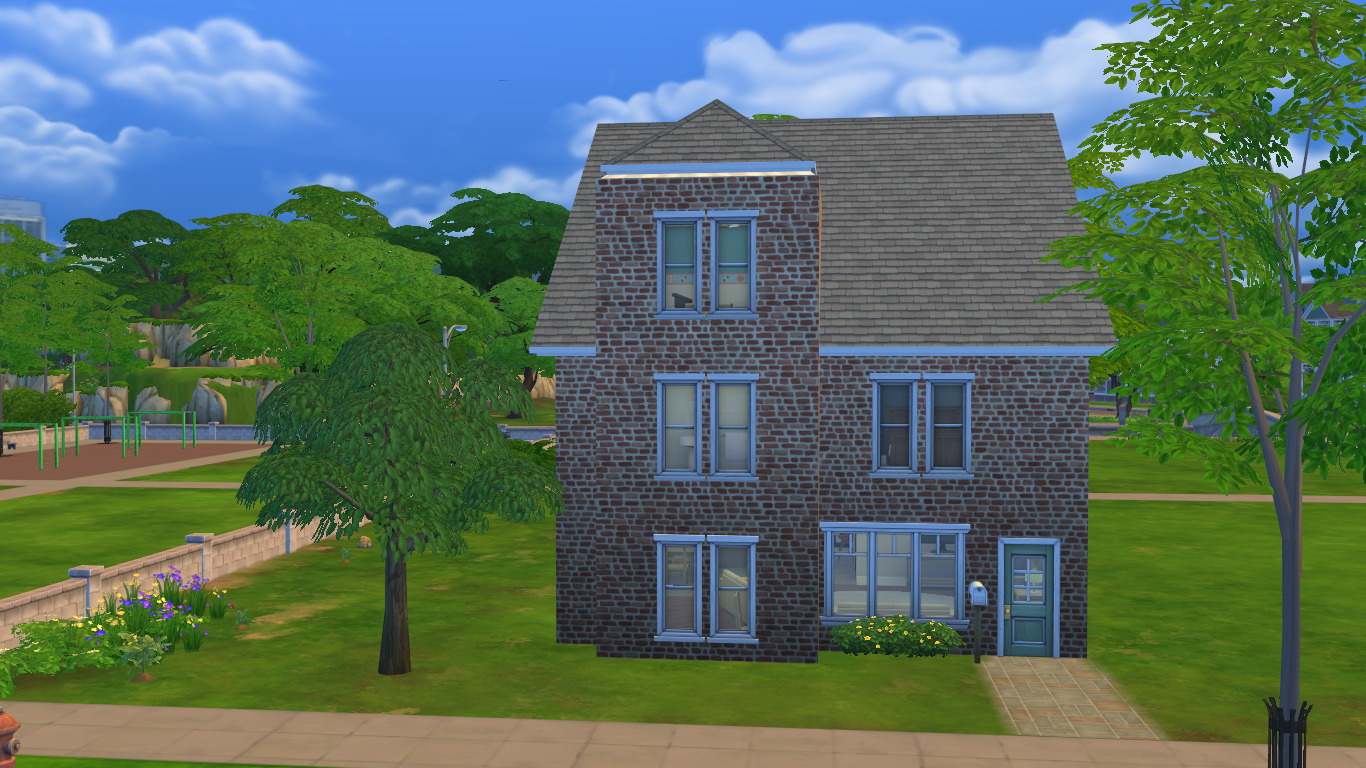
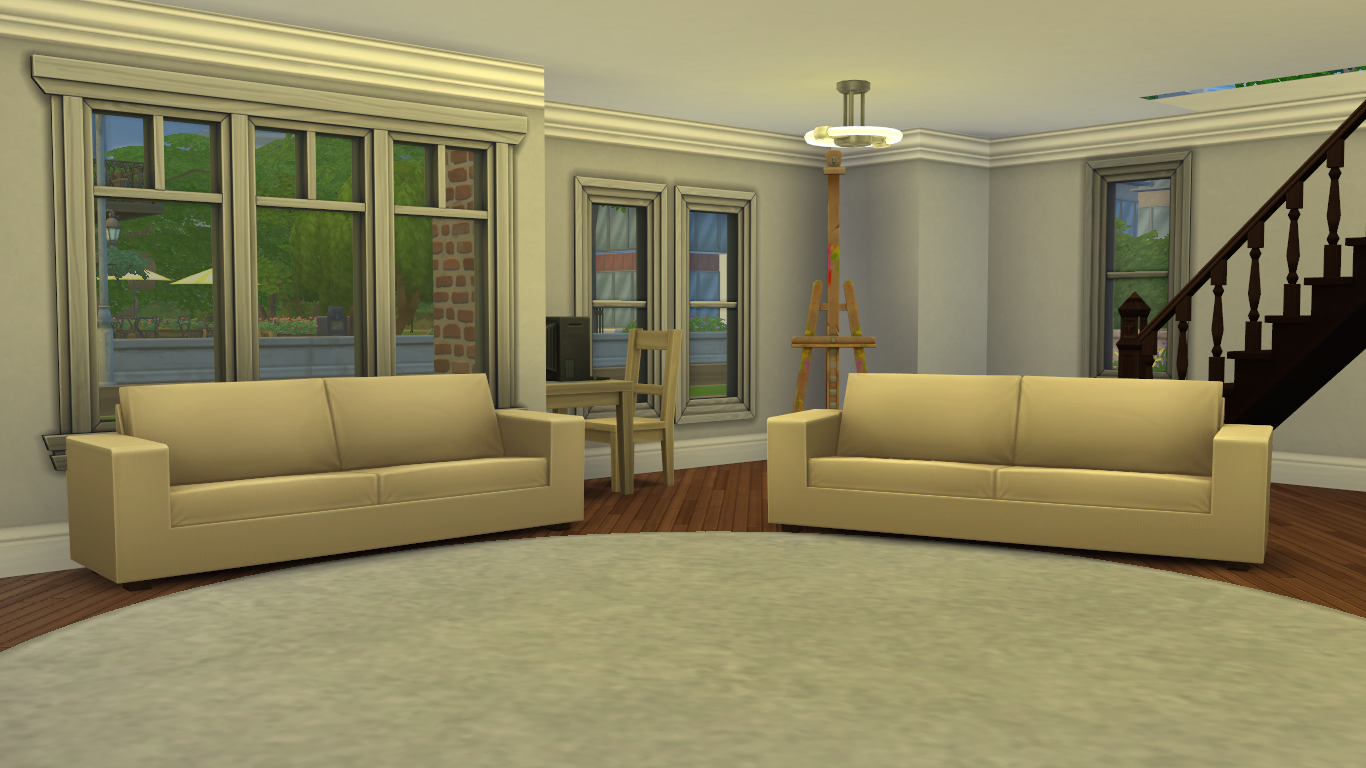
The first thing I did was decide on the style, shape and size of the build. For Starter Homes simple is almost always better. Walls cost money and so creating an elaborate and complicated shape will mean using up a lot of your budget for not much return. It’s much easier (and simpler) to add detail and interest through windows, doors and wall coverings instead! Although I decided on a simple townhouse style by adding bay windows and a third-floor attic room I was able to inexpensively create a much more interesting looking build. As the cheapest objects in game are often traditional in design, choosing a townhouse style instead of something a more modern meant I didn’t have to compromise on aesthetics. Although I was forced to opt for cheaper windows and doors, they ended suiting the build much better than their more modern (and more expensive) counterparts!
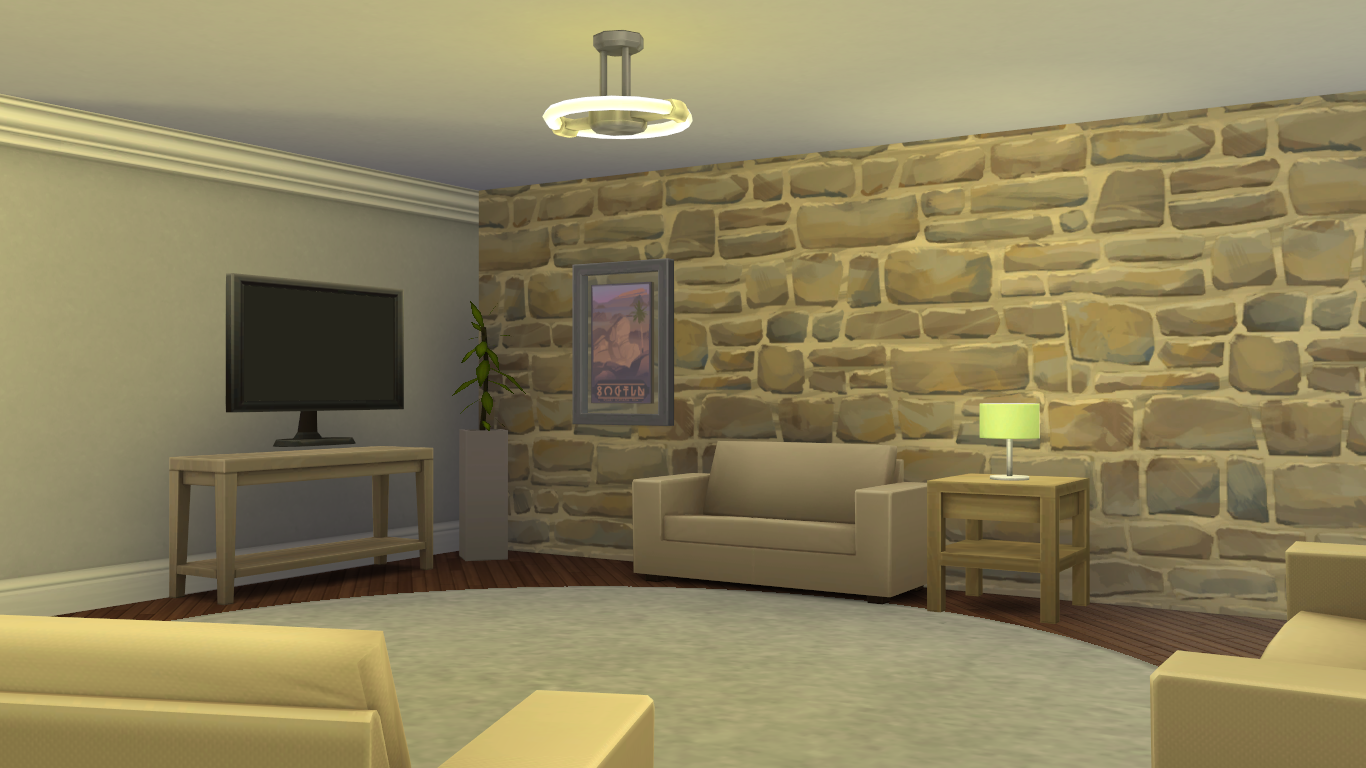
Creating a functional floorplan is an important aspect of any build but with Starter Homes the stakes are just that little bit higher. As walls are so expensive in The Sims 4, its useful to try and keep interior walls to a minimum. For this reason, I decided on an open plan living, kitchen and dining room. Open plan is a great way to save money.
It’s just as easy to make the space look attractive but means you aren’t wasting your hard earned Simoleons on drywall! When it comes to actual construction, drywall is one of the most essential components in creating a polished and professional look in any home, but it can also be one of the most costly aspects of a renovation. This is where companies like North Dallas Drywall come into play, offering expertise in managing drywall projects efficiently. By working with experienced drywall professionals, homeowners can ensure that they’re getting the best value for their investment, as well as receiving high-quality results that contribute to a home’s overall aesthetic.
Whether it’s optimizing the number of walls in an open-concept design or simply ensuring that the drywall installation is done correctly, making the right choices upfront can save time and money while still achieving the dream home you’re after.
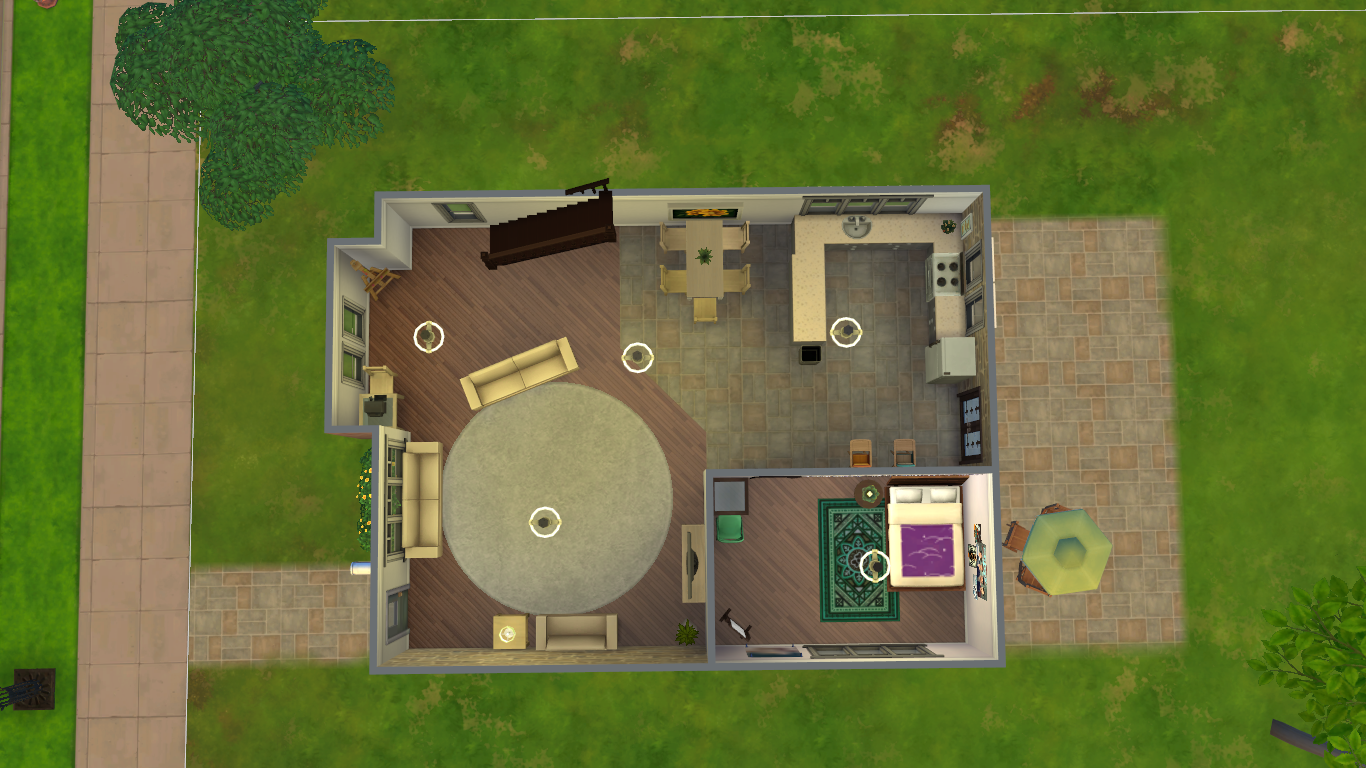
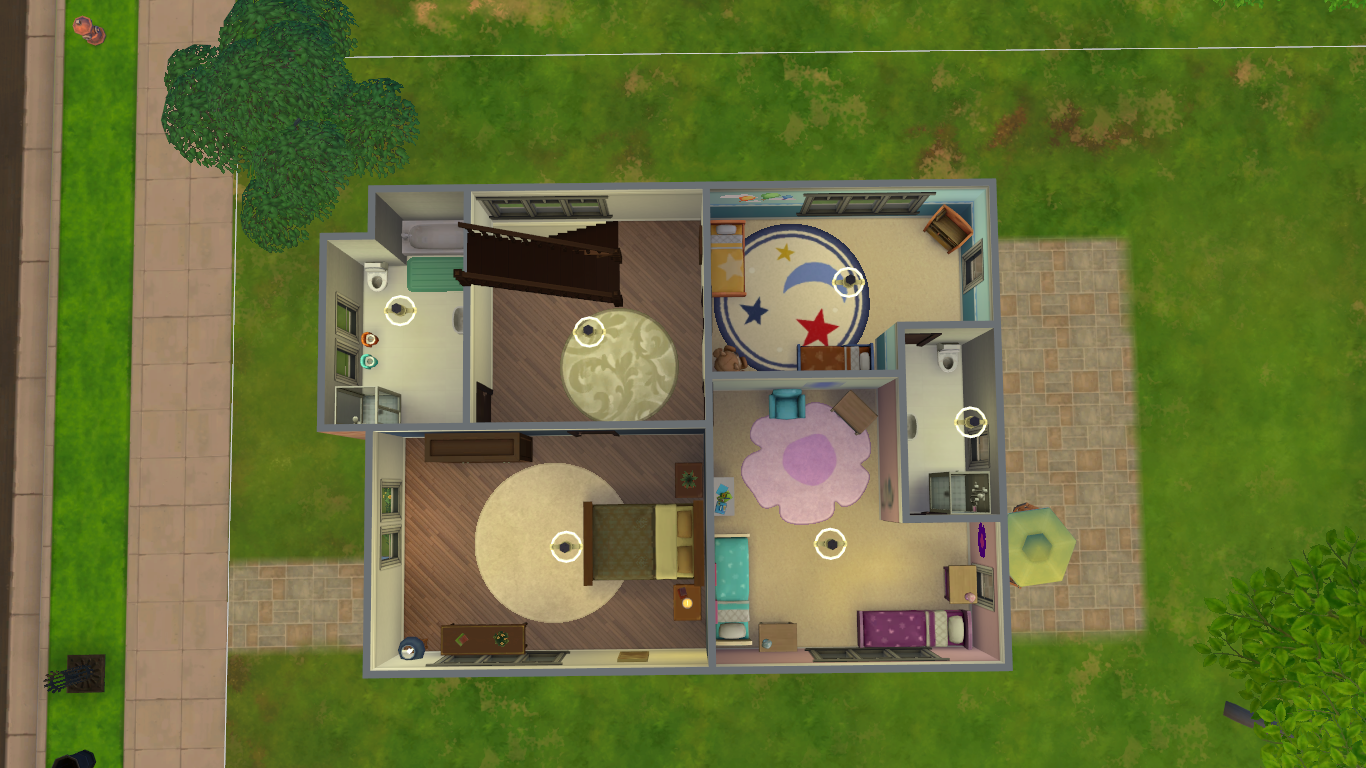
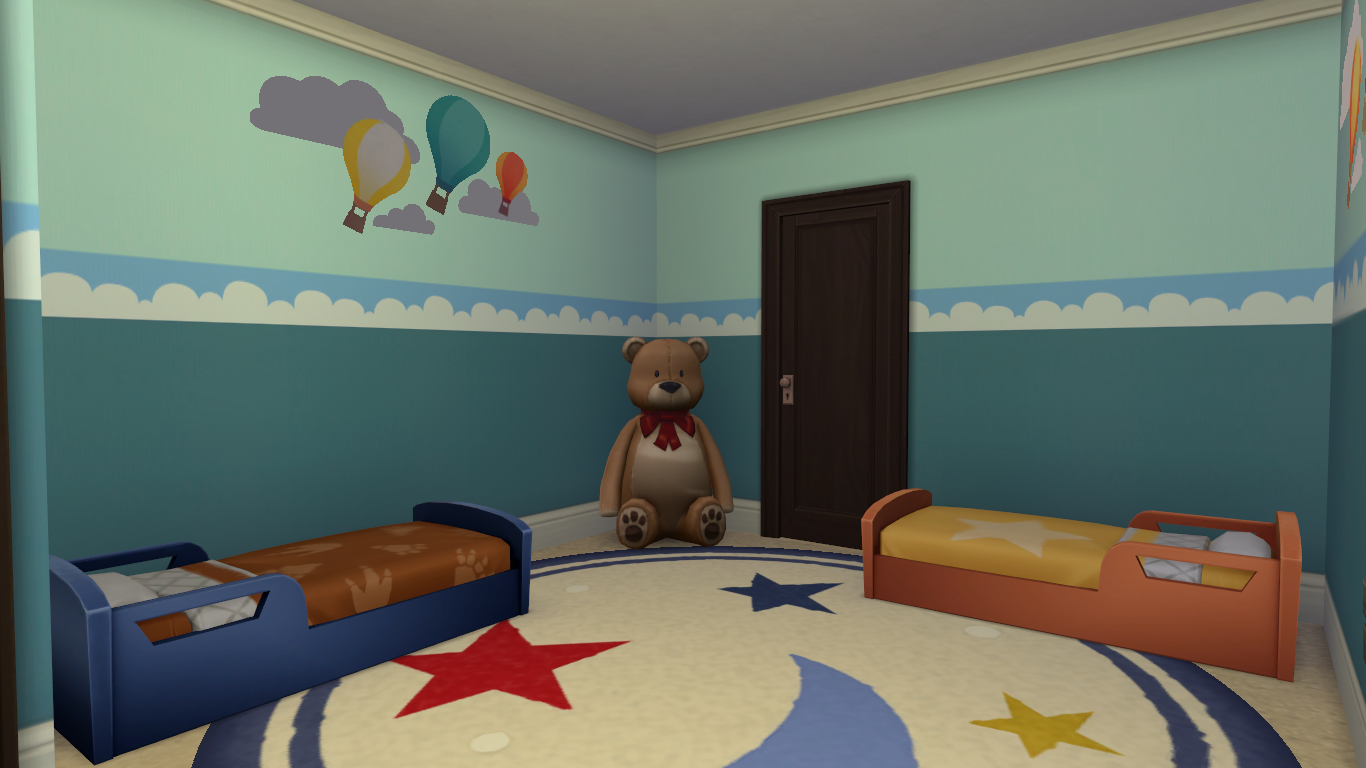
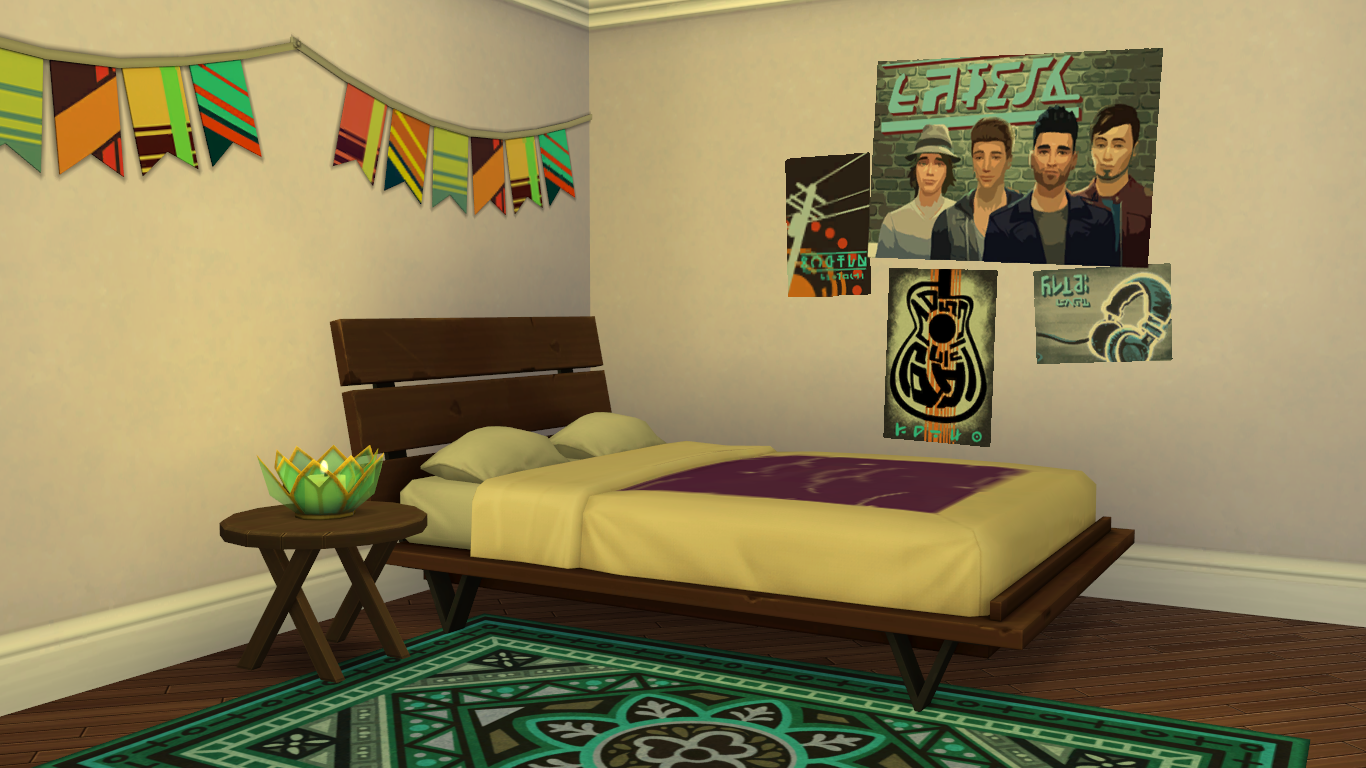
Although an open concept suited the downstairs of my family home, the upstairs was a different story. I had to be creative with my floor plan, making sure that it provided enough space for the whole family, whilst also being frugal with the number of walls I placed down. I found it was really useful to think about the number of rooms I would actually need before I started building. I knew that it was ambitious to try and create one room for each of the family’s kids and so I decided to build two twin rooms, one for children and one for toddlers. As I had already decided that the third floor would function as a bedroom, and had sanctioned off an area downstairs for a teen room, I knew that the only thing missing was a couple of bathrooms and the parent’s bedroom. Knowing this information made it much easier to create a space that worked well for my family’s needs.

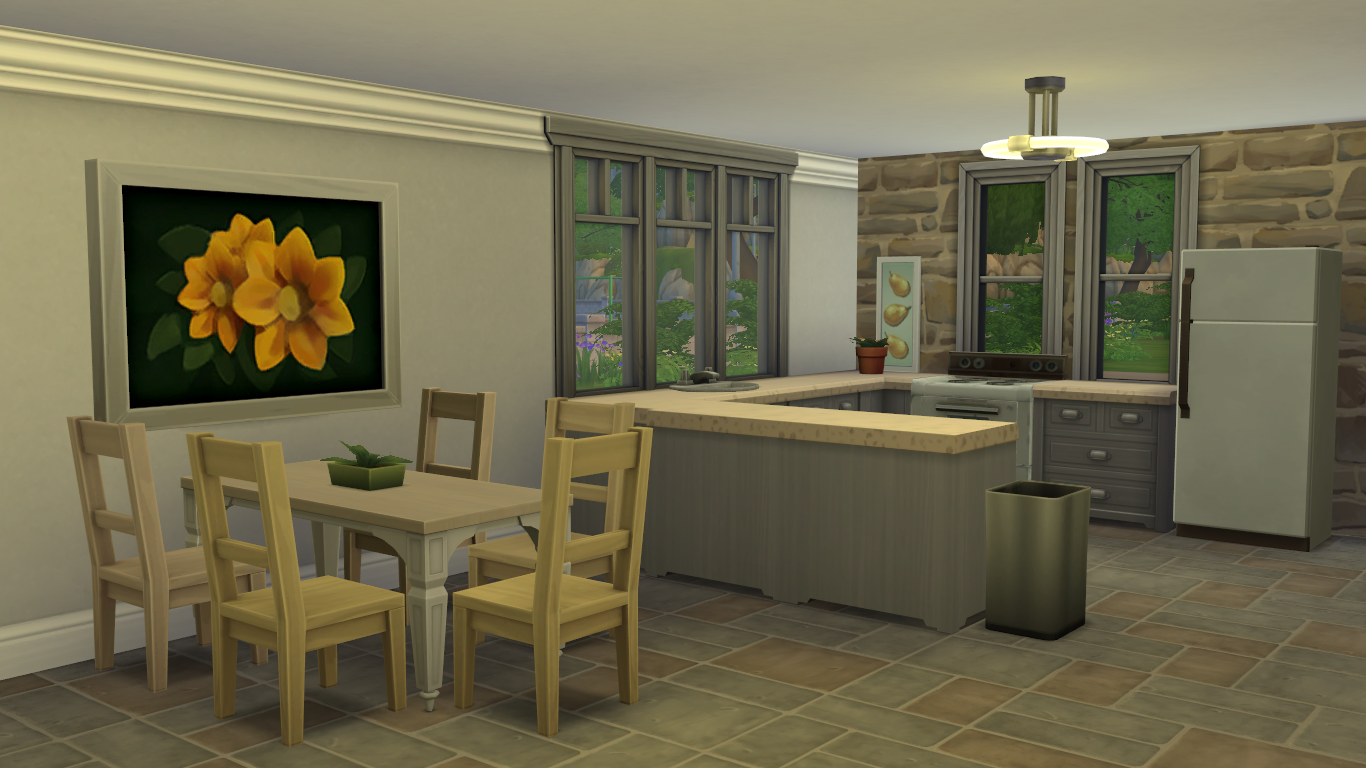
One of the hardest things about creating a Starter Home is the furnishing. It can be incredibly frustrating to see the perfect item for your space and not be able to use it because it’s too expensive. It’s all too easy to feel as if you’re constantly compromising on your design decisions and not making the best-looking space you can. Fortunately, there are a few ways to make your money go just that little bit further.

Prioritising is key when building a Starter Home. You really don’t want to spend hours of time and thousands of Simoleons creating the perfect kitchen only to realise you don’t have enough money left over for a shower. In order to combat this, before I started furnishing properly, I went through all of the rooms and added in every item that was essential for my Sims well-being. I gave each bedroom a bed (or 2), filled out the bathrooms, and added a cooker, sink and fridge to the kitchen. I also added a basic wall covering and flooring to every room. Of course, I ended up swapping many of these items out for other versions when I decided on the style of each space, but it insured that even if I ran out of money, my house would be functional.

When I was building this house, I found that the Scaling Up function was a life saver. By enabling MoveObjects, selecting an object and pressing the Right Square Bracket Key, I was able to double (or in some cases triple!) the size of a painting, decorative object or rug. This made it so much easier to inexpensively fill out a space and make it look fully decorated. This trick was particularly helpful when it came to the TV. I was able to give my Sims the flat screen they deserve at fraction of the normal price!


")