")
Part Two – Terrain Painting
Welcome back to the second instalment of the Let’s Build A World series, where over the next few weeks I’ll be creating my own The Sims 4 inspired world! If you haven’t read the first part yet, check it out here!
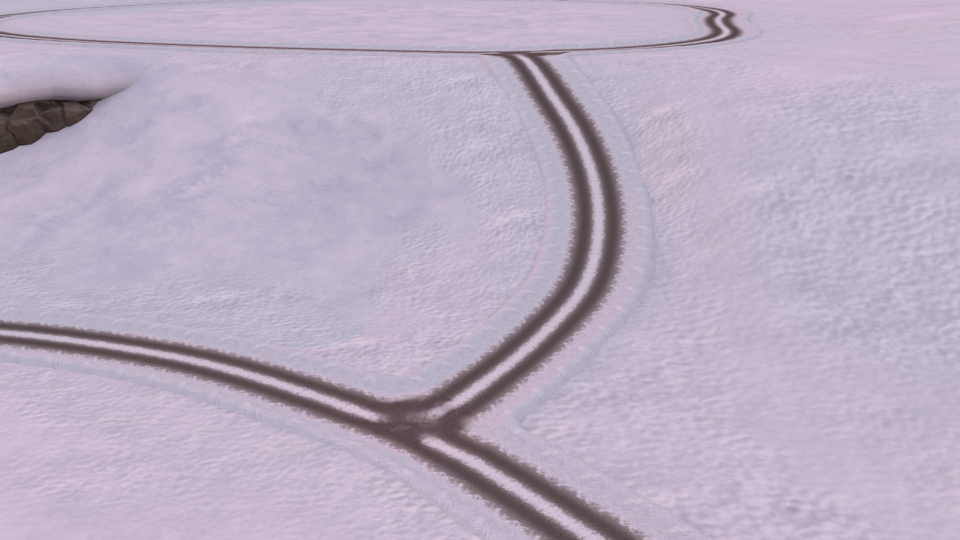
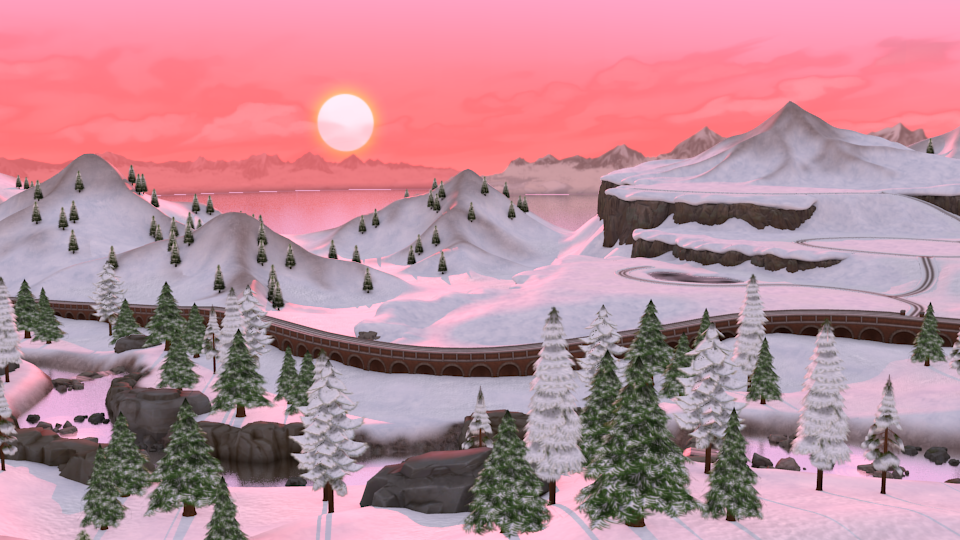
Now that I have the roads planned out and the basic terrain sculpted, I can begin to paint the world and give it some interesting texture. I wanted the world to be covered in a thick layer of snow, which means I can’t use a huge range of textures and colours, but I’ve chosen a couple of different snow textures to give some variety. Just by applying a very basic snowy texture to the terrain mesh you can already see the world coming to life, but by incorporating a second texture paint, you begin to create a more interesting base. I used a smooth snow texture as a base, and painted a dimpled snow texture around the edges of the road to create a ‘worn’ look as if that’s where all the heavy foot traffic would be.
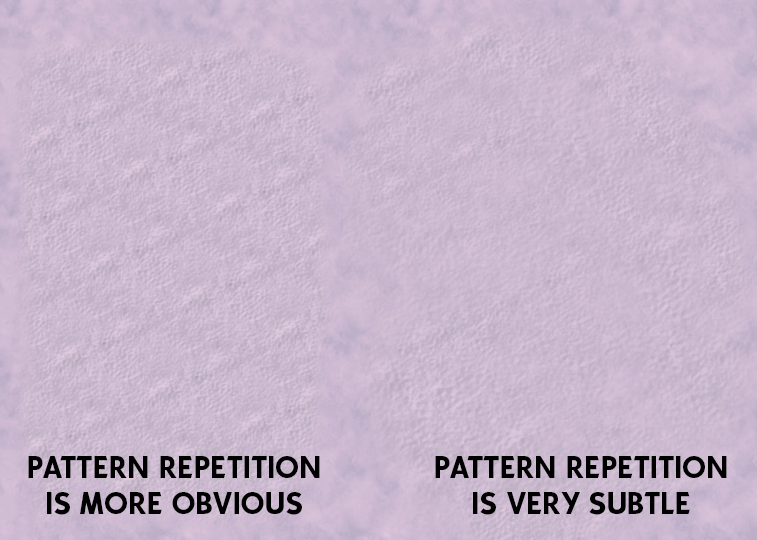
A benefit to using Blender’s texture paint tool is that the bigger (or smaller) you make the brush, the bigger/smaller the texture will be painted on, this really helps to avoid pattern repetition. As you can see, by gradually making the brush size bigger, the texture also grows in size and the repetition of the texture becomes less visible, so it looks more natural!
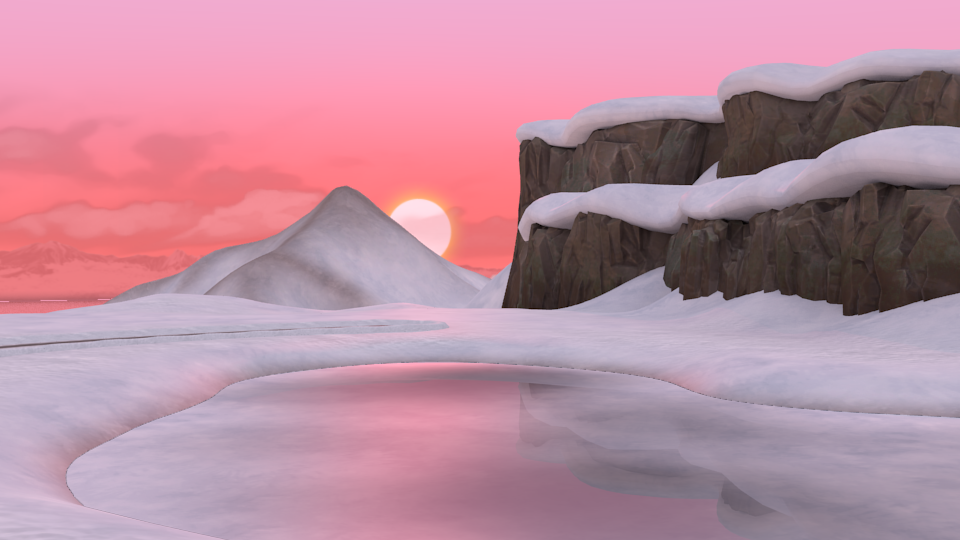
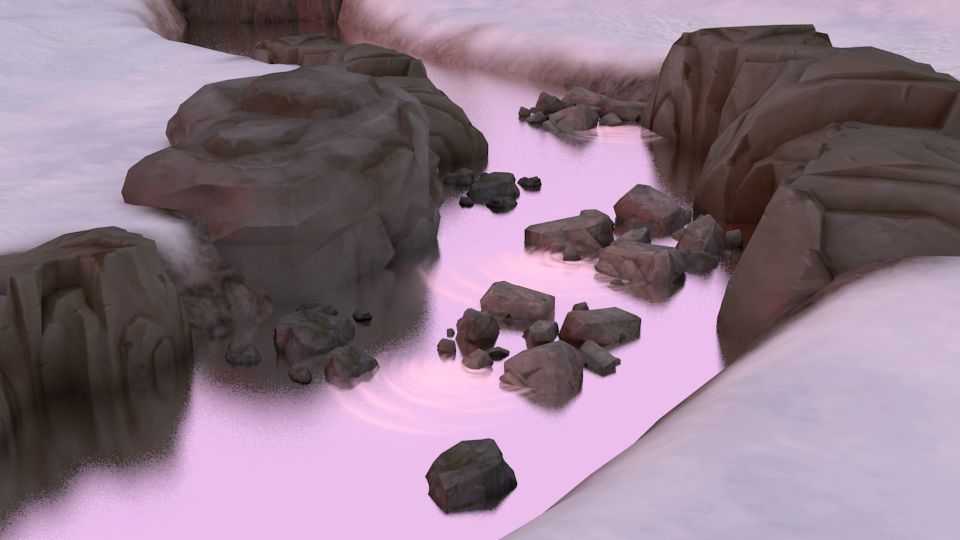
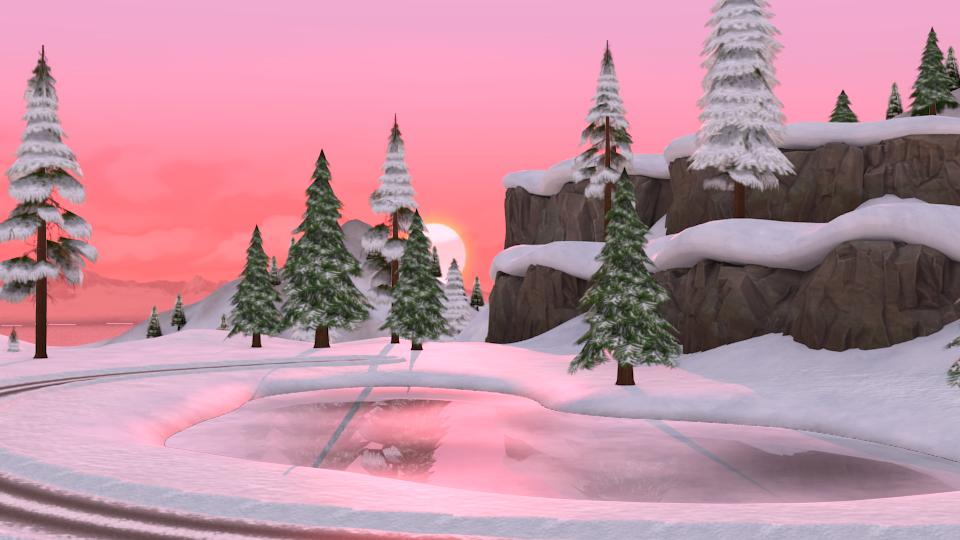
I also played around with creating an ice texture for this pond in District 1, I wanted it to look frozen over while still holding a reflective element, so ended up using 2 materials layered over each other, the bottom layer is reflective and the top layer is not, so the edges of the ice have a matte finish while the centre stays reflective, and it gives the pond quite an interesting effect. I really love how the rose coloured sky is mirrored on the surface of the pond, as well as tinting the snow a slight pinky hue.
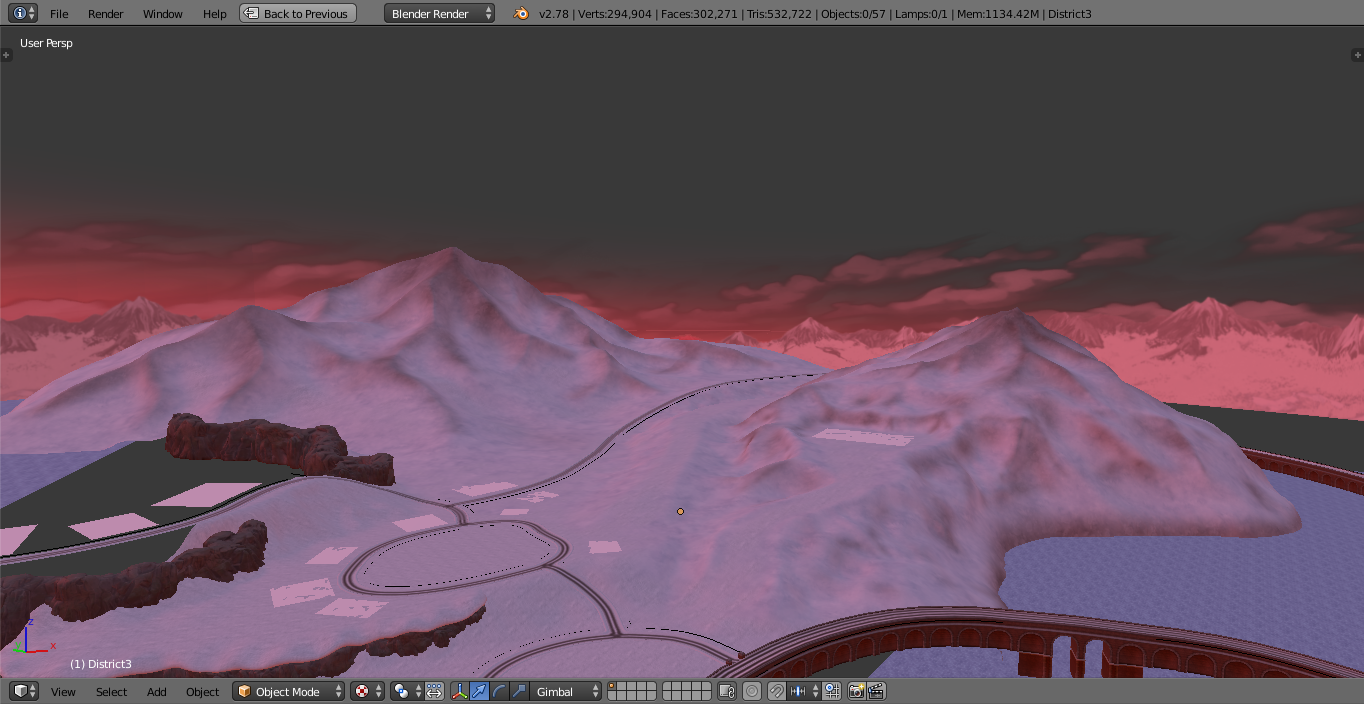
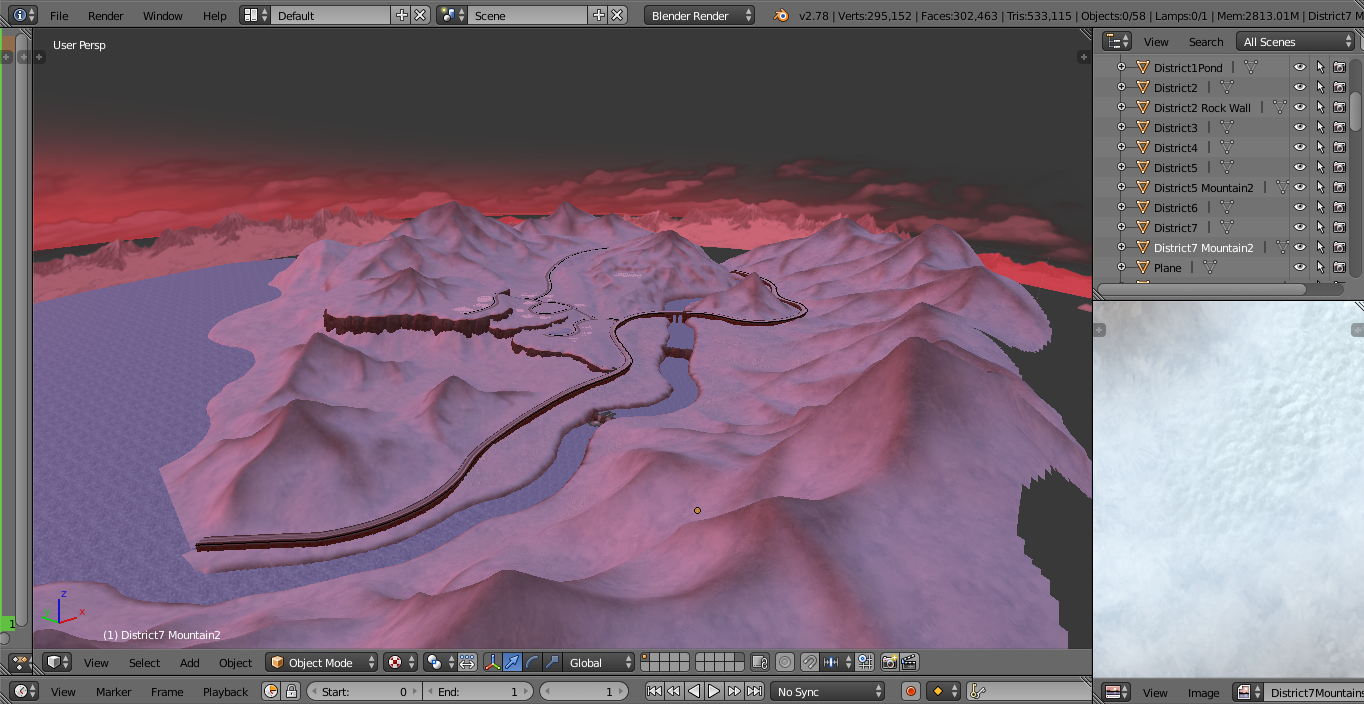
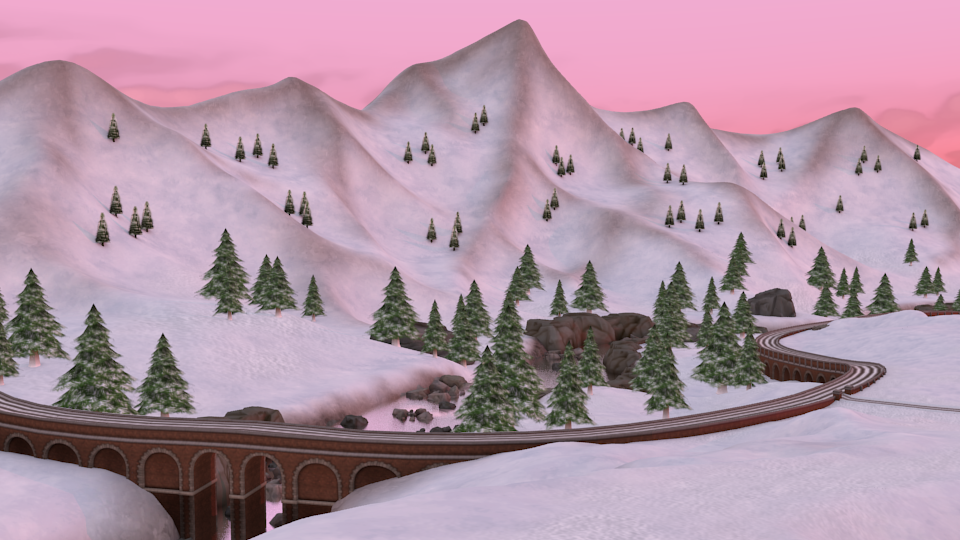
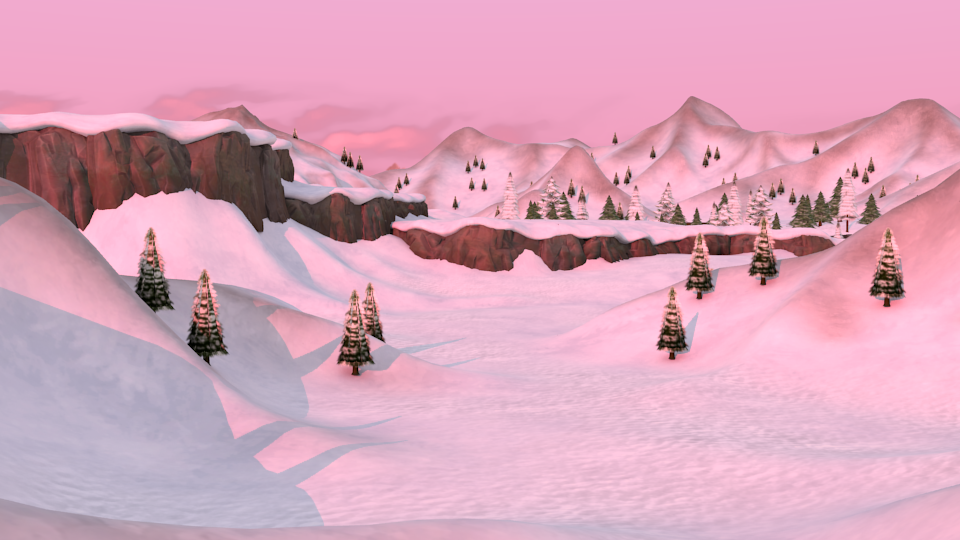
I spent a long time debating how I should paint the mountains, I really wanted to work in a rocky texture to give them some depth and interest, but realistically they would probably just be covered in thick snow. But in the end I went with a rocky texture that I softly painted along the ridges of the mountains, which makes them pop against the stark white snow.

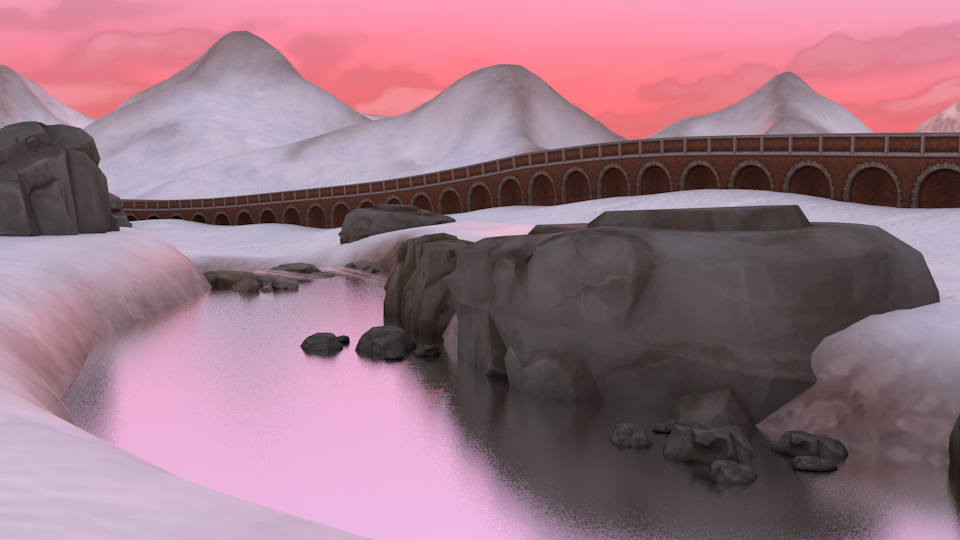
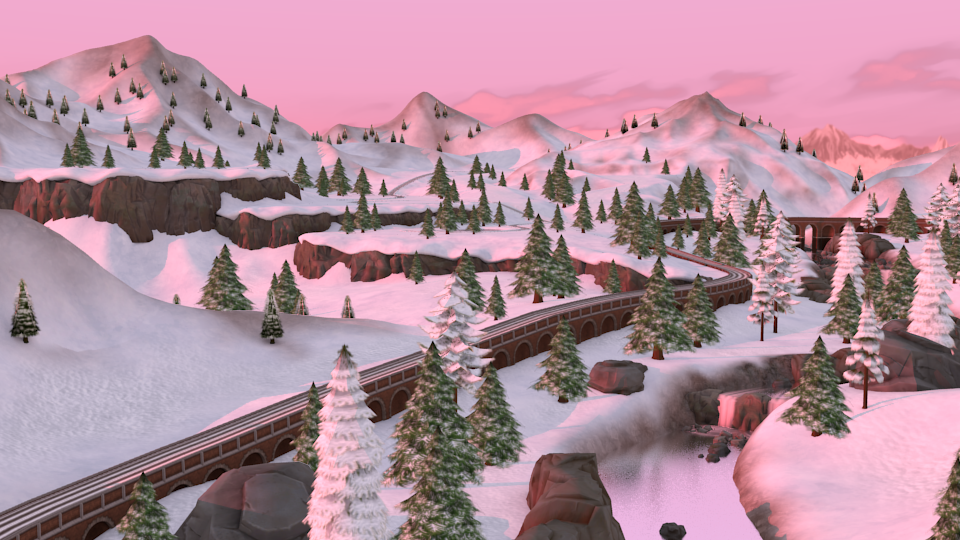
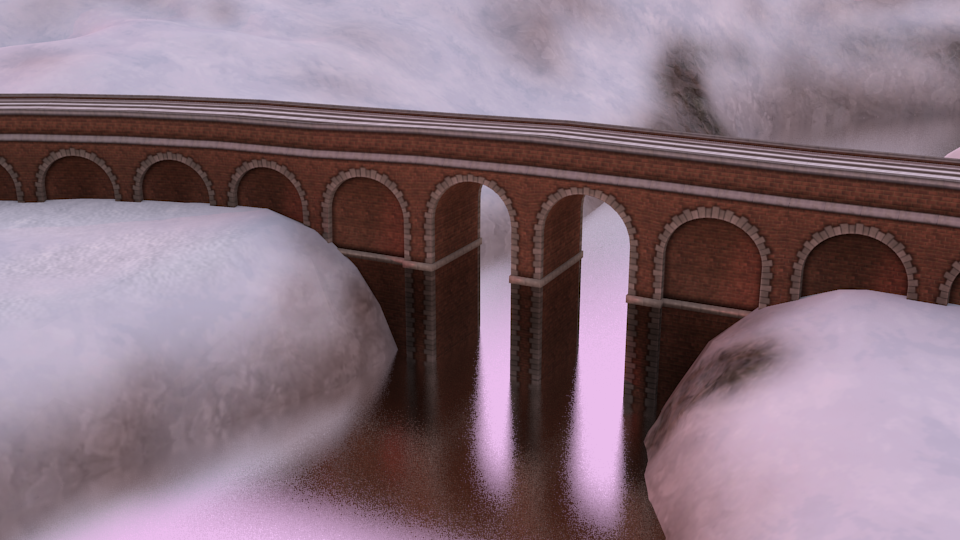 It’s at this point that my attention was drawn to the river section of the town, firstly I hated the original design of the highway so I completely rebuilt that, instead going with a nice brown brick texture with the addition of archways to give some depth. This new design better accommodated a bridge to go over the river and
 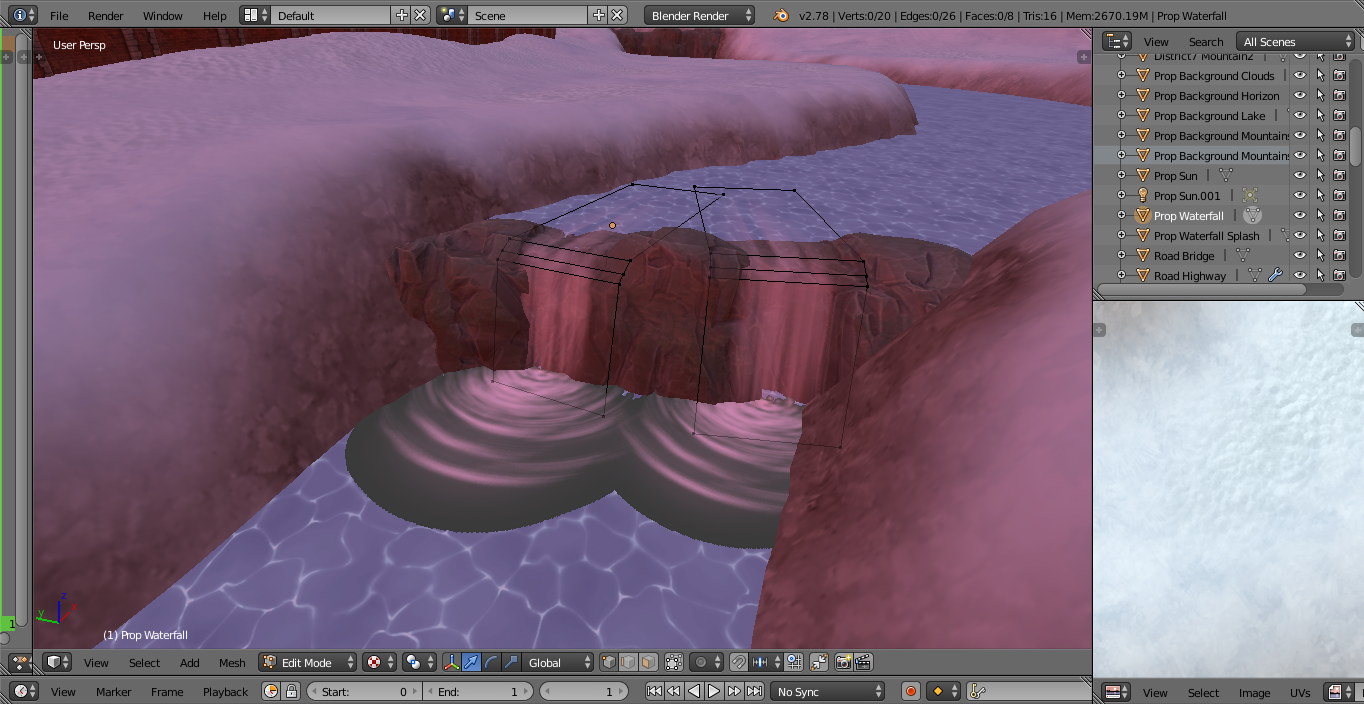 I’m much happier with it now and I really like how the arches reflect in the water. Next I marked out where on the river the height drops to form a waterfall, then placed down a rock wall prop to fill the gap between the different river heights and created a wispy waterfall texture and a rippled water texture for the base of the falls. They look a bit awkward here, but once rendered it all comes together.
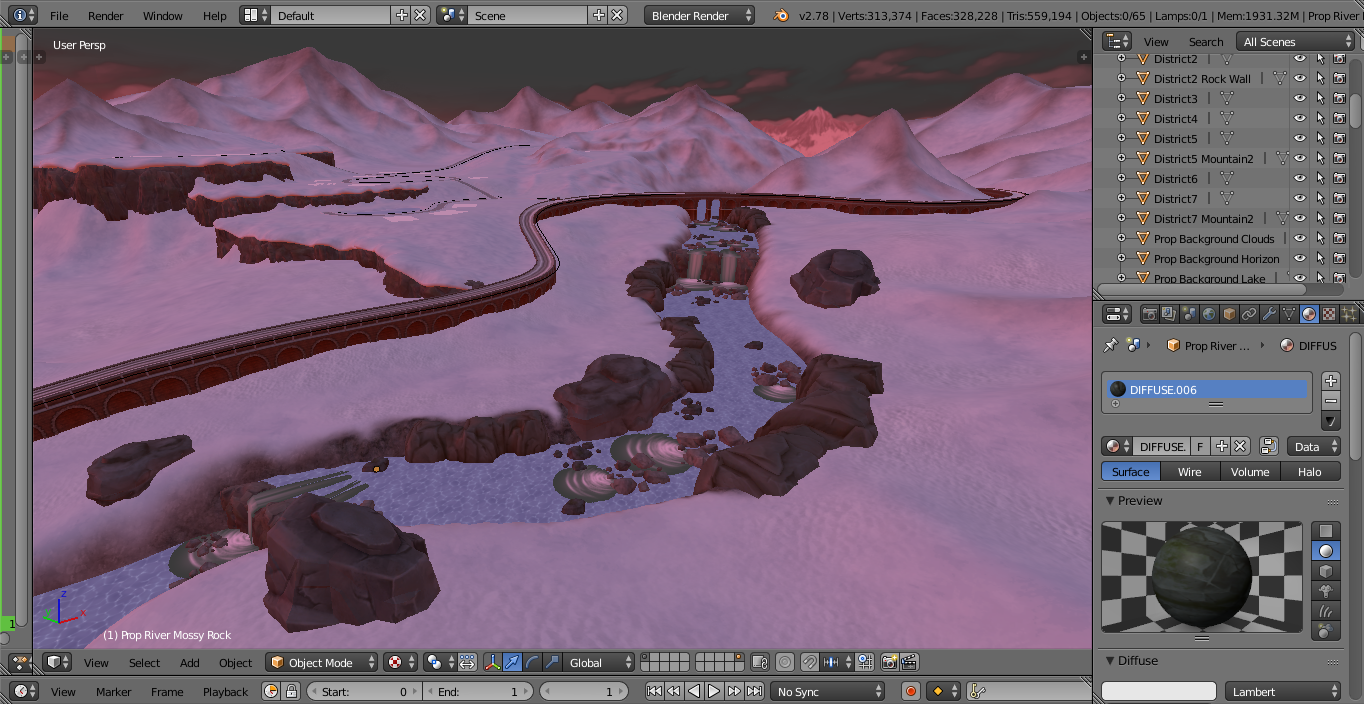
The rest of the river looked kind of boring so I lined it with a few rocky outcrops as well as strewing smaller pebbles along the stretch of the river, and I have to say I’m very pleased with the final result, it looks natural and makes the river much more interesting.
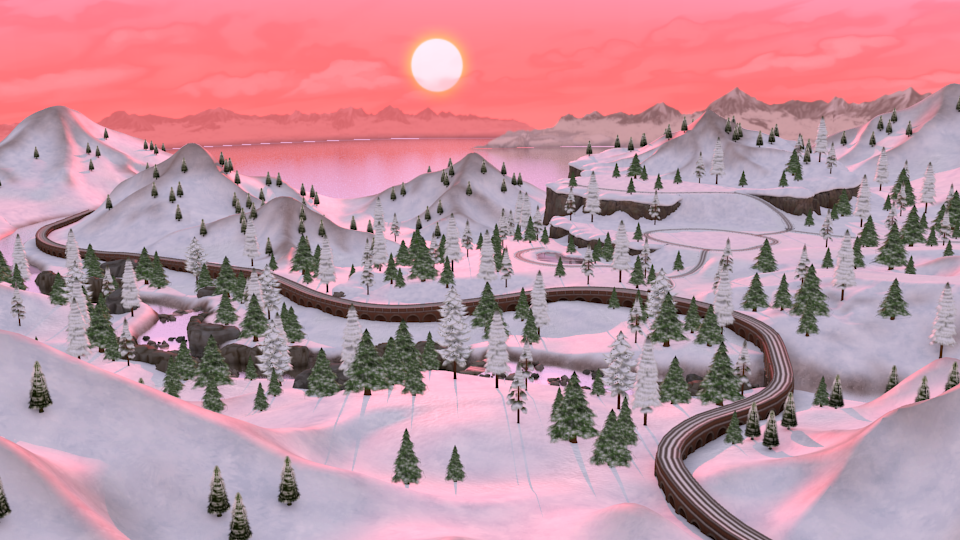
With the terrain painting complete for now, I turned my focus onto decorating the background mountains with a scattering of trees, starting with District 7, I used really low poly trees to keep down the lag, but they’re so far in the background you really don’t notice it. Then at the foothills of the mountains I placed a few different varieties of evergreens in small clusters to form a little wooded area between the mountains and the riverbank.
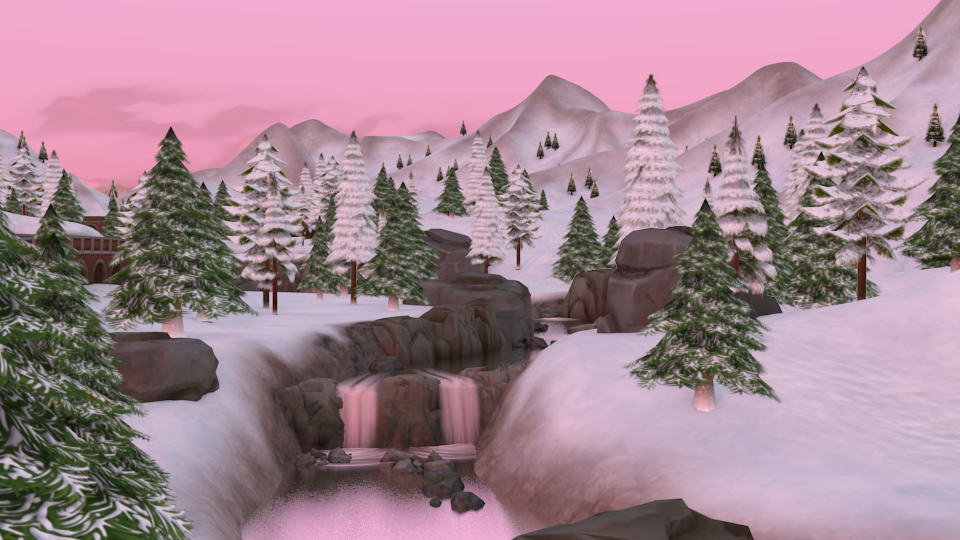
Now that I have more of an idea of how the world is going to look, I felt like the lighting was too flat, you can see from the pictures above that there isn’t much in the way of shadows, so I decided to turn up the light source a bit to create more of a contrast between light and dark, and it also helps to give more depth to the terrain so you can see every bump and crevice is now more clearly defined.
Lastly I went around each district adding in small areas of evergreen forests, really trying to fill up the empty spaces with trees, although I don’t want it caked in trees because it is after all a ski resort world and I’d like some open areas of snow.
That’s going to finish it for this part, it was a bit short but I hope now you can begin to see the world coming together with this addition of textures and a scattering of props. I’m very pleased with how everything is shaping up, I just adore the colours and I’m very excited to start decorating each district in more detail! Next week will be moving onto actually creating the first houses, I’ll be recording the construction process and posting it here as a time-lapse video so stay tuned for that!
If you would like to help contribute to the world with pictures of house designs for me to build or you’d like to submit a name for the world or any of the districts, feel free to send me your ideas via Twitter @HazzaPlumbob or leave a comment down below!
Thank you all for reading!


")


")