")
I finally decided to bust out and install my original Sims Collection on Windows 10, and boy was I in for a brutal night. Due to a complex technical issue I know nothing about, it has become nearly impossible to play older games like The Sims on Windows 10.
After about 3 hours of trying random “fixes” found online, it was bits and pieces from here and there that ended up making the game work for me. In this post I will detail the steps I took to get my game working nicely, so hopefully it works for you too!
❗ WARNING: SimsVIP does not assume liability should any 3rd party downloads cause harm to your PC or game. Download and install patches and fixes at your own risk.
❗ WARNING: I have not played long enough to know if there are any issues or other types of problems post-fix. I’ve messed around in game for a few hours and everything seems to be working great on my end. User experience may vary.
❗ NOTE: The instructions in this tutorial worked on my two PC’s, but may not work for you. There is no guarantee that you’ll be able to play the game.
❗ NOTE: I installed The Sims Complete Collection, so this tutorial may only work for this game and no other. However, other players have reported success with individual discs, The Sims Deluxe, Double Deluxe, and Mega Deluxe.
If you have been hit with the dreaded “Please login with administrator privileges and try again” error message, this tutorial will help you bypass it in order to play.
Install and Play The Sims on Windows 10
- Install all discs included with the game version you own.
- Go to C: > Program Files (x86) > Maxis > The Sims. Once you open the final folder, scroll all the way down to the bottom and find the Sims.exe file. Right click the icon and select “Rename”. Rename the file Sims.old (I left it as is in this folder going forward)
- Download this file from YouTuber SariaFan93 if not for them, I would have never found the correct link to this patch.
- Move the Sims.exe file you just download from the above link into C: > Program Files (x86) > Maxis > The Sims. If for some reason you are not able to move it in there, download the file again, move it in, and rename it to Sims.exe.
- Right click the Sims.exe file you just added to The Sims folder and add a shortcut to your Desktop. This allows for easy access and startup.
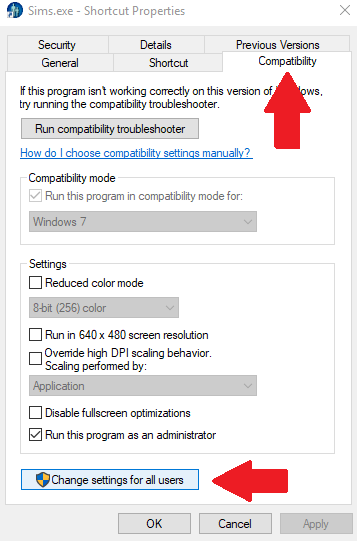
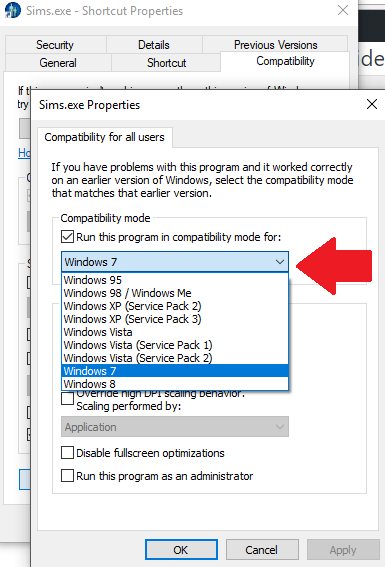
- Right click the shortcut on your desktop and click the “Compatibility” tab. From there, click on “Change settings for all users” at the bottom. When the screen pops up, select the first drop down box under “Compatibility Mode” and choose Windows 7. Also be sure that “Run this program as an Administrator” is selected as well!
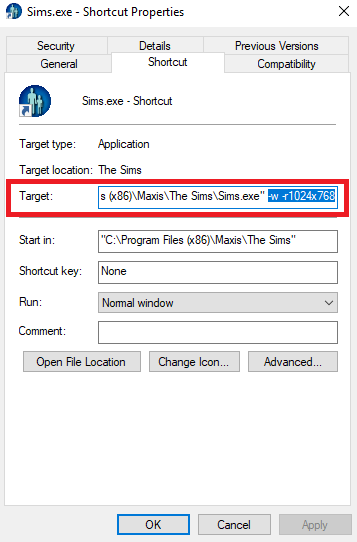
- Select “Apply” and then “Ok”. This will bring you back to the first screen. Now, select the “Shortcut” tab to the left. In the “Target” section, paste the following at the end of the text: -w -r1024x768 This will enable windowed mode and the larger resolution.
HUGE THANKS to WinMacSims3 for this tip!
❗ If you run into any issues with this section of the tutorial, and your game does not load up in full screen, check out the suggestions and helpful tips in this thread.
“You can also run the game using the Run prompt (Windows Key + R). The first runs it in 1024×768, second is windowed at 800×600, and third is windowed at 1024×768
Sims.exe -r1024x768
Sims.exe -w
Sims.exe -w -r1024x768″You can also paste the 3 alphanumeric prompts in the “Target” box too.
- Once again, click “Apply” and “Ok” to close this box. Now at this point you should be able to start up the game and play on your screen (test this to make sure). The one issue with this configuration is that the it causes the UI to break.
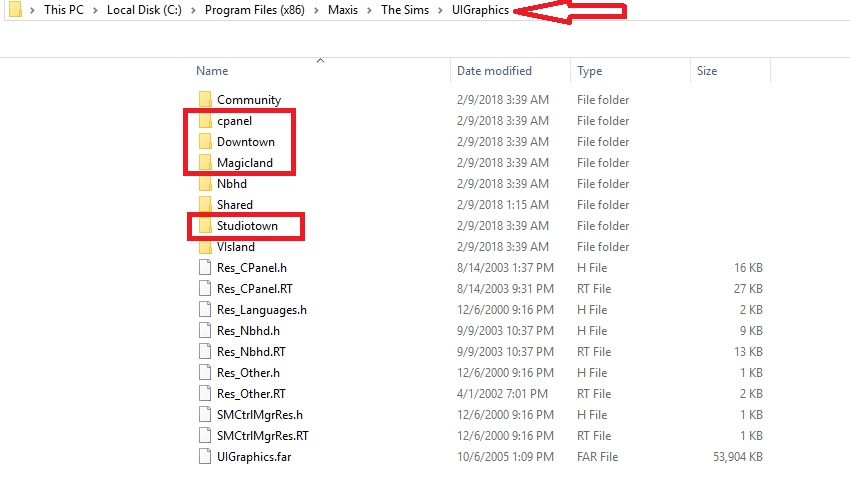
- The next part of this tutorial requires you to install a UI Fix so that you can play without the headaches causes by the broken UI. Head over to this link and download the altered UIGraphics Folder provided by reddit user Albuph. This will fix the UI bugs.
- Once you download this folder, you will need to merge it with the existing UIGraphics folder. Go to C: > Program Files (x86) > Maxis > The Sims and open the existing UIGraphics folder. Move the contends of the altered UIGraphics file you downloaded into this folder. Your UIGraphics folder should now contain 4 new folders inside.
❗ If for some reason you have an issue with full screen not working, see the following suggestion by SimsVIP reader Isabelle.
I had huge troubles getting the game to go into full screen mode. It turned out that since my computer has both a NVIDIA and an Intel graphics card the Intel card tells the game to keep the ratio (1024×768). I used -r1024x768 in the “Target” area.
I right clicked on the desktop and clicked on the Intel graphic settings, I then clicked on “Monitor” and changed the “Scaling” from “Keep ratio” to “Scale to full screen”. Now it works! My computer is in Swedish so everything may not be called as I’ve called it above. I hope this will help!
That’s it! At this point, use the shortcut on your desktop to start up the game. If a prompt comes up asking if you want to allow an “unknown” publisher to make changes to your account, select Yes and jump into the game!
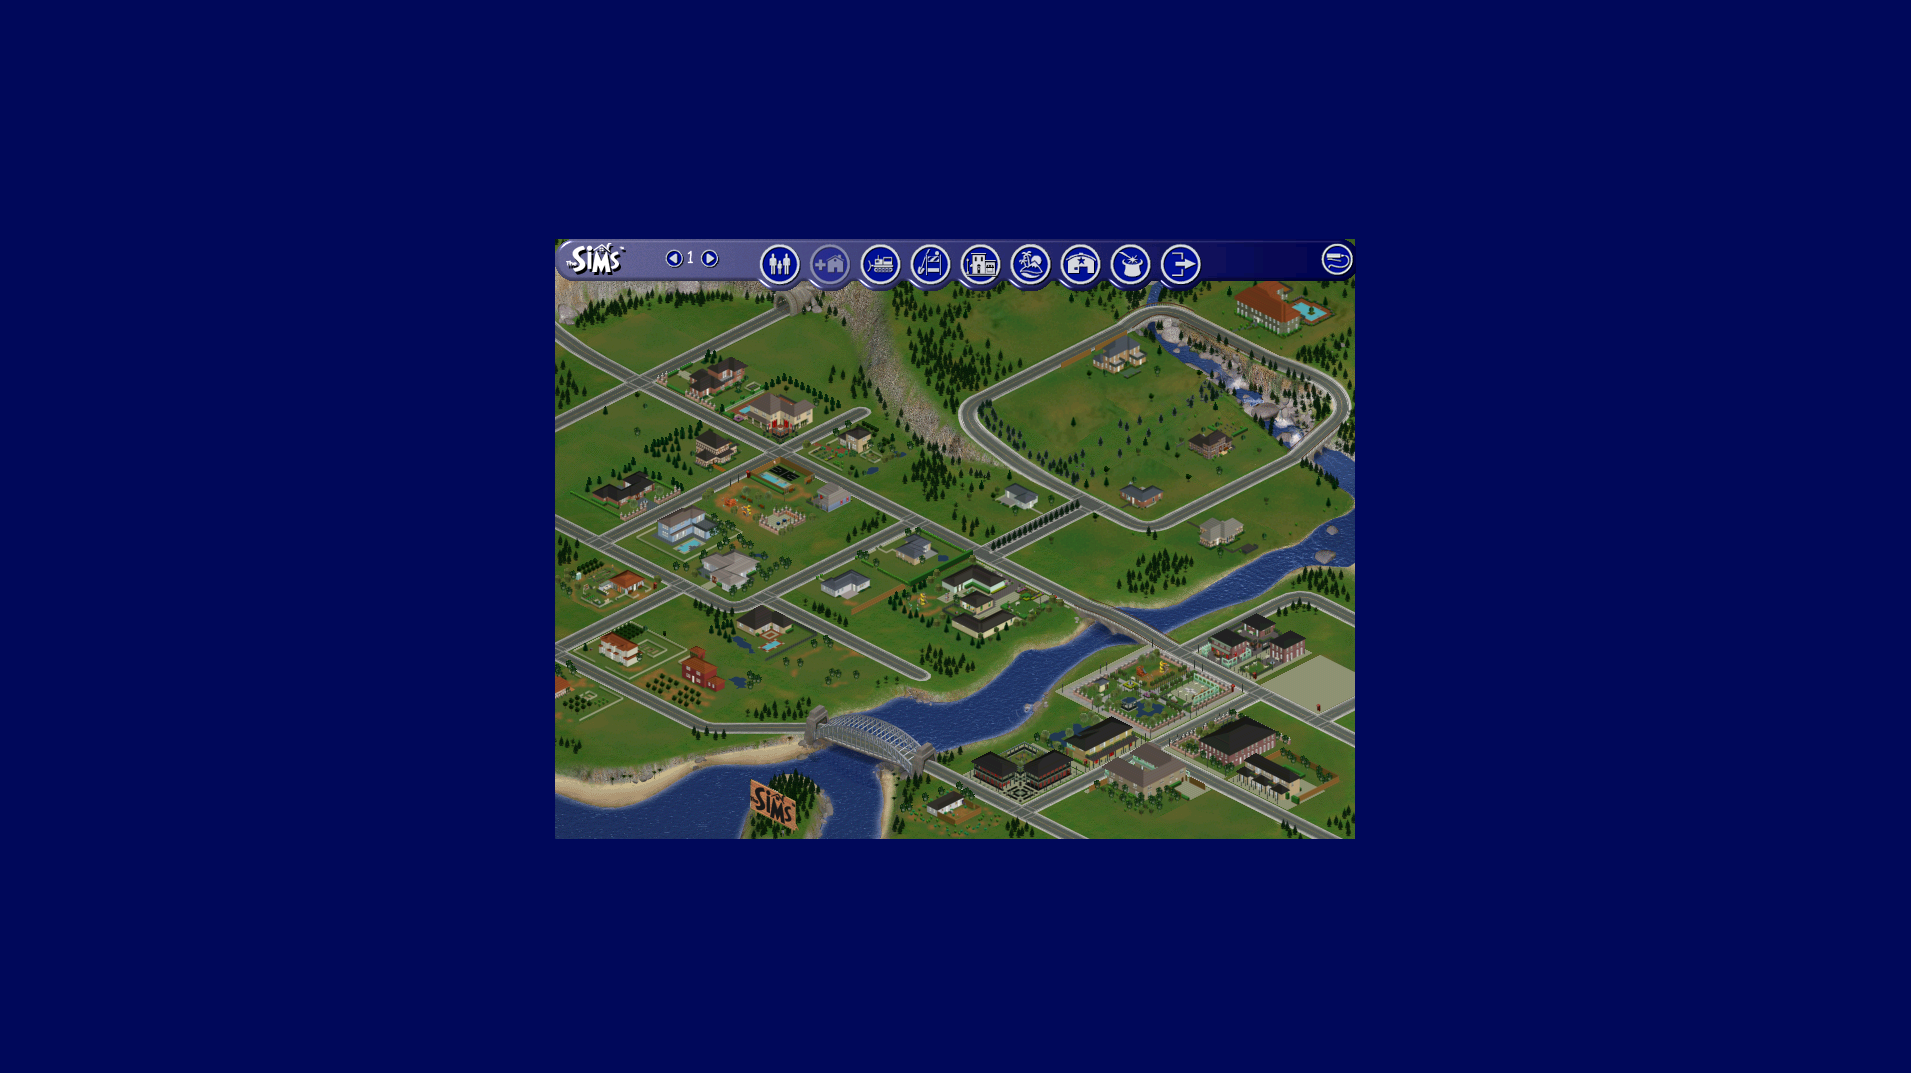
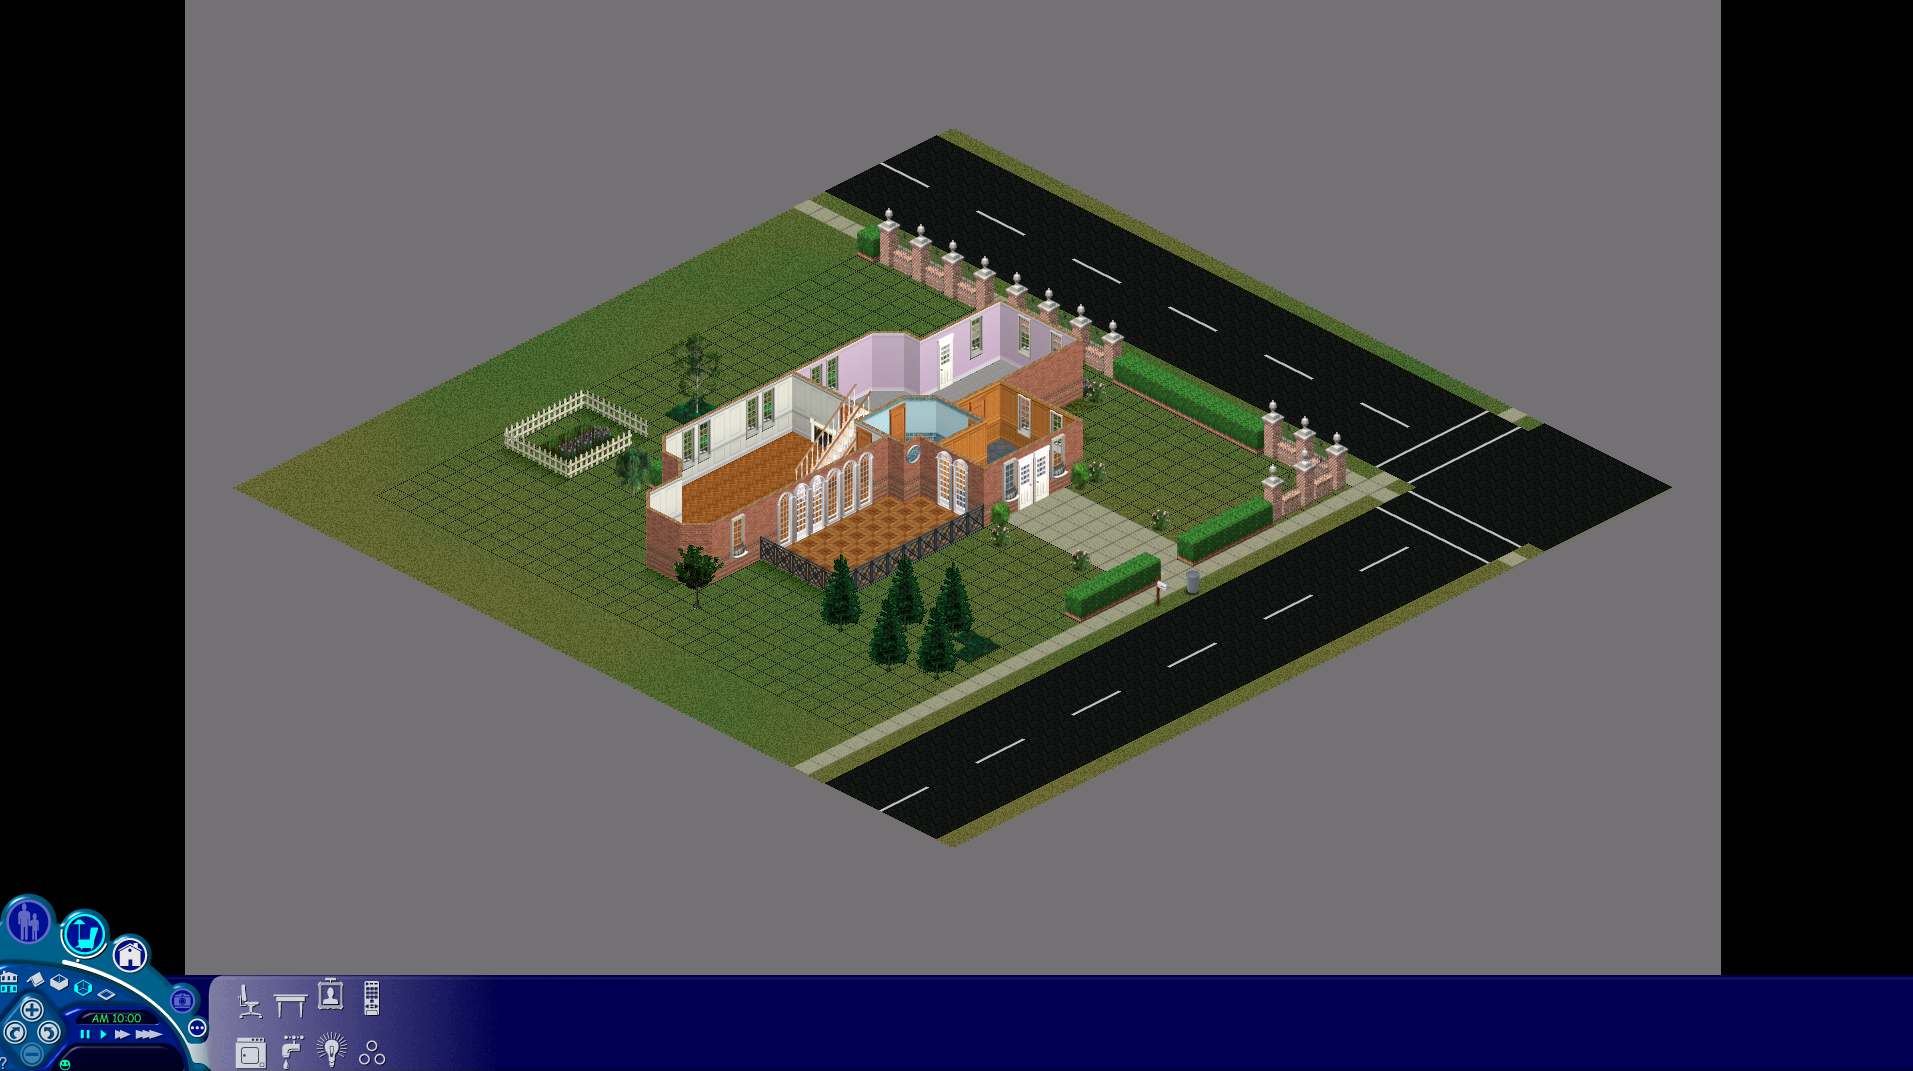
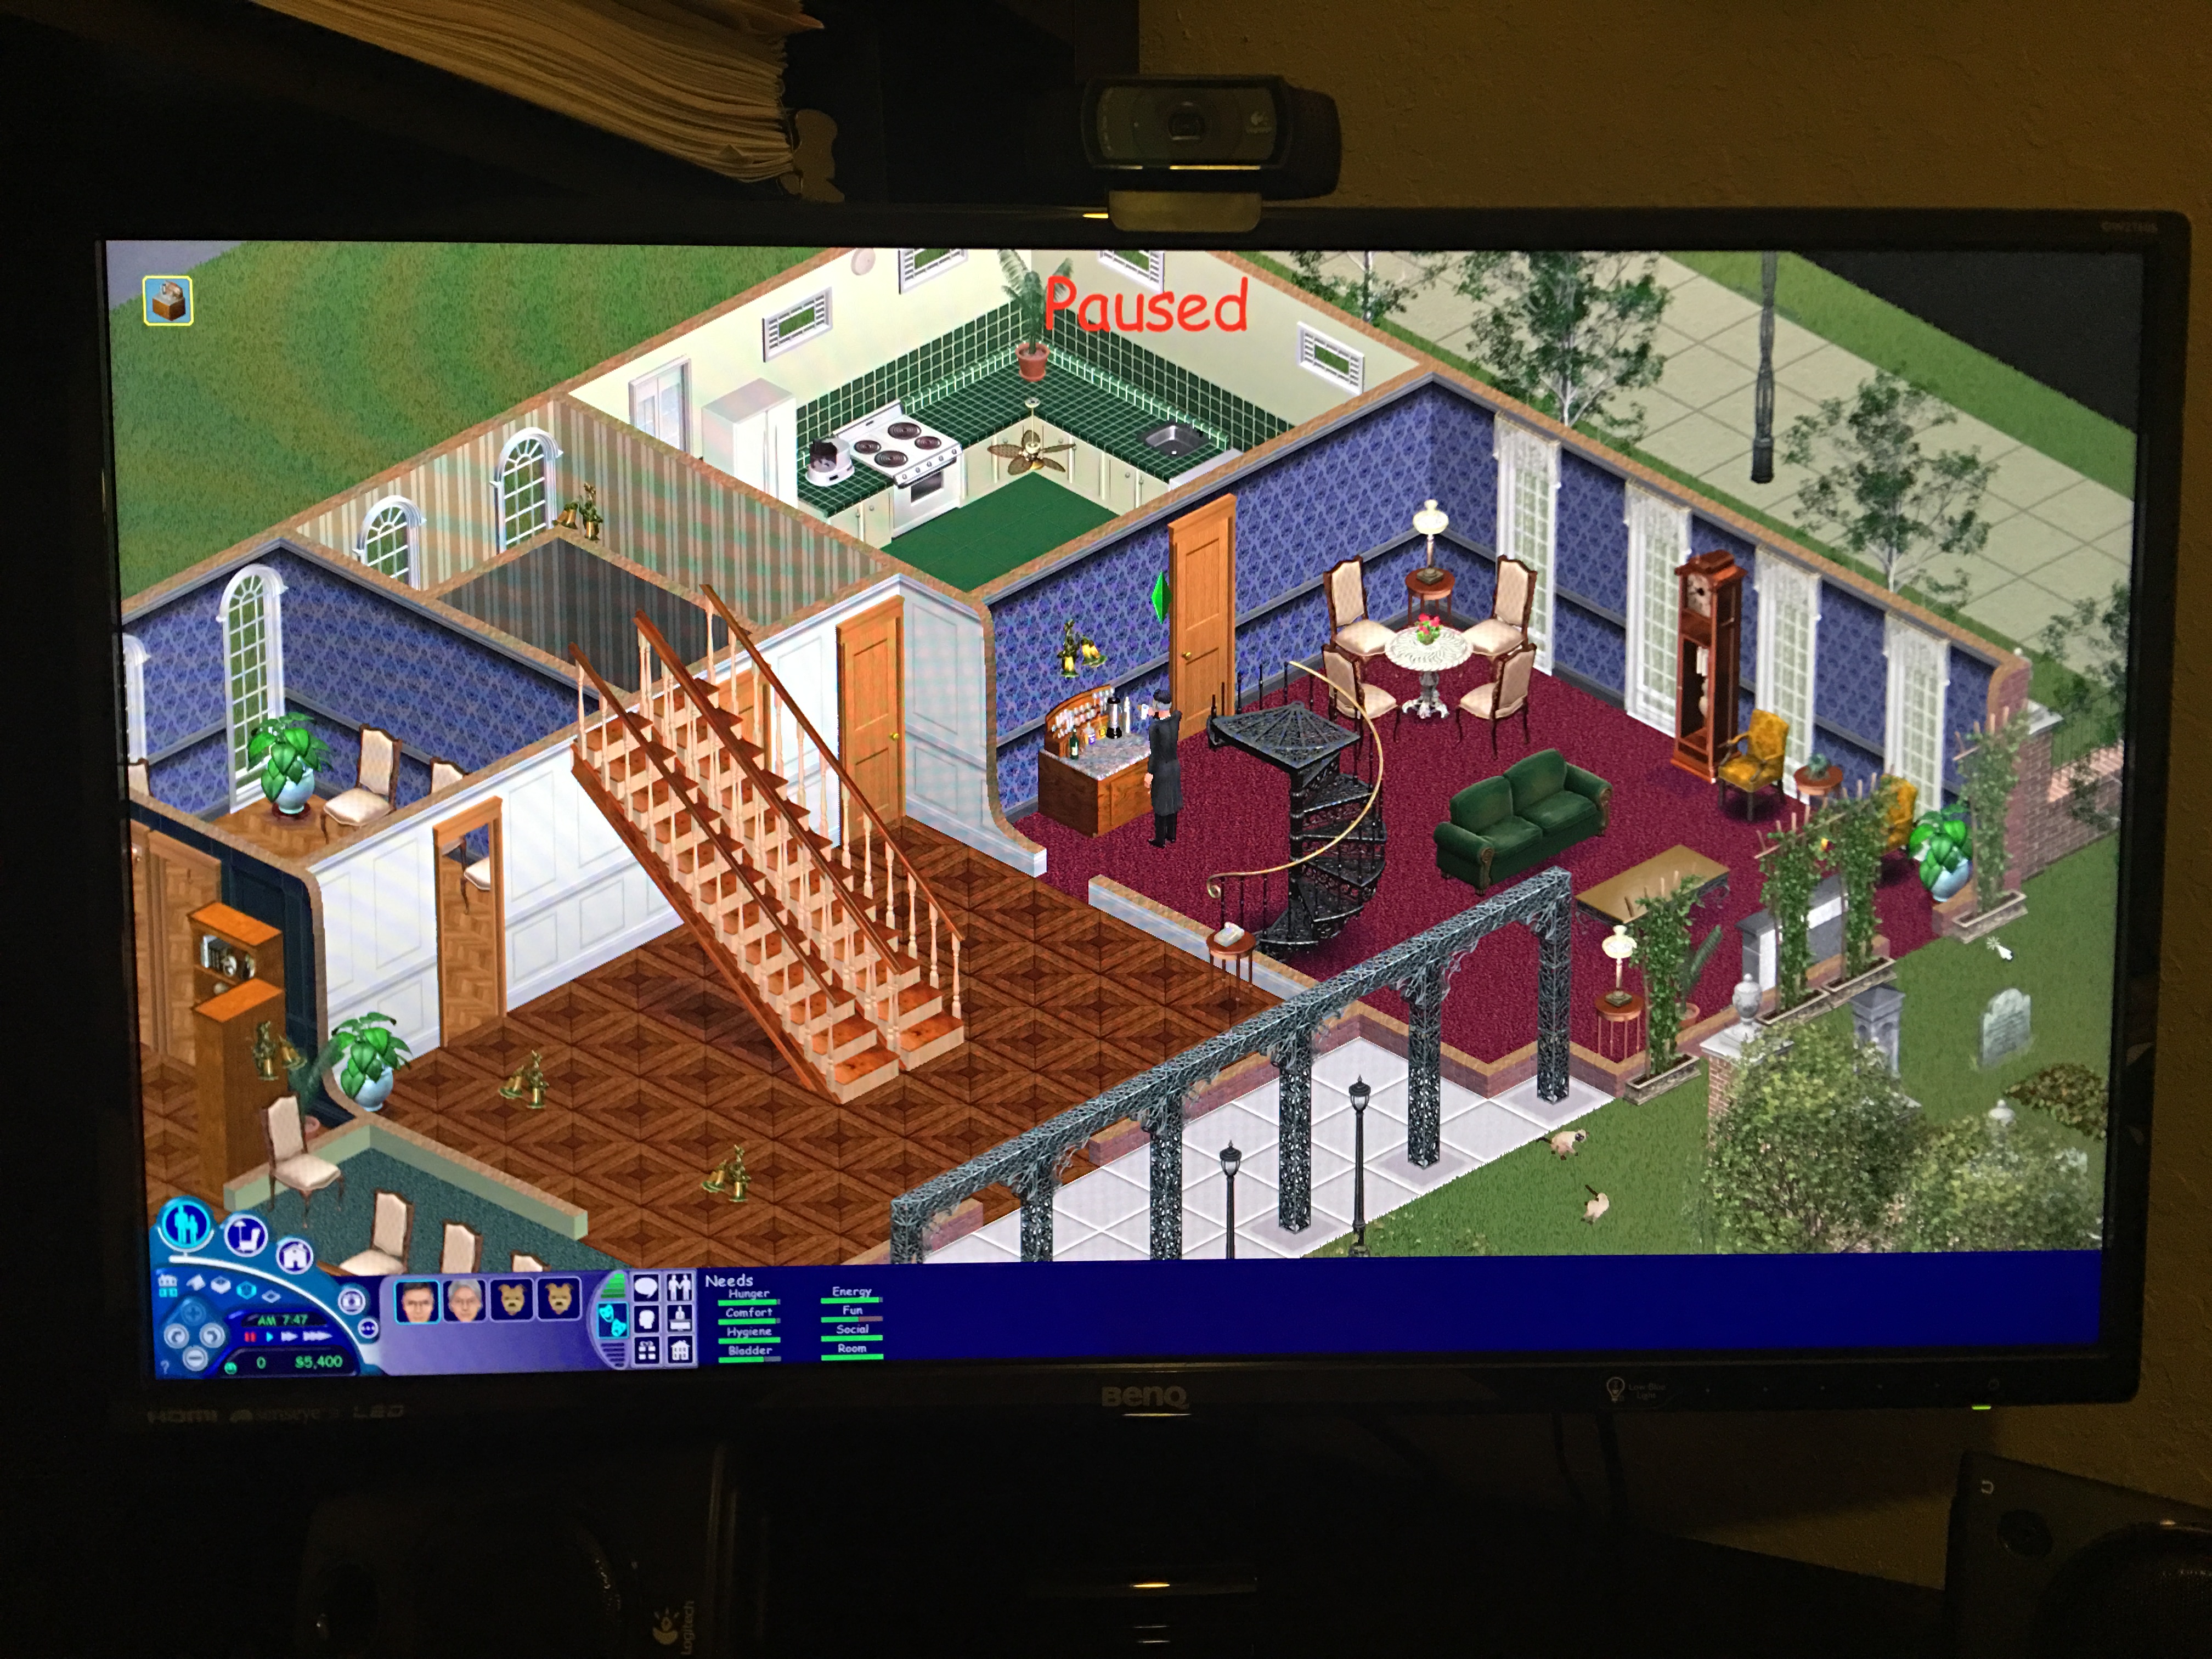
Keep in mind that when you load up the game or visit new/different neighborhhods, the neighborhood screen will look small and seem a tad out of place. Once you select a home, move in a family, or zoom in, the game will go into full screen mode.
You may also have some excess grey or black borders on the outer edges of the screen, but again, that will go away once you zoom in.
This is everything I did in order to get the game to work on Windows 10. Like I said earlier, this may or may not necessarily work for you, but since it took me 3 hours to even get this game to work, I wanted to share in the event it helps you too!
FYI: I am using Windows 10 Pro. For information on my PC specs, see here.


")