")

Before the introduction of Terrain Tools to the Sims 4, terrain was something builders rarely had to think about. Although it seems a shame not to utilise Terrain Tools in every build, after years of building on flat land, it can often feel difficult to know how to incorporate hills and valleys into your builds. You don’t have to be intimidated, however, the Sims 4’s Terrain Tools are super easy to use and help to make each and every build that bit more realistic, interesting and impressive!
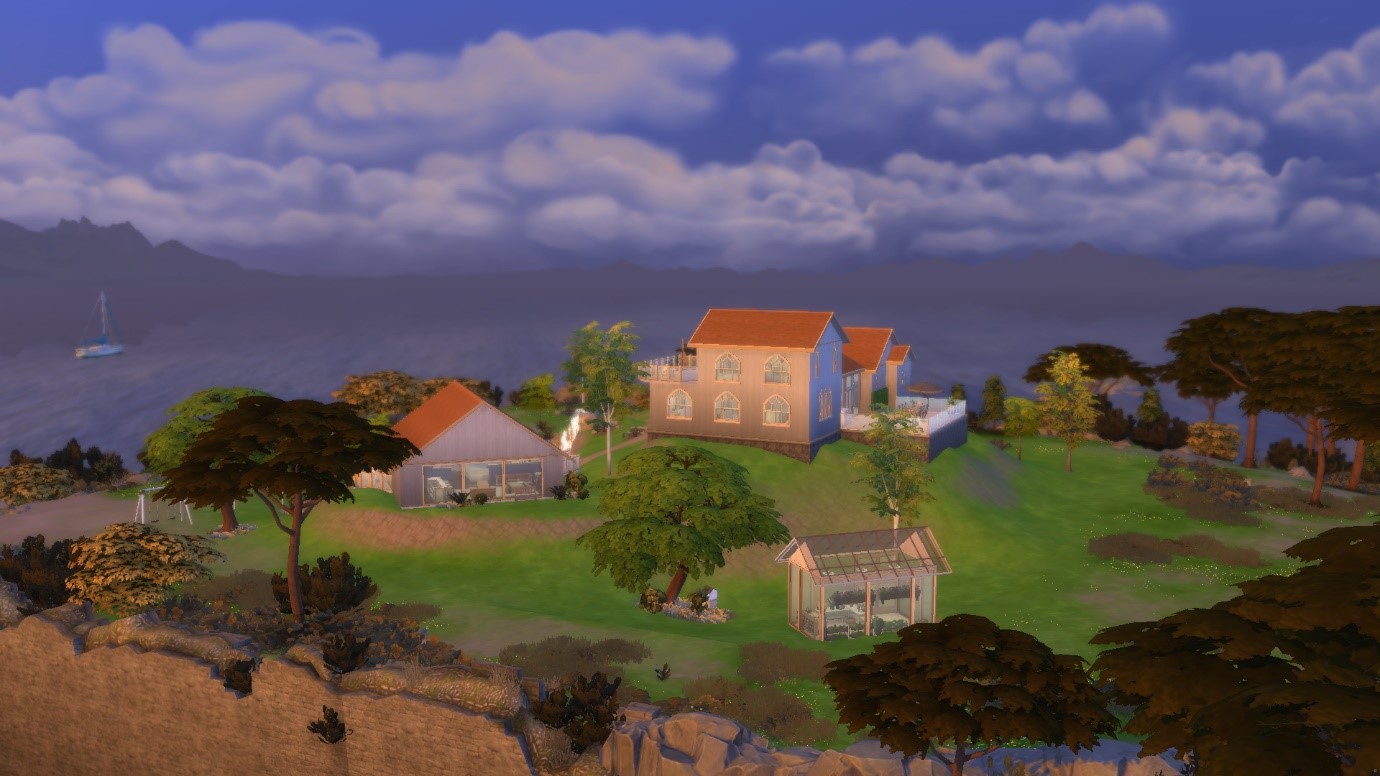
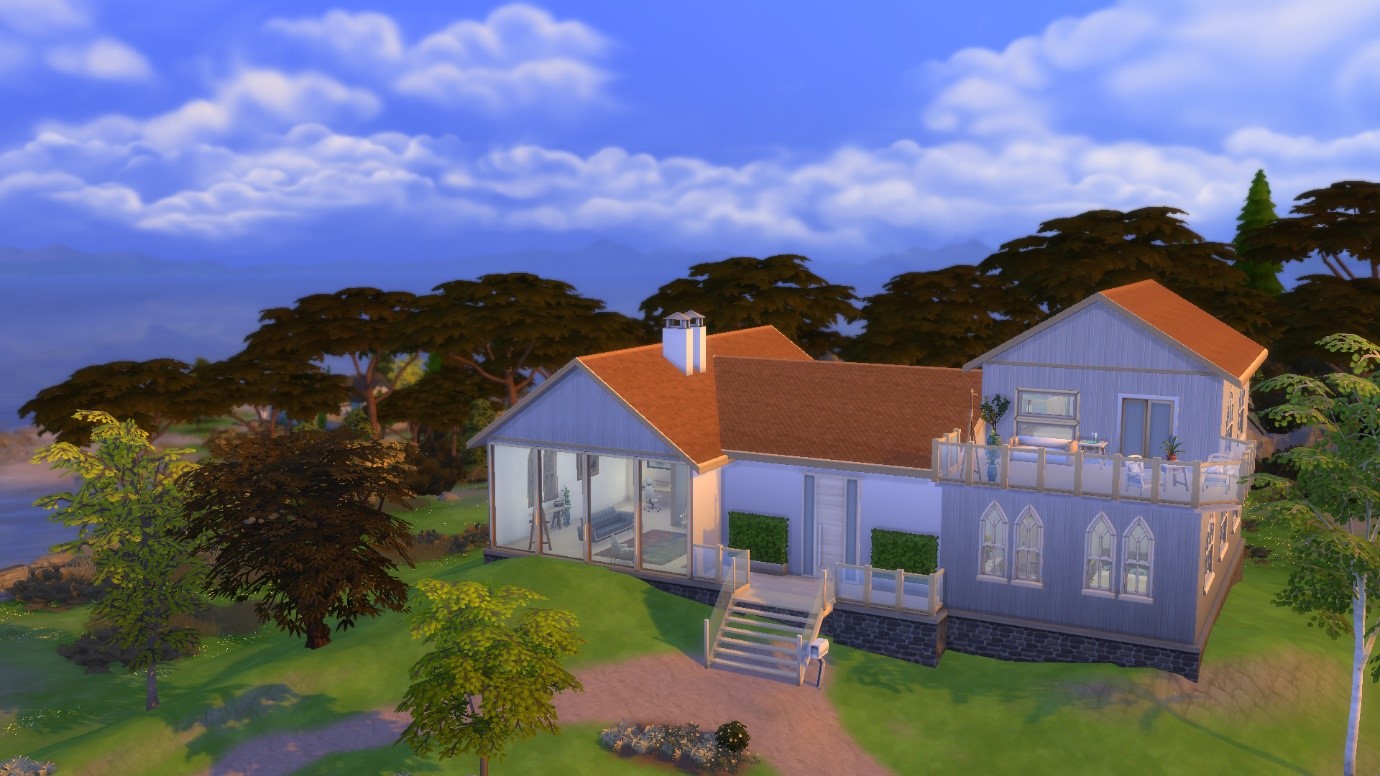
I have created this Hilltop House to show you just a few of the ways Terrain Tools can be used to add something extra to your Sims Worlds!
Landscaping your Lot
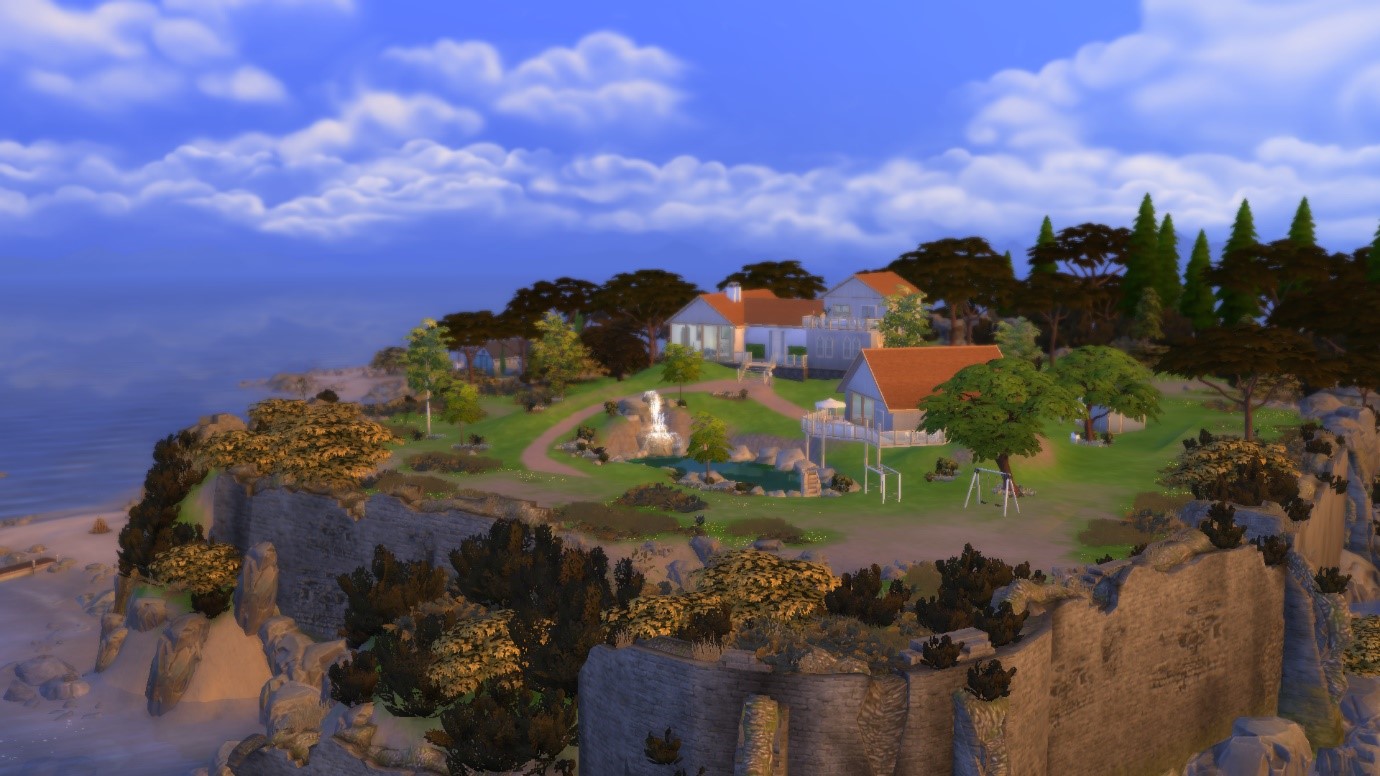
One of the tricks I have picked up from building with Terrain Tools (especially if you don’t have an idea in mind) is to begin your build by quickly, haphazardly, and randomly moving terrain up and down. This method will enable you to create something that looks really natural (real terrain has rarely been carefully designed) and is a fun way of challenging yourself as a builder. It can be really fun to try and work out how to build a functioning and good-looking home without altering the terrain! I used this method for this build and was inspired by the landscape to create three different structures on three different levels – the main house, an entertainment space, and a greenhouse!
I also think it is important to make sure your terrain flows neatly into the terrain that surrounds your lot. Because the landscape that directly surrounds your lot will be flat, I like to make sure that my terrain gradually flattens towards the edges of the lot. This can be easily achieved by using the Smooth Terrain Tool and will insure that your build looks as if it belongs in its environment.
Check out our Terrain Tools Guide for more information!
The Waterfall
The addition of Terrain Tools to the game means that it’s easier than ever to play around with landscaping. In the past I have created a fair few waterfalls using resized rocks and water emitters but I wanted to see whether it was possible to create a waterfall using Terrain Tools.
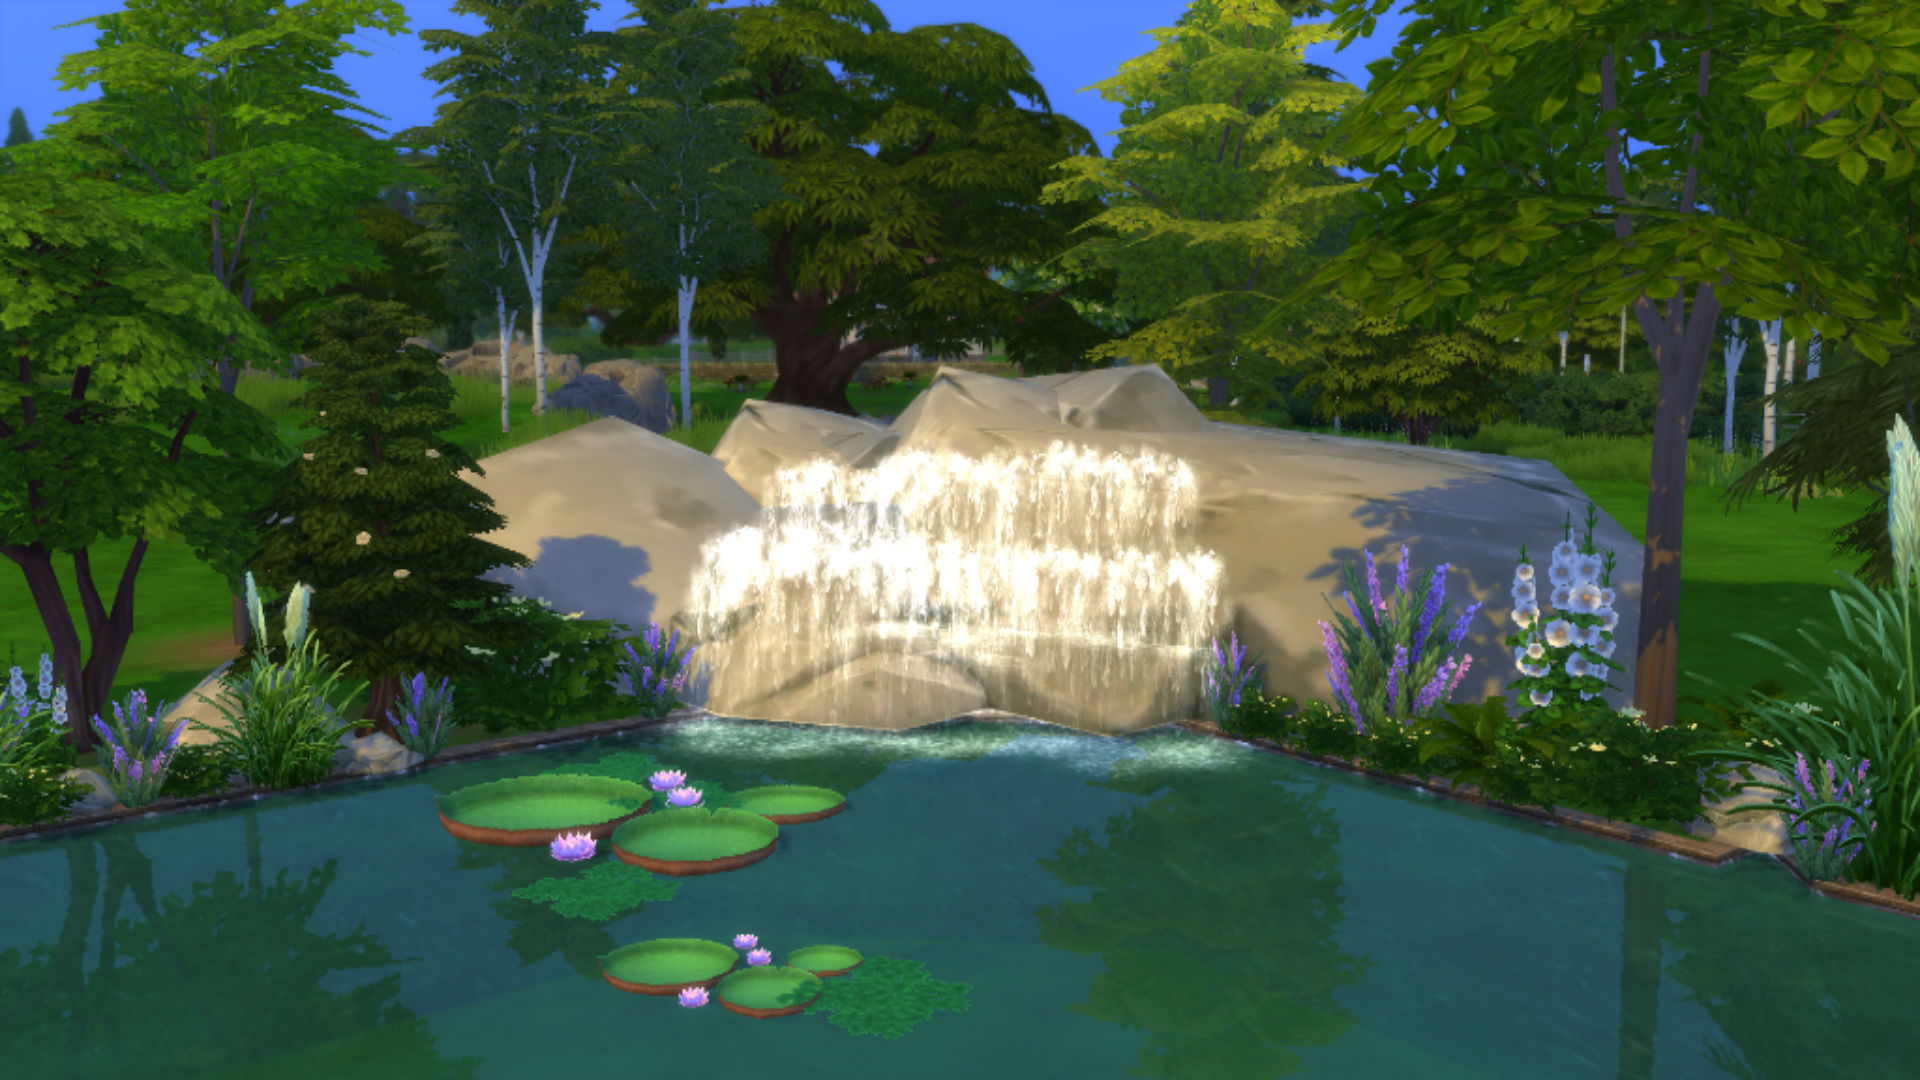
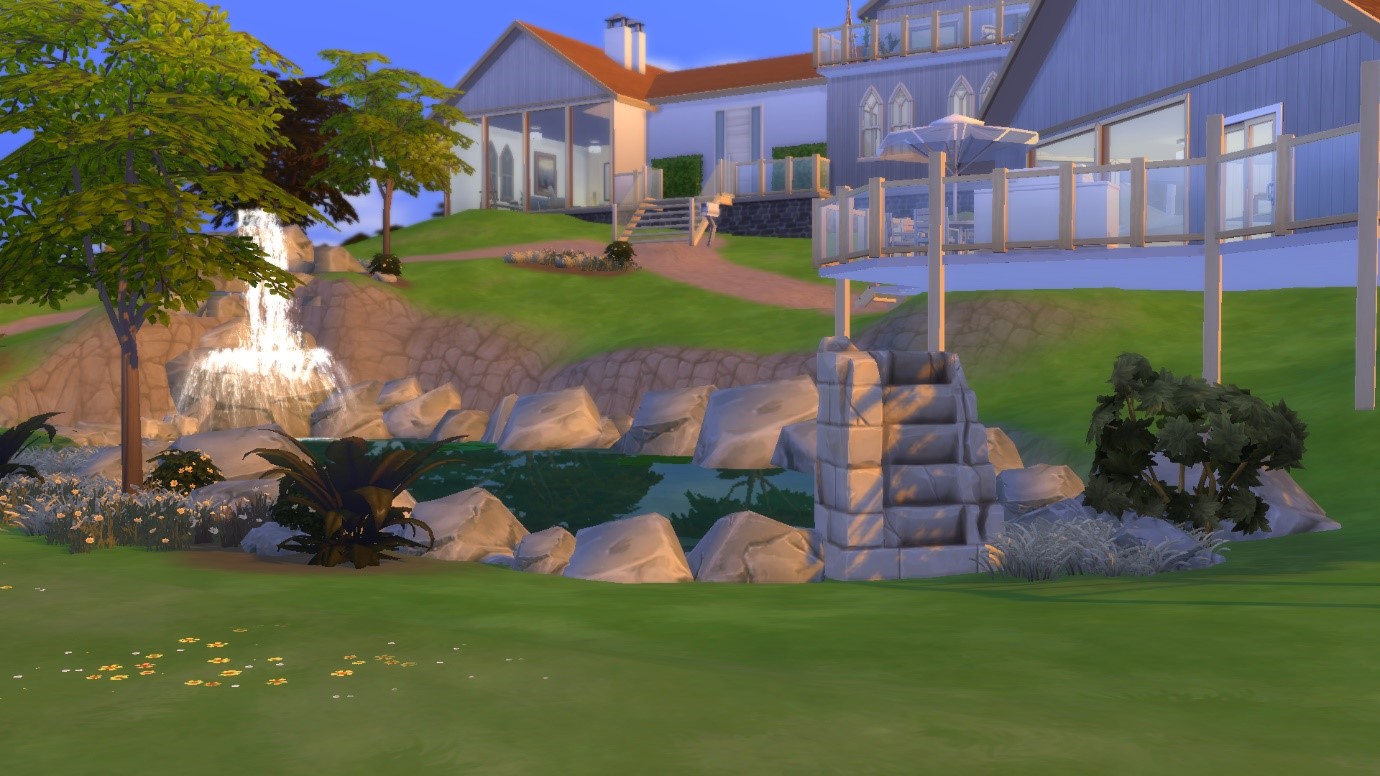
The first step in creating a waterfall is building something for your water to flow into – a pool or fountain. I decided to opt for a pool in this build partly because I wanted my Sims to have somewhere to swim but also because I knew that I was going to create a tall waterfall (it seems more realistic to have a tall waterfall flow into deep water).
I used the Custom Build Tool to create this pool. The Custom Build Tool allows you to build walls, rooms and pools in whatever shape you wish – perfect for creating a natural looking body of water.
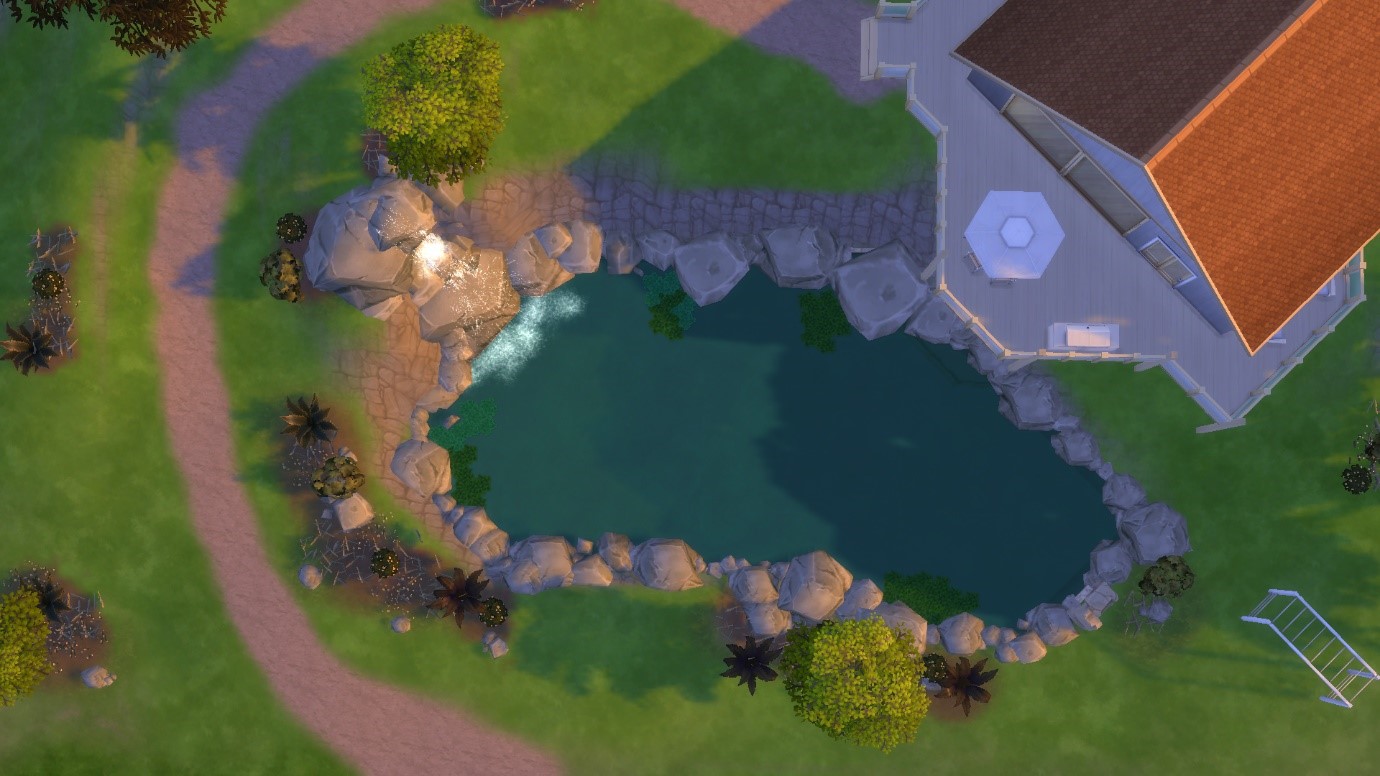
Once I was happy with the shape of my pool, I began to raise the terrain around the edge of the water. I made sure to leave the terrain around one of the pool-sides flat so that my Sims would be able to jump in and out of the water without any problems.
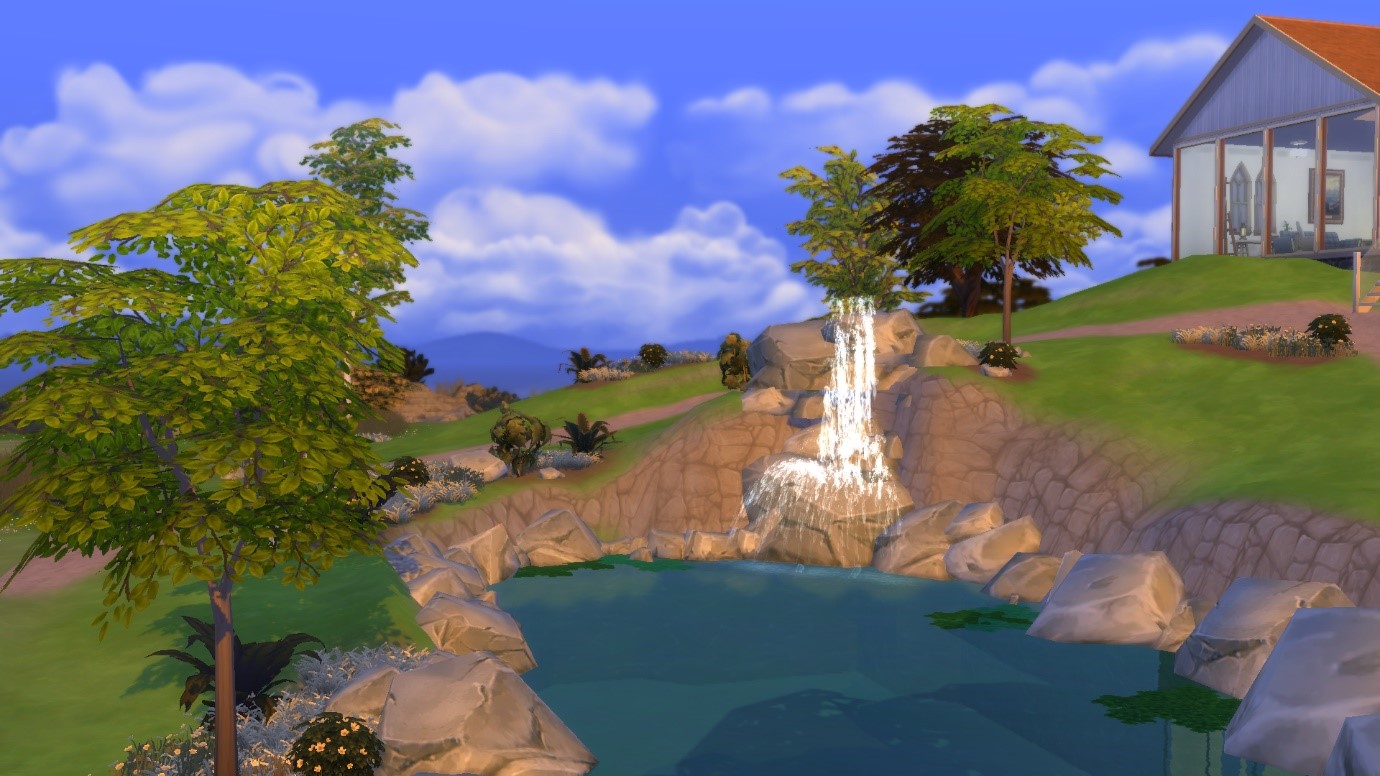
I played around with the Raise, Lower, and Smooth Terrain Tools until I had a shape I was happy with. For this particular build I wanted the waterfall to be quite dramatic so I created a steep incline on one side of the pool.
As I wanted the waterfall to look as if it was flowing into a natural pond, I used rocks of different sizes all around the edge of the pool and changed the colour of the water. Check out our Resizing Guide for more information on how to size objects up and down.
To make the waterfall itself, I first placed a selection of rocks at the crest of the hill I had created. These rocks gave me a place to hide the water emitters and made my waterfall look much more natural. You will need to enable MoveObjects to place the emitters within the rocks.
There are loads of different types of water emitters in Build Mode and it will take a bit of trial and error to find out which ones work best for you. I have found that the Large and Medium Spraying Water Emitters tend to be the most useful for builds such as these but feel free to have a play around and see what works for your specific creation. As a large amount of water emitters are required to create the effect of running water, I found it useful to hold down Shift when I was placing the objects. Holding down Shift whilst placing an item enables you to continuously place that same item over and over again without having to re-select anything.
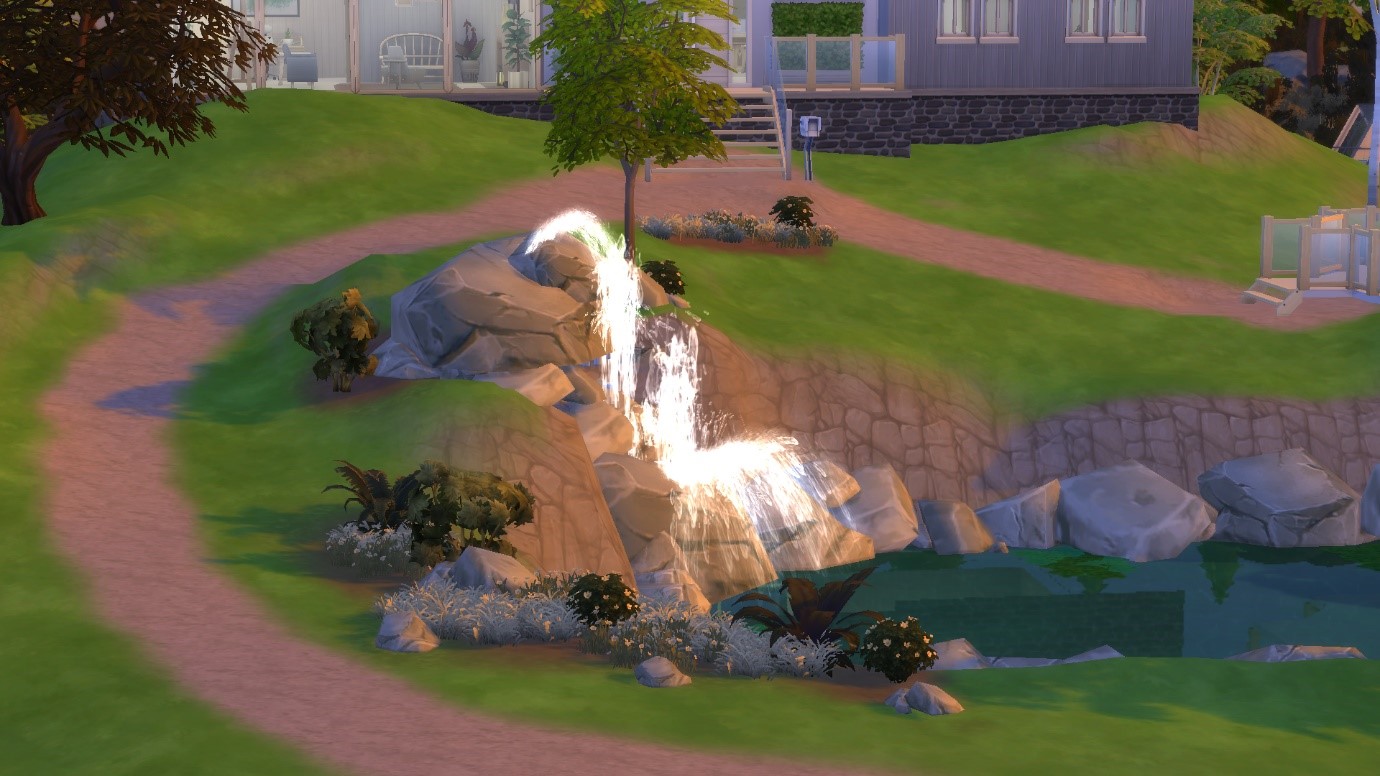
If you choose to create a tall waterfall like this one, you will have to be aware that the water emitters will not automatically flow directly into your pool. The water emitters in Game only flow to a specific height. To get around this issue, I placed emitters periodically along my cliff face. Using this method I was eventually able to create the effect of a continuous flow of water. As you are unable to place objects directly into terrain, I had to use resized rocks to disguise the emitters. You can see that there are a number of large rocks at the base of the waterfall and some around half-way up.
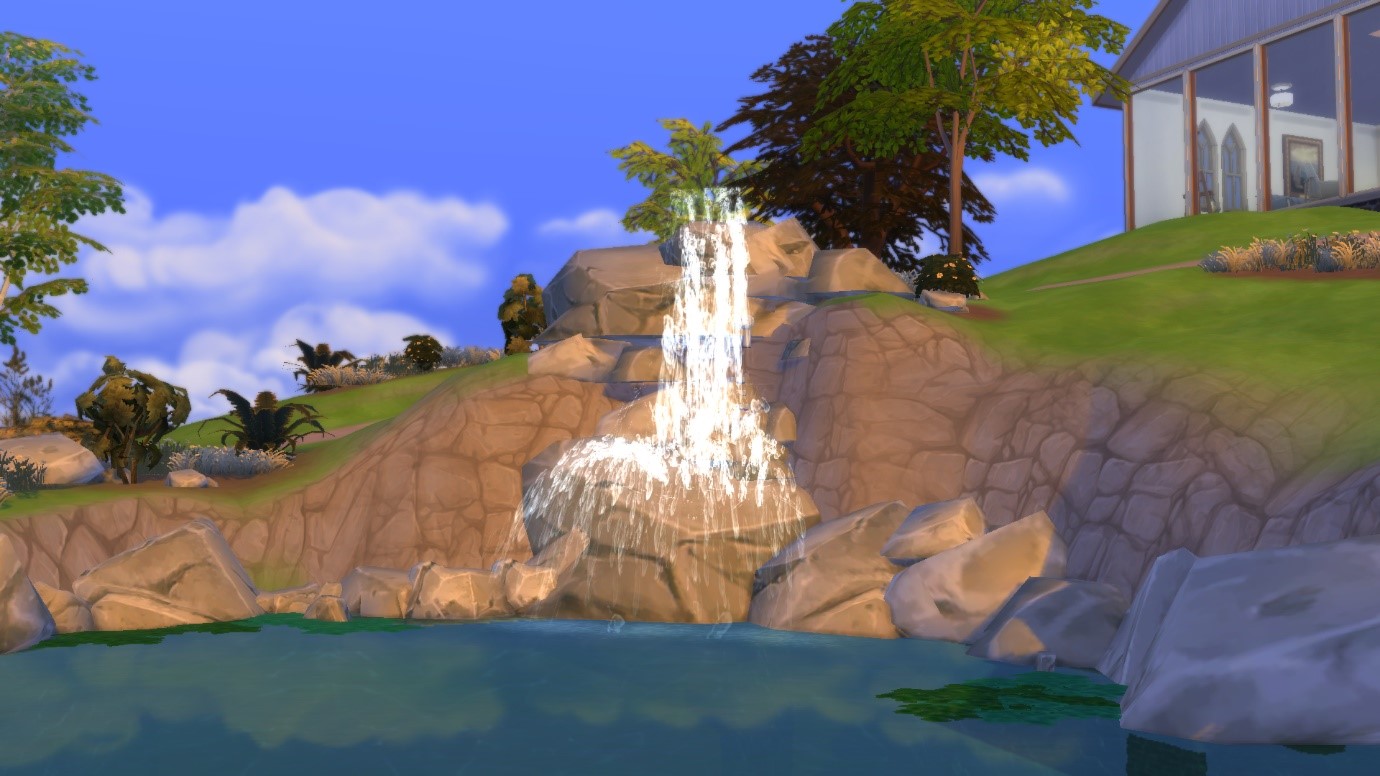
Although creating a waterfall is a long process that requires a lot of experimentation the end result is well worth it!
Playing with Levels
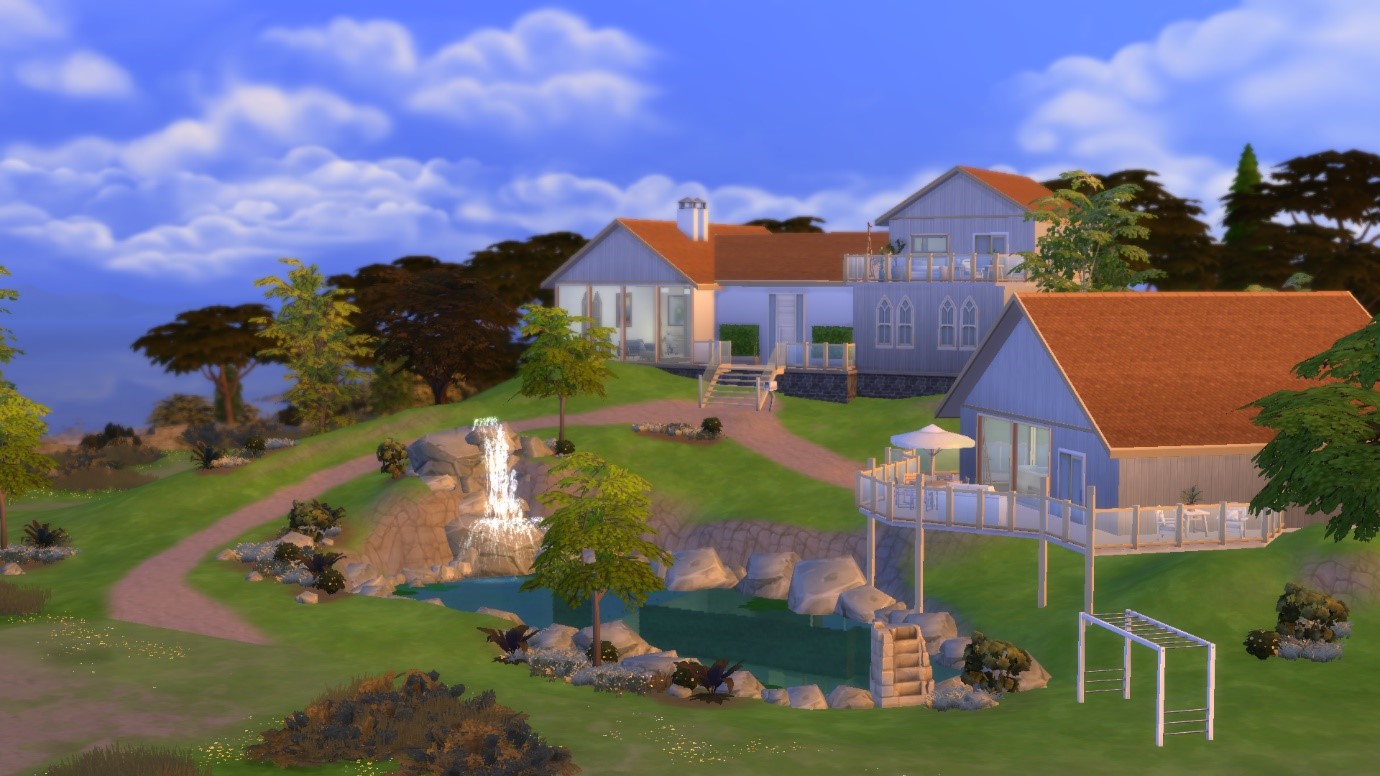
Since the addition of Terrain Tools to the Sims 4, the way I approach building has completely changed. If you choose to alter the terrain of your lot, it is pretty much a guarantee that you will have to play around with the different levels of your house to create your desired effect.
Once I had created my waterfall, I loved the idea of creating a deck that was partially suspended over the pond. Unfortunately, because of the way Terrain Tools interact with buildings in the Sims 4, it is impossible to create a floating deck, balcony, or porch from a first-floor structure. Foundation will form automatically under whatever structure you build.
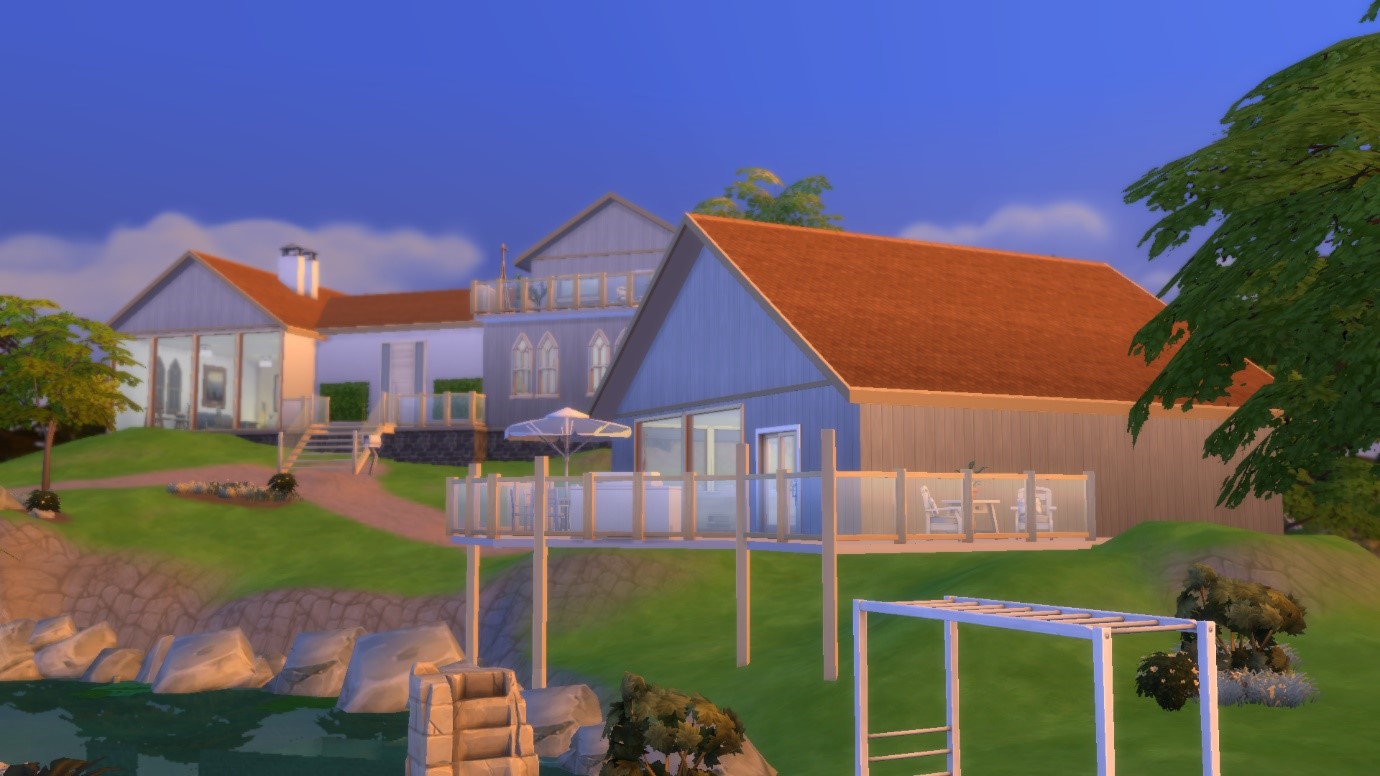
To get around this issue, I first created a floating second-floor room. This is easily achieved by building a 2-storey structure and deleting the first-floor altogether. Selecting this floating structure will cause a widget to appear in the middle of the room (shown in the screenshot below). Clicking on this widget allows you to move the room up and down as you please. Dragging my second-floor room down to ground level enabled me to create the exact effect I wanted. I was able to add in a balcony overlooking the pond without any problems.
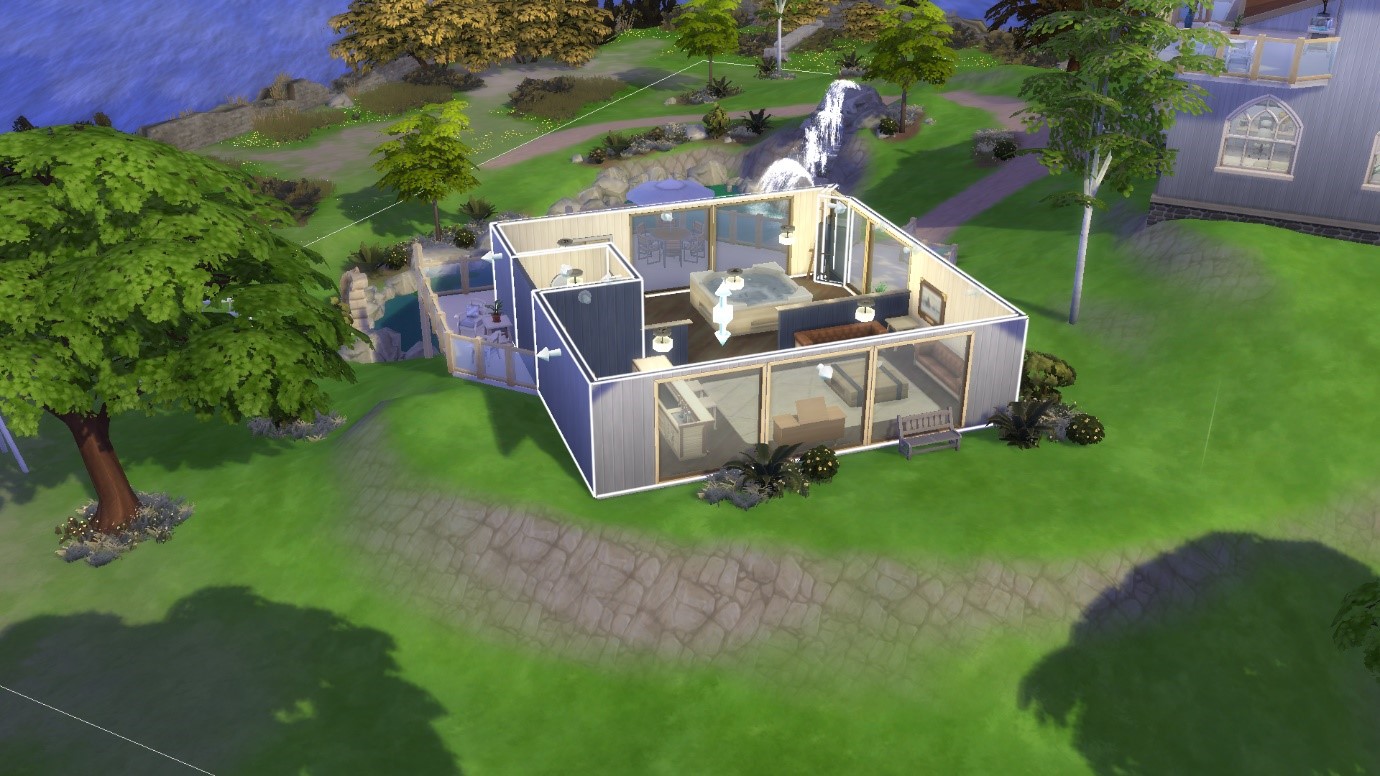
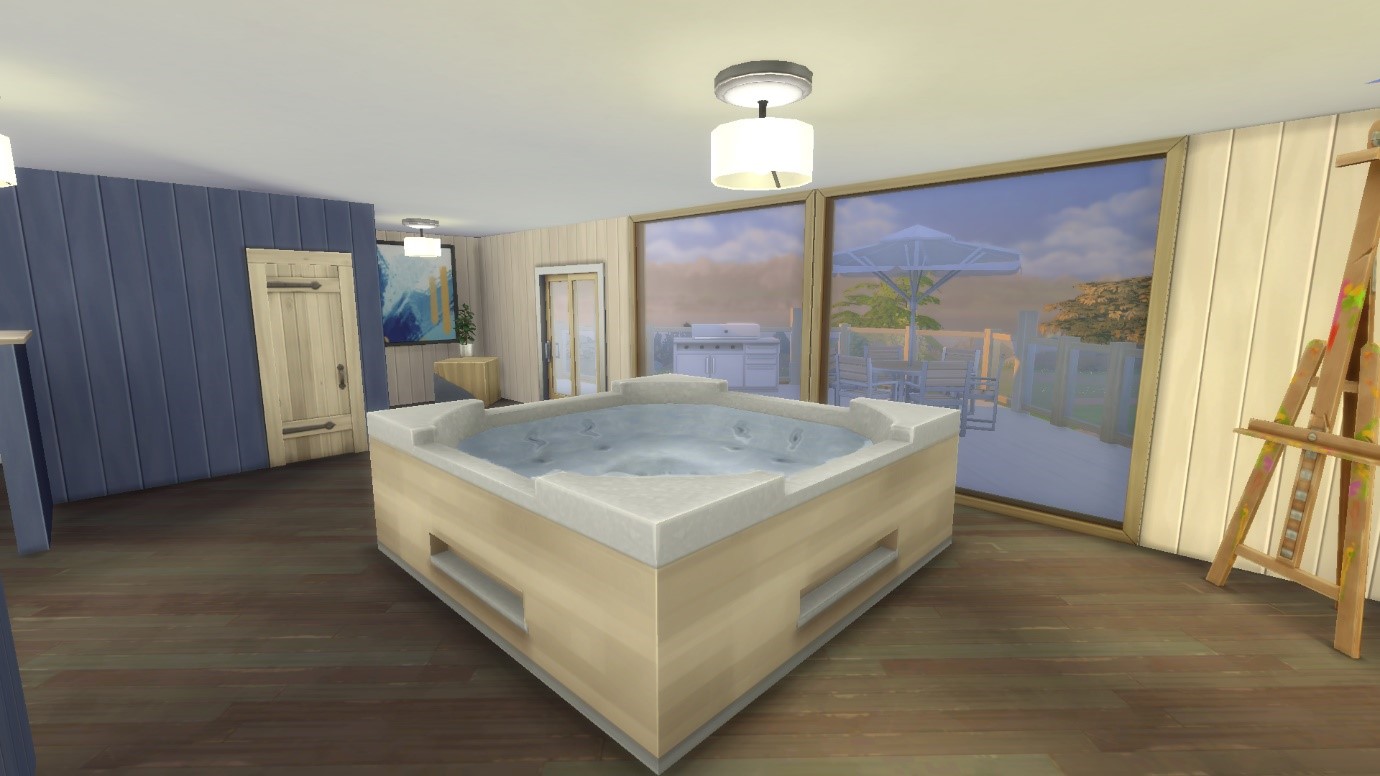
This second-floor room eventually became a space to entertain, complete with a hot tub and bar!
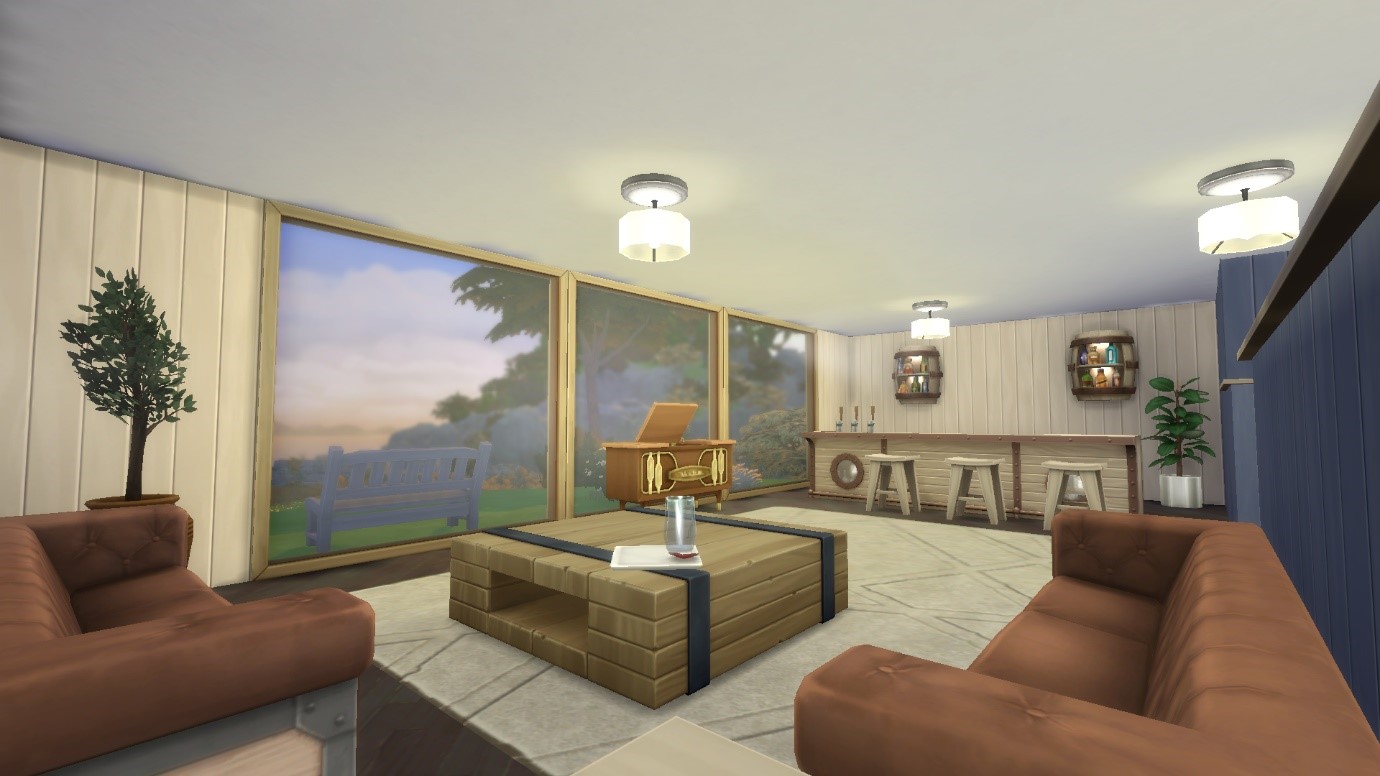
Décor and Furnishings
My favourite part of any build is always the decorating and furnishing. Although I rarely ever actually play the Sims, I always design my builds with a specific family in mind. Building for specific Sims means that your houses will appear more individualised and interesting! Designing a home for a generic Sim often leads to a generic looking house. I designed this build, for instance, as a retirement home for an elderly couple.
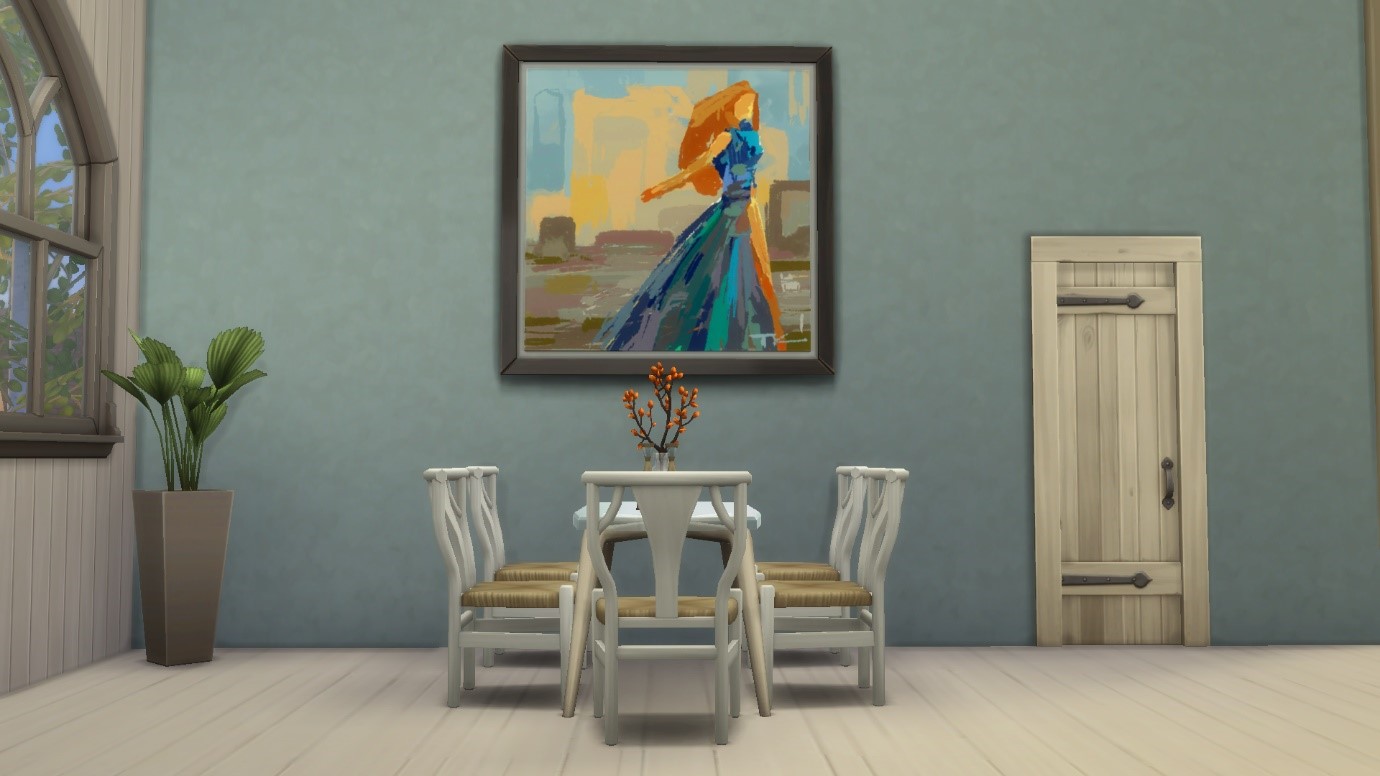
I wanted to give the impression that the house was full of interesting artefacts that the couple had collected across their lifetime. I added in antique paintings and unusual pieces of furniture, and tried to give the property a slightly eclectic feel.
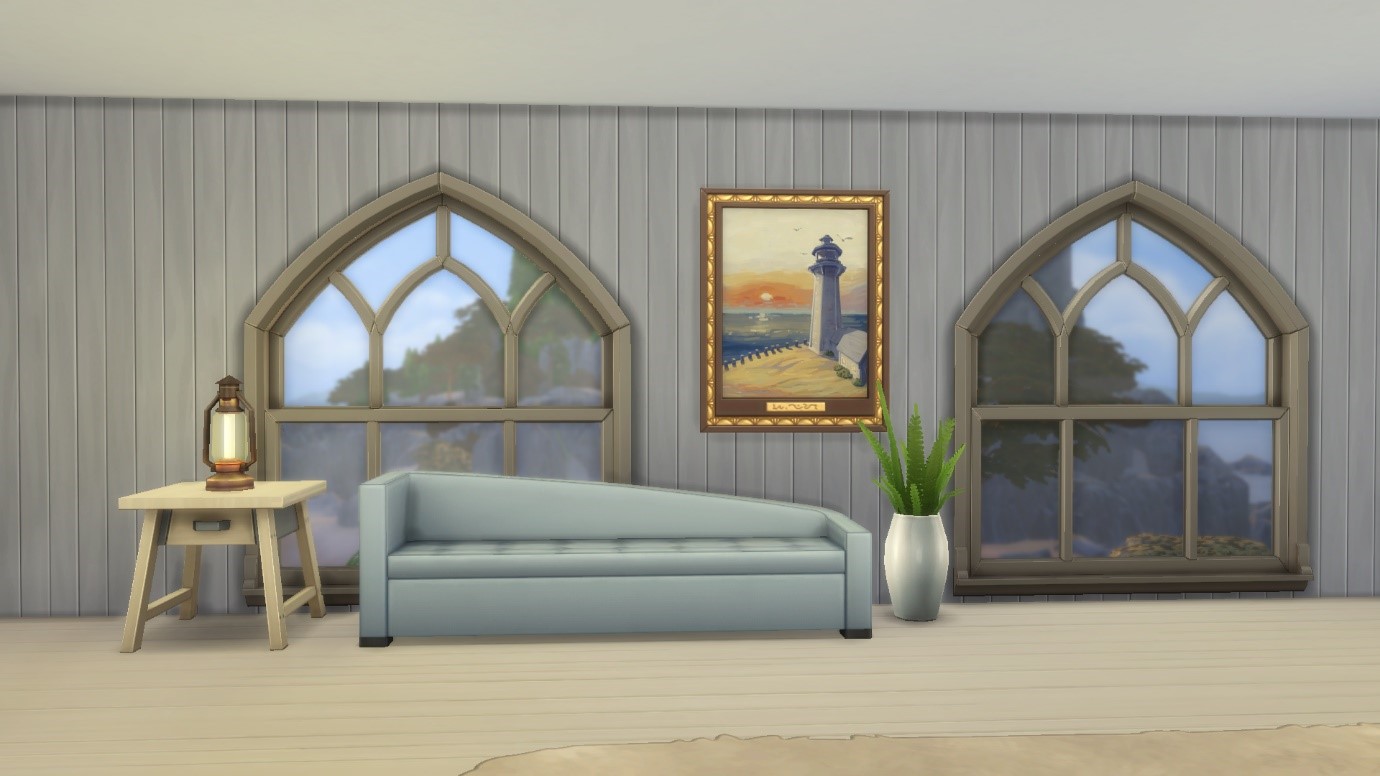
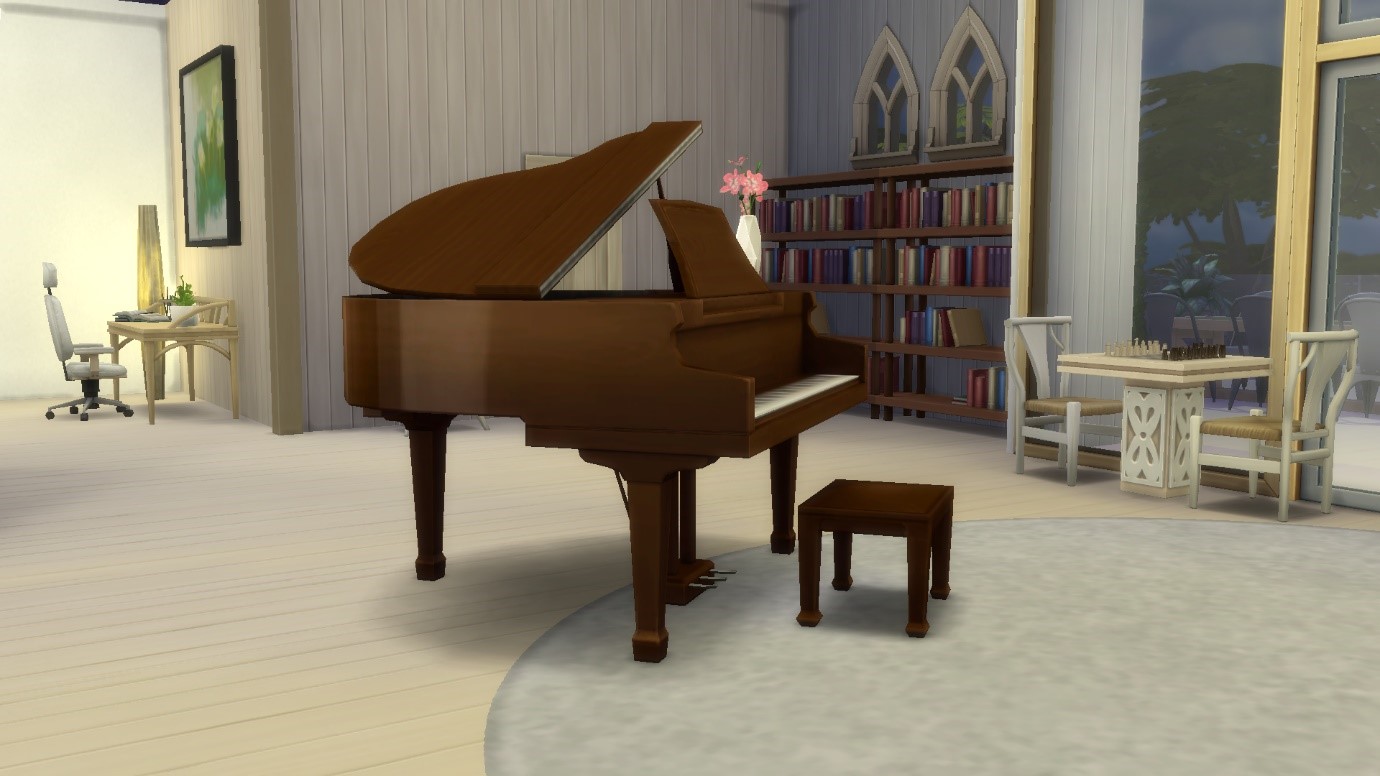
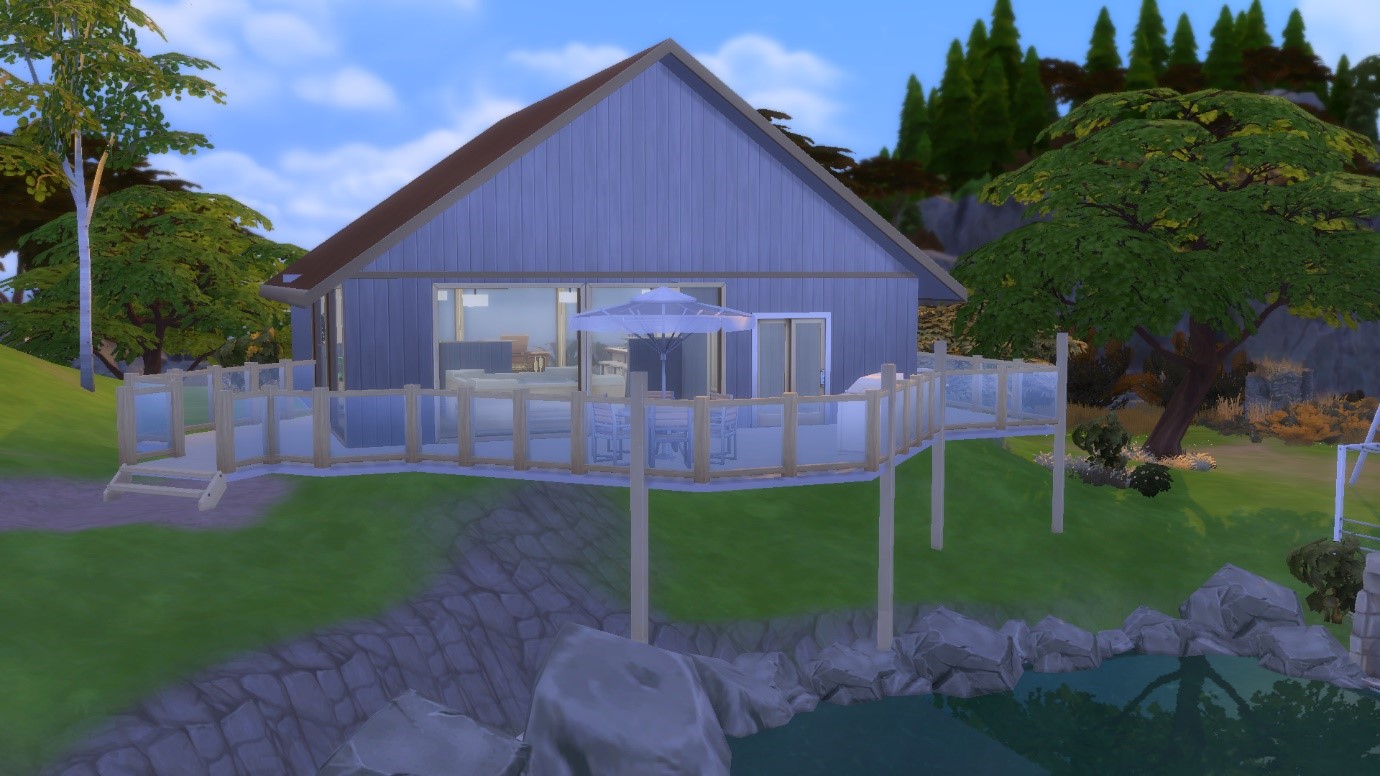
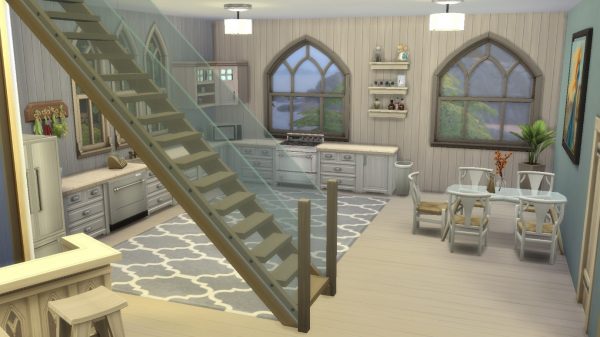
I imagine my elderly couple to be quite fashionable so this is a modern build. There are lots of open plan spaces and large windows. I really like the way this home’s antique objects look alongside the more modern elements of this space!
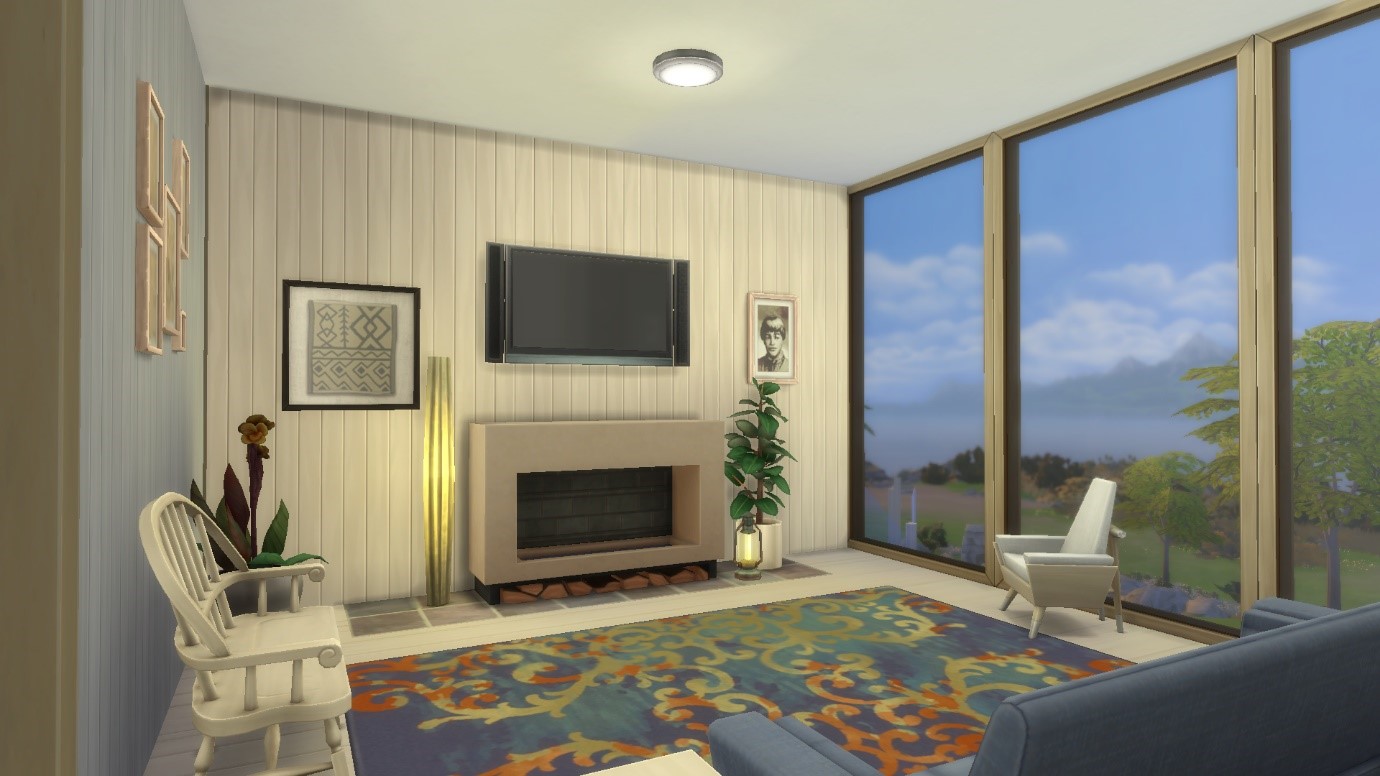
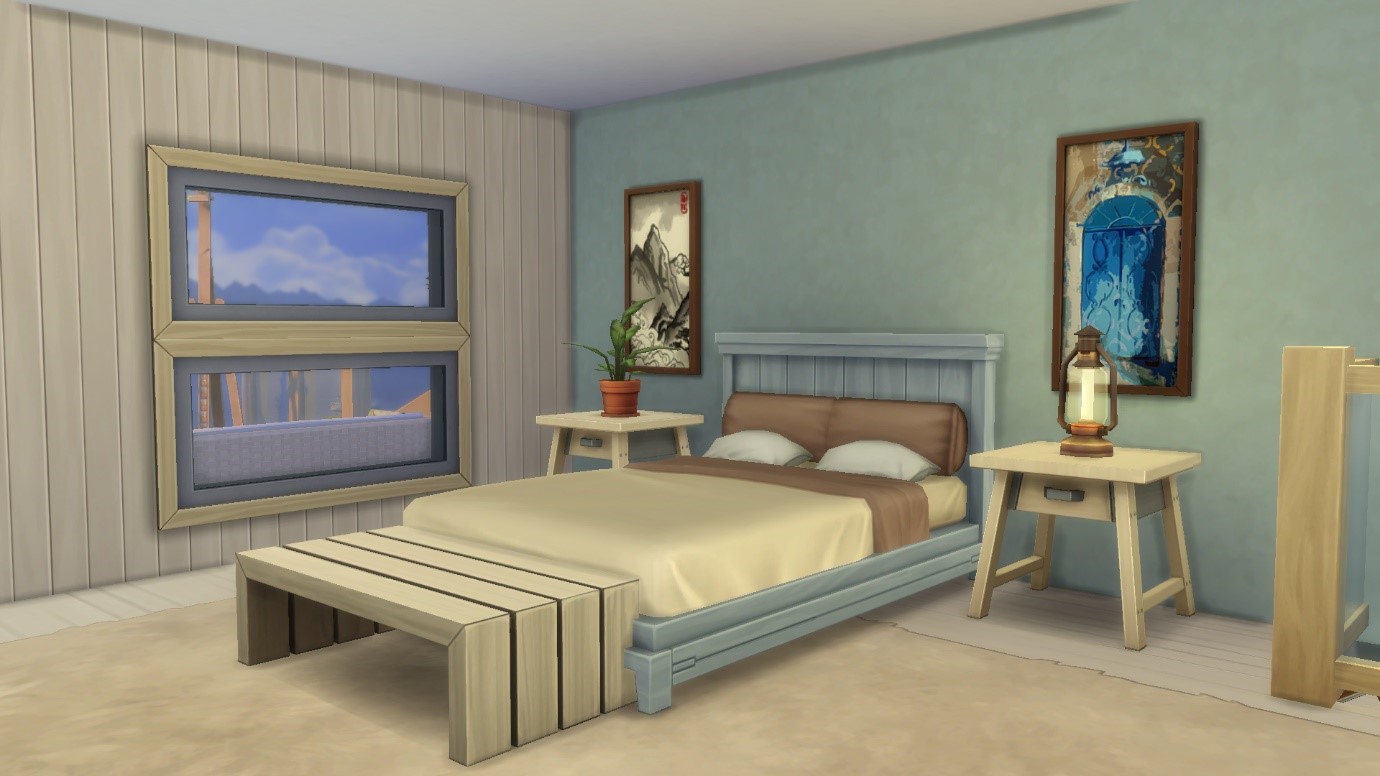 Because this house is located in Windenburg, I went for a seaside theme. I used lots of blues, greens, and light wood tones throughout the property helping the build to feel cohesive with its surroundings.
 Hopefully this has given you some inspiration to play around with Terrain Tools in your own Games. Happy Building!

Click Here to download this build!


")


")